
15 de noviembre de 2026
How to Convert Audio to MP3 (WAV, FLAC, M4A & More)
Convert WAV, FLAC, M4A, OGG and other audio files to MP3, up to 20 at a time, and pick the right preset for music or speech. Nothing gets uploaded anywhere.
Your car stereo skips the FLAC files. The transcription service rejects an M4A. A podcast host wants MP3 and your recorder saved WAV. MP3 isn't the newest or most efficient audio format, but it's the one that plays almost everywhere, so you need to convert audio to MP3 sooner or later. This guide walks through the MyTools Audio to MP3 Converter: which preset fits which job, what the advanced options change, and the mistakes that leave you with a worse file than you started with. The conversion runs on your own computer, so no recording is ever uploaded.
Three steps from any audio file to MP3
Step 1: Open the converter and add your files
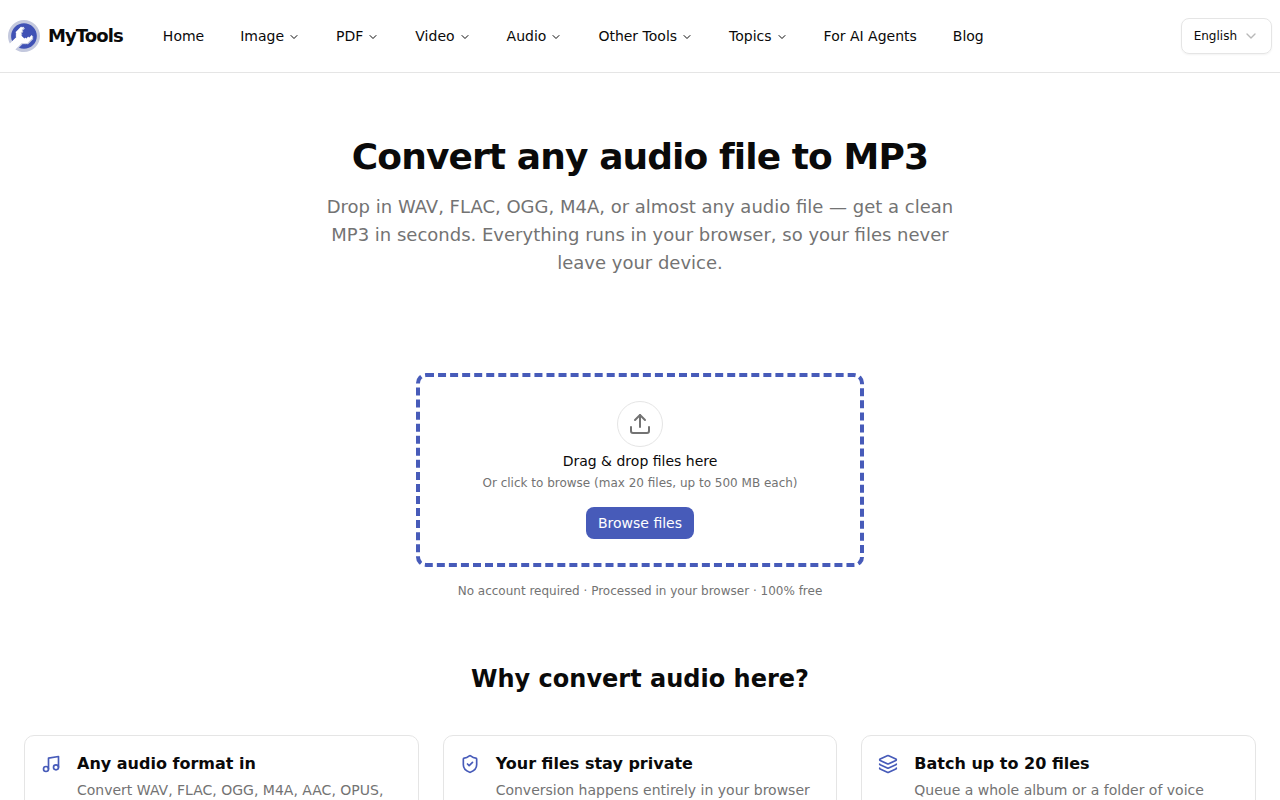
Open the Audio to MP3 Converter. There's no sign-in screen, just the drop zone. Drag in your files or click Browse files. You can add up to 20 files at once, up to 500 MB each, in almost any format: WAV, FLAC, M4A, AAC, OGG, OPUS, AIFF, WMA, and even MP3 itself.
Step 2: Pick a quality preset
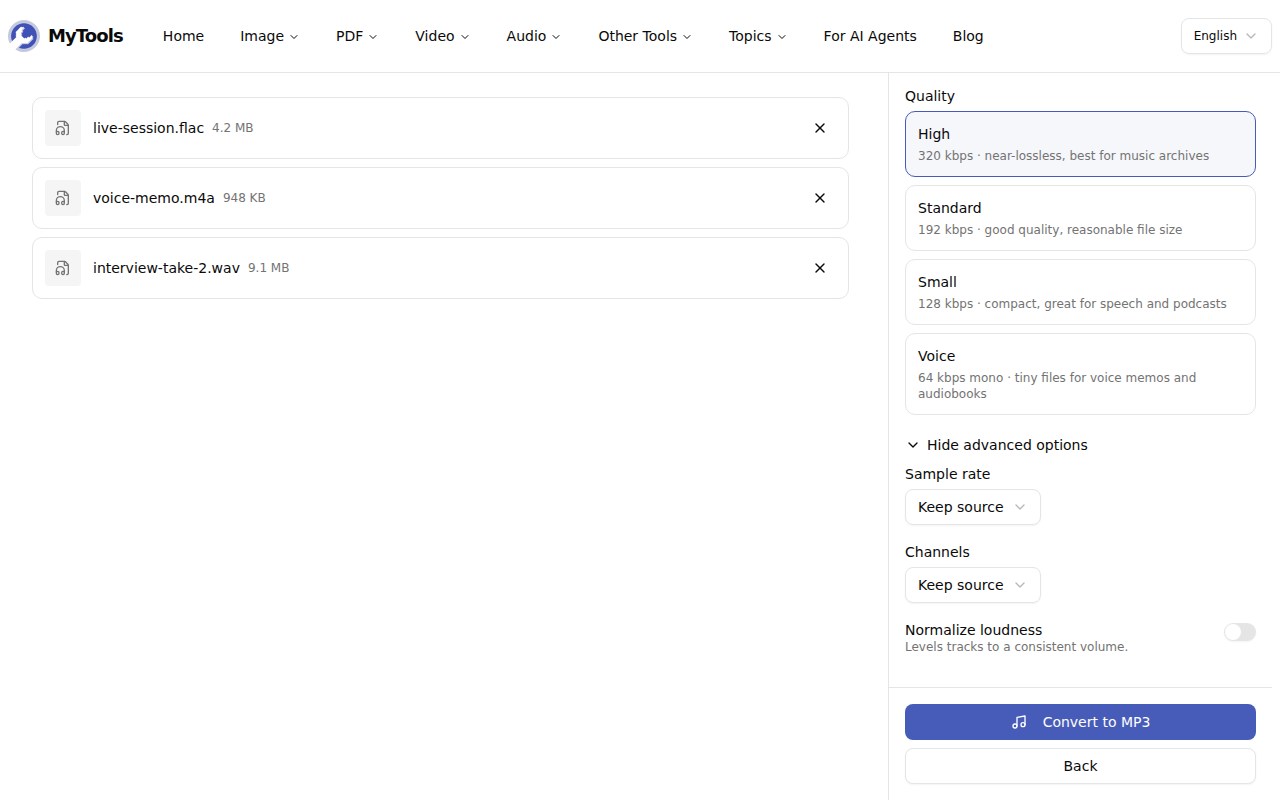
Each file appears in a list on the left, with the settings on the right. Choose one of four presets:
| Preset | Bitrate | Good for |
|---|---|---|
| High | 320 kbps | Music you'll keep, DJ sets, anything from a lossless source |
| Standard | 192 kbps | General listening, podcasts with music beds |
| Small | 128 kbps | Speech, lectures, files you'll email |
| Voice | 64 kbps mono | Voice memos, interviews headed for transcription |
Click Show advanced options for three more controls: sample rate (keep the source, 48 kHz, 44.1 kHz or 22.05 kHz), channels (keep the source, stereo or mono), and Normalize loudness.
Step 3: Convert and save
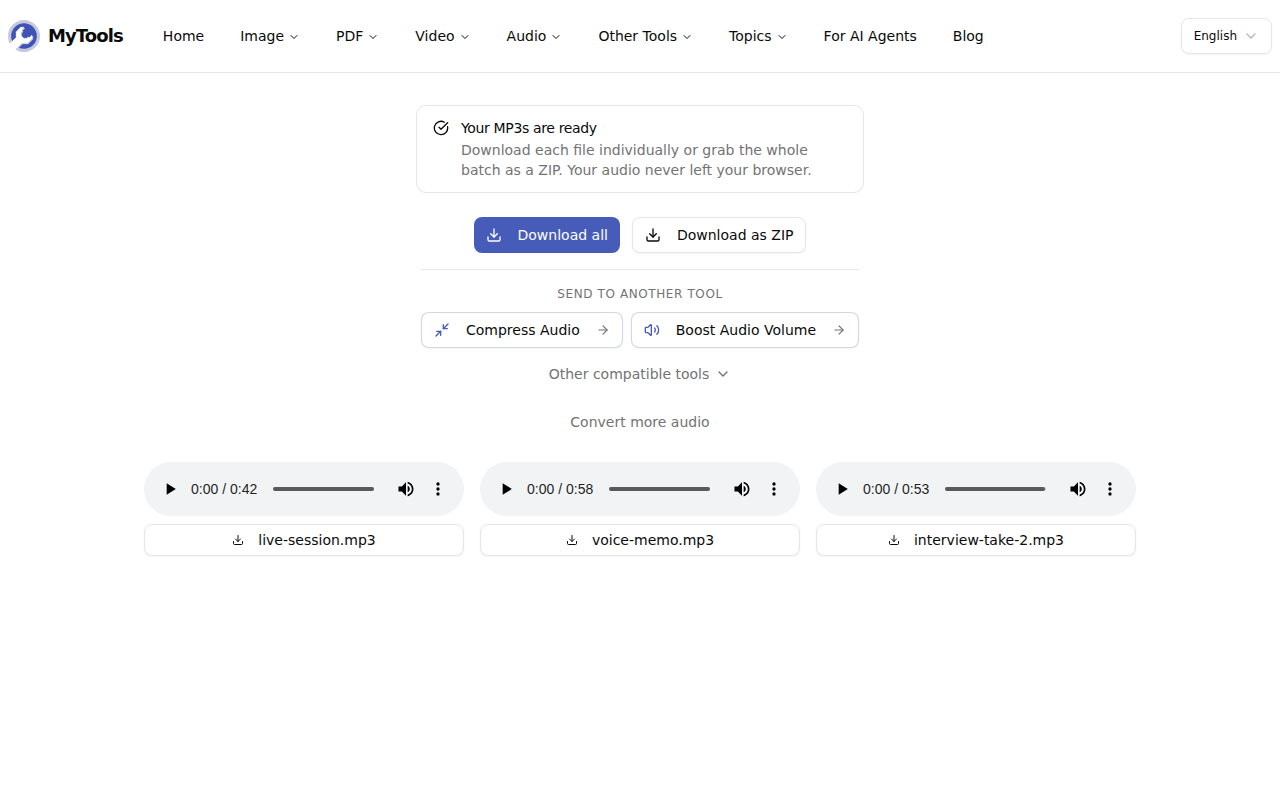
Click Convert to MP3. Each file gets its own progress bar. Then save the MP3s one at a time, all at once with Download all, or as a single ZIP. Each MP3 keeps the original file's name, with .mp3 at the end.
Choosing settings: three worked examples
A 45-minute podcast exported as WAV. A CD-quality WAV runs at about 1,411 kbps, roughly 475 MB for 45 minutes. Standard (192 kbps) brings it to about 65 MB with no audible difference for spoken word over a music bed. If the episode is speech only, Small (128 kbps) gets it to around 43 MB.
A field interview on a phone, saved as M4A. Pick Voice. It switches to mono at 64 kbps, which is plenty for one person talking, and a 20-minute interview lands near 10 MB. Transcription services don't need more than that, and a smaller file uploads faster.
An album ripped to FLAC for a USB stick. Pick High (320 kbps) and leave sample rate and channels on Keep source. A FLAC rip is lossless, so this is the one case where the top bitrate is worth the extra space.
What the advanced options actually do
Sample rate is how many times per second the audio is measured. Leave it on Keep source unless the destination asks for something specific. For example, video projects usually expect 48 kHz. Dropping to 22.05 kHz removes the high frequencies, which is acceptable for speech but makes music sound dull.
Channels decides between stereo and mono. A single voice recorded in stereo is usually the same signal twice, so mono halves the space it takes without losing anything you'd hear. The Voice preset forces mono for that reason.
Normalize loudness evens out the overall volume using the EBU R128 loudness measurement, targeting −16 LUFS, a common level for podcasts. Turn it on when you combine recordings made at different levels, such as a guest's track and your own. Leave it off for music that's already mastered.
Common pitfalls
Converting an MP3 to a "better" MP3. The converter accepts MP3 input, but re-encoding a 128 kbps MP3 at 320 kbps doesn't bring back what the first encoding removed. You get a bigger file that sounds the same, or slightly worse. Only re-encode an MP3 when you need it smaller or need different channels.
Throwing away the original. MP3 is lossy, so every conversion discards some detail for good. If your source is WAV, FLAC or AIFF, keep it as your master copy and treat the MP3 as the version you share. If you only want to understand that trade-off, our explainer on MP3 vs WAV vs FLAC covers it in depth.
Expecting the album art to come along. Title and artist tags carry over to the MP3. Embedded cover images don't, so add the artwork back in your music library app if you need it.
Starting from a video. If the audio you want is inside an MP4, extract it with MP4 to MP3 instead, which is built for video files.
Once your MP3s are ready
The download screen offers to send the results straight to another tool, such as a compressor or a volume booster, without downloading them first. If an MP3 is still too large for an email attachment or a form, that's quicker than starting over.
Need audio that plays on every device and in every app? Convert audio to MP3 for free →