
15 de mayo de 2026
Cómo recortar un video (sin marca de agua)
Recorta un vídeo a 9:16, 1:1 o cualquier tamaño para Reels, TikTok o YouTube — arrastra un rectángulo, selecciona una proporción, guarda un MP4 limpio. Sin carga, sin marca de agua.
Un clip horizontal no llenará un feed vertical. Una grabación de pantalla muestra todo el escritorio cuando solo querías una ventana. El video es 4:3 y el montaje que todos los demás cortaron es 16:9. Tres molestias diferentes, una solución: recortas el video a la parte que importa y desechas el resto. Este texto explica cómo hacerlo exactamente con el recortador de video de MyTools — los clics que lo hacen, más la parte que la mayoría de guías omite: qué relación de aspecto elegir y por qué recortar no es lo mismo que redimensionar.
¿Qué hace realmente el recorte (y qué no)?
El recorte descarta todos los píxeles fuera de un rectángulo. Nada se escala, nada se comprime, no se añaden barras negras - la salida simplemente es el rectángulo que dibujaste. Eso lo diferencia de dos cosas con las que a menudo se confunde:
- Redimensionar mantiene todo el marco pero cambia sus dimensiones. Fuerza un vídeo de 16:9 en una caja de 1:1 de esta manera y se distorsiona o queda recortado con barras.
- Barras superiores e inferiores / pilarboxing mantiene todo también, y rellena la discrepancia con barras.
Si el sujeto ya está en algún lugar del marco y quieres que llene una nueva forma sin barras, eso es un recorte. Si necesitas la imagen completa, solo más pequeña, eso es un redimensionamiento.
Una consecuencia que debes conocer antes de empezar: no puedes recortar para obtener más píxeles. Un clip grabado a 1280 × 720 no puede producir una imagen nítida de 1080 × 1920 verticalmente —el rectángulo más alto que puedes dibujar es de 720 px, por lo que la exportación se limita alrededor de 405 × 720. Recorta para enmarcar; trata encontrar una resolución final exacta como un asunto separado.
Recortar un vídeo en tres pasos
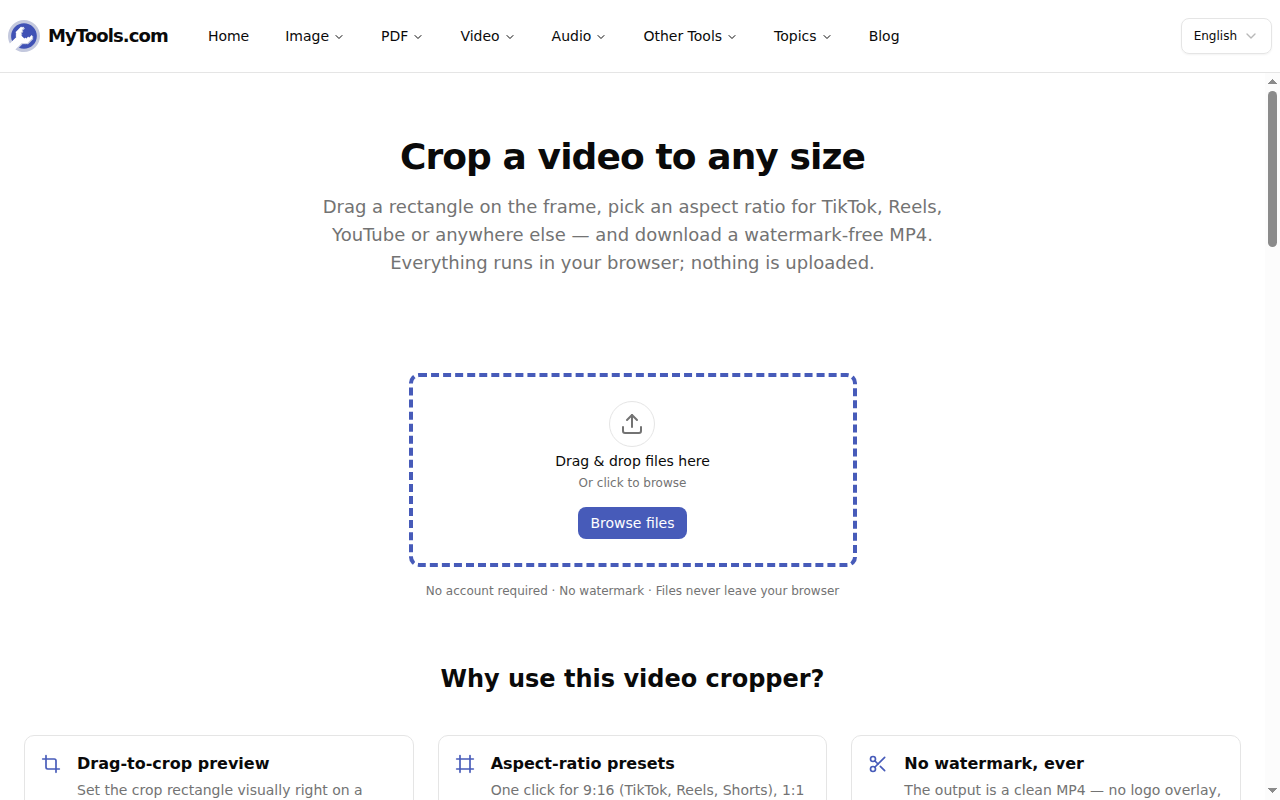
1. Abre el recortador y suelta tu archivo
Abre el recortador de video — la zona de carga es la primera cosa en la página. Acepta archivos MP4, MOV y WebM de hasta 500 MB, un archivo a la vez. Arrastra el archivo sobre la caja con líneas o haz clic en Buscar archivos.
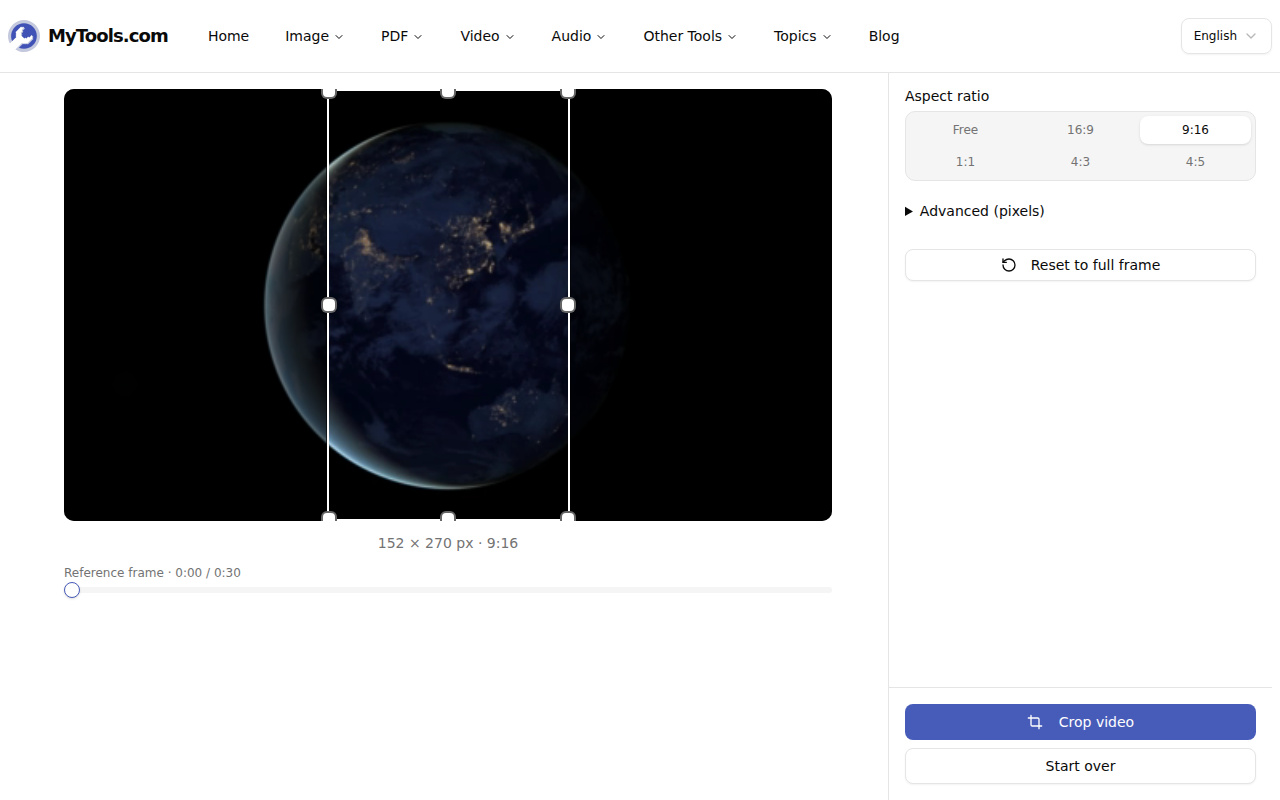
2. Enmarca la parte que quieres conservar
El editor se abre en un fotograma fijo con un rectángulo de recorte sobre él. Establécelo de dos maneras:
- Elige un preset. 9:16 para TikTok, Reels y Shorts; 1:1 para una publicación de cuadrícula; 4:5 para Instagram en retrato; 16:9 para YouTube; 4:3 para reproductores más antiguos; o Libre para cualquier otra cosa. El rectángulo se bloquea a esa proporción, por lo que no puedes arrastrarlo accidentalmente fuera de forma.
- Arrástralo. Agarra una esquina para redimensionar, arrastra el centro para reposicionar. El área fuera del rectángulo se oscurece, por lo que ves con precisión qué queda.
Dos detalles que evitan rehacer el trabajo. Si el marco de apertura es negro o una tarjeta de título, arrastra el control deslizante del Marco de referencia a un fotograma que realmente muestre tu sujeto — solo cambia lo que estás viendo mientras apuntas; el clip completo sigue recortado. Y si necesitas números exactos, abre Avanzado (píxeles) y escribe directamente X, Y, ancho y alto.
3. Recortar y guardar
Haz clic en Recortar vídeo. El procesamiento se realiza en tu propia máquina; el archivo nunca se envía a ningún sitio, por lo que la primera ejecución tarda unos segundos en cargar el motor de vídeo integrado en el navegador antes de procesar. Lo que obtienes es un MP4 limpio: sin superposiciones de logotipos, sin banner inferior ni sello de "prueba gratuita".

¿Qué proporción para qué plataforma?
Elegir el preset es la decisión que realmente importa. Aquí está para qué es cada uno, con la resolución que la mayoría de las plataformas esperan si tu fuente es lo suficientemente grande para proporcionarla:
- 9:16 — 1080 × 1920. TikTok, Instagram Reels, YouTube Shorts, Snapchat. El formato vertical de pantalla completa.
- 4:5 — 1080 × 1350. Vídeos en el feed de Instagram y Facebook. Más alto que cuadrado, por lo que ocupa más pantalla mientras los usuarios desplazan la vista, sin llegar a ser totalmente vertical.
- 1:1 — 1080 × 1080. Publicaciones cuadradas en el feed y numerosos espacios publicitarios. La opción segura cuando no sabes dónde terminará el clip.
- 16:9 — 1920 × 1080. YouTube, Vimeo, cualquier cosa mostrada en una televisión o dentro de una presentación de diapositivas.
- 4:3 — 1440 × 1080. Proyectores más antiguos, algunos reproductores integrados, ediciones retro a propósito.
Si tu fuente es más pequeña que estos objetivos, obtendrás la relación correcta a menor resolución —aún correcta para la plataforma, pero no tan nítida.
Cuando el archivo no colabora
Es de más de 500 MB o dura varios minutos. El procesador del navegador mantiene el video en memoria, y los archivos muy grandes pueden agotarlo, especialmente los teléfonos. Primero recórtalo solo a la sección que necesitas con el cortador de video, o encógelo todo con el compresor de video —cualquiera te llevará por debajo del límite y hará más rápido el recorte.
La salida se ve un poco más suave. Recortar reescribe el archivo, por lo que hay un pequeño costo de recodificación. A tamaño de visualización normal es prácticamente invisible; solo se nota si recortas una pequeña región de un clip de baja resolución y luego lo amplías.
Seleccioné el área incorrecta. Nada salió de tu dispositivo y el archivo original está intacto — selecciona "Recortar otro video", vuelve a arrastrar el mismo archivo y ajusta nuevamente el rectángulo.
Recortar es el movimiento correcto cuando el sujeto ya está en la toma y solo necesitas que todo lo demás desaparezca: reencuadrar un clip de paisaje para un feed vertical, eliminar una ventana de una grabación de pantalla, ajustar un clip errático al formato de un montaje. Cuando en cambio necesitas todo el marco a un tamaño diferente, eso es trabajo de un redimensionador, no de un recortador. Para todo en el primer grupo: