
May 8, 2026
How to Rotate an Image — One File or a Hundred
Spin a single photo or batch-rotate hundreds at once. Fix sideways phone shots, flip mirrored selfies, and bake the EXIF flag into the pixels for good.
Half your camera roll lies on its side after the holidays — phone shots taken in portrait, dumped onto a laptop that ignores the EXIF rotation flag. Or you've scanned a stack of family prints and the scanner fed half of them upside down. The MyTools Image Rotator handles both — one file, or a folder of a hundred — and writes the rotation into the actual pixels, not just the metadata.
This article walks through the workflow, then digs into two things the tool quietly does well: the EXIF orientation flag (and why baking it into the pixels matters), and lossless 90° rotation on PNG and WebP.
What You'll Need
- A modern browser (Chrome, Firefox, Safari, Edge)
- The image(s) you want to rotate — JPG, PNG, WebP, GIF, or BMP, up to 50 MB each, up to 100 per batch
- Nothing else. Processing happens locally on your machine via the Canvas API.
Why Phone Photos Show Up Sideways on a Laptop
Almost every phone camera saves its photos in a single fixed sensor orientation — usually landscape — regardless of how you held the device. The phone reads its accelerometer at the moment the shutter fires and stamps a small EXIF orientation flag into the file: "rotate 90° clockwise on display."
Modern apps respect that flag. The Photos app, your messaging client, every browser — they all draw the picture the right way up. Some apps don't. Older versions of PowerPoint, certain CMS uploaders, basic image viewers, and most automated pipelines (thumbnailers, OG-image generators, ML preprocessors) read the raw landscape pixels and never check the flag. The result: your portrait shot suddenly appears on its side.
The fix is to rotate the underlying pixels and reset the flag — which is exactly what the rotator does on export. After processing, the image displays correctly everywhere, not just in apps that honour metadata.
Rotate an Image in Three Steps
Step 1: Open the tool
Pull up MyTools — Image Rotator in any modern browser. The page is plain HTML with a drag-and-drop zone — no email gate, no countdown, no signup screen.
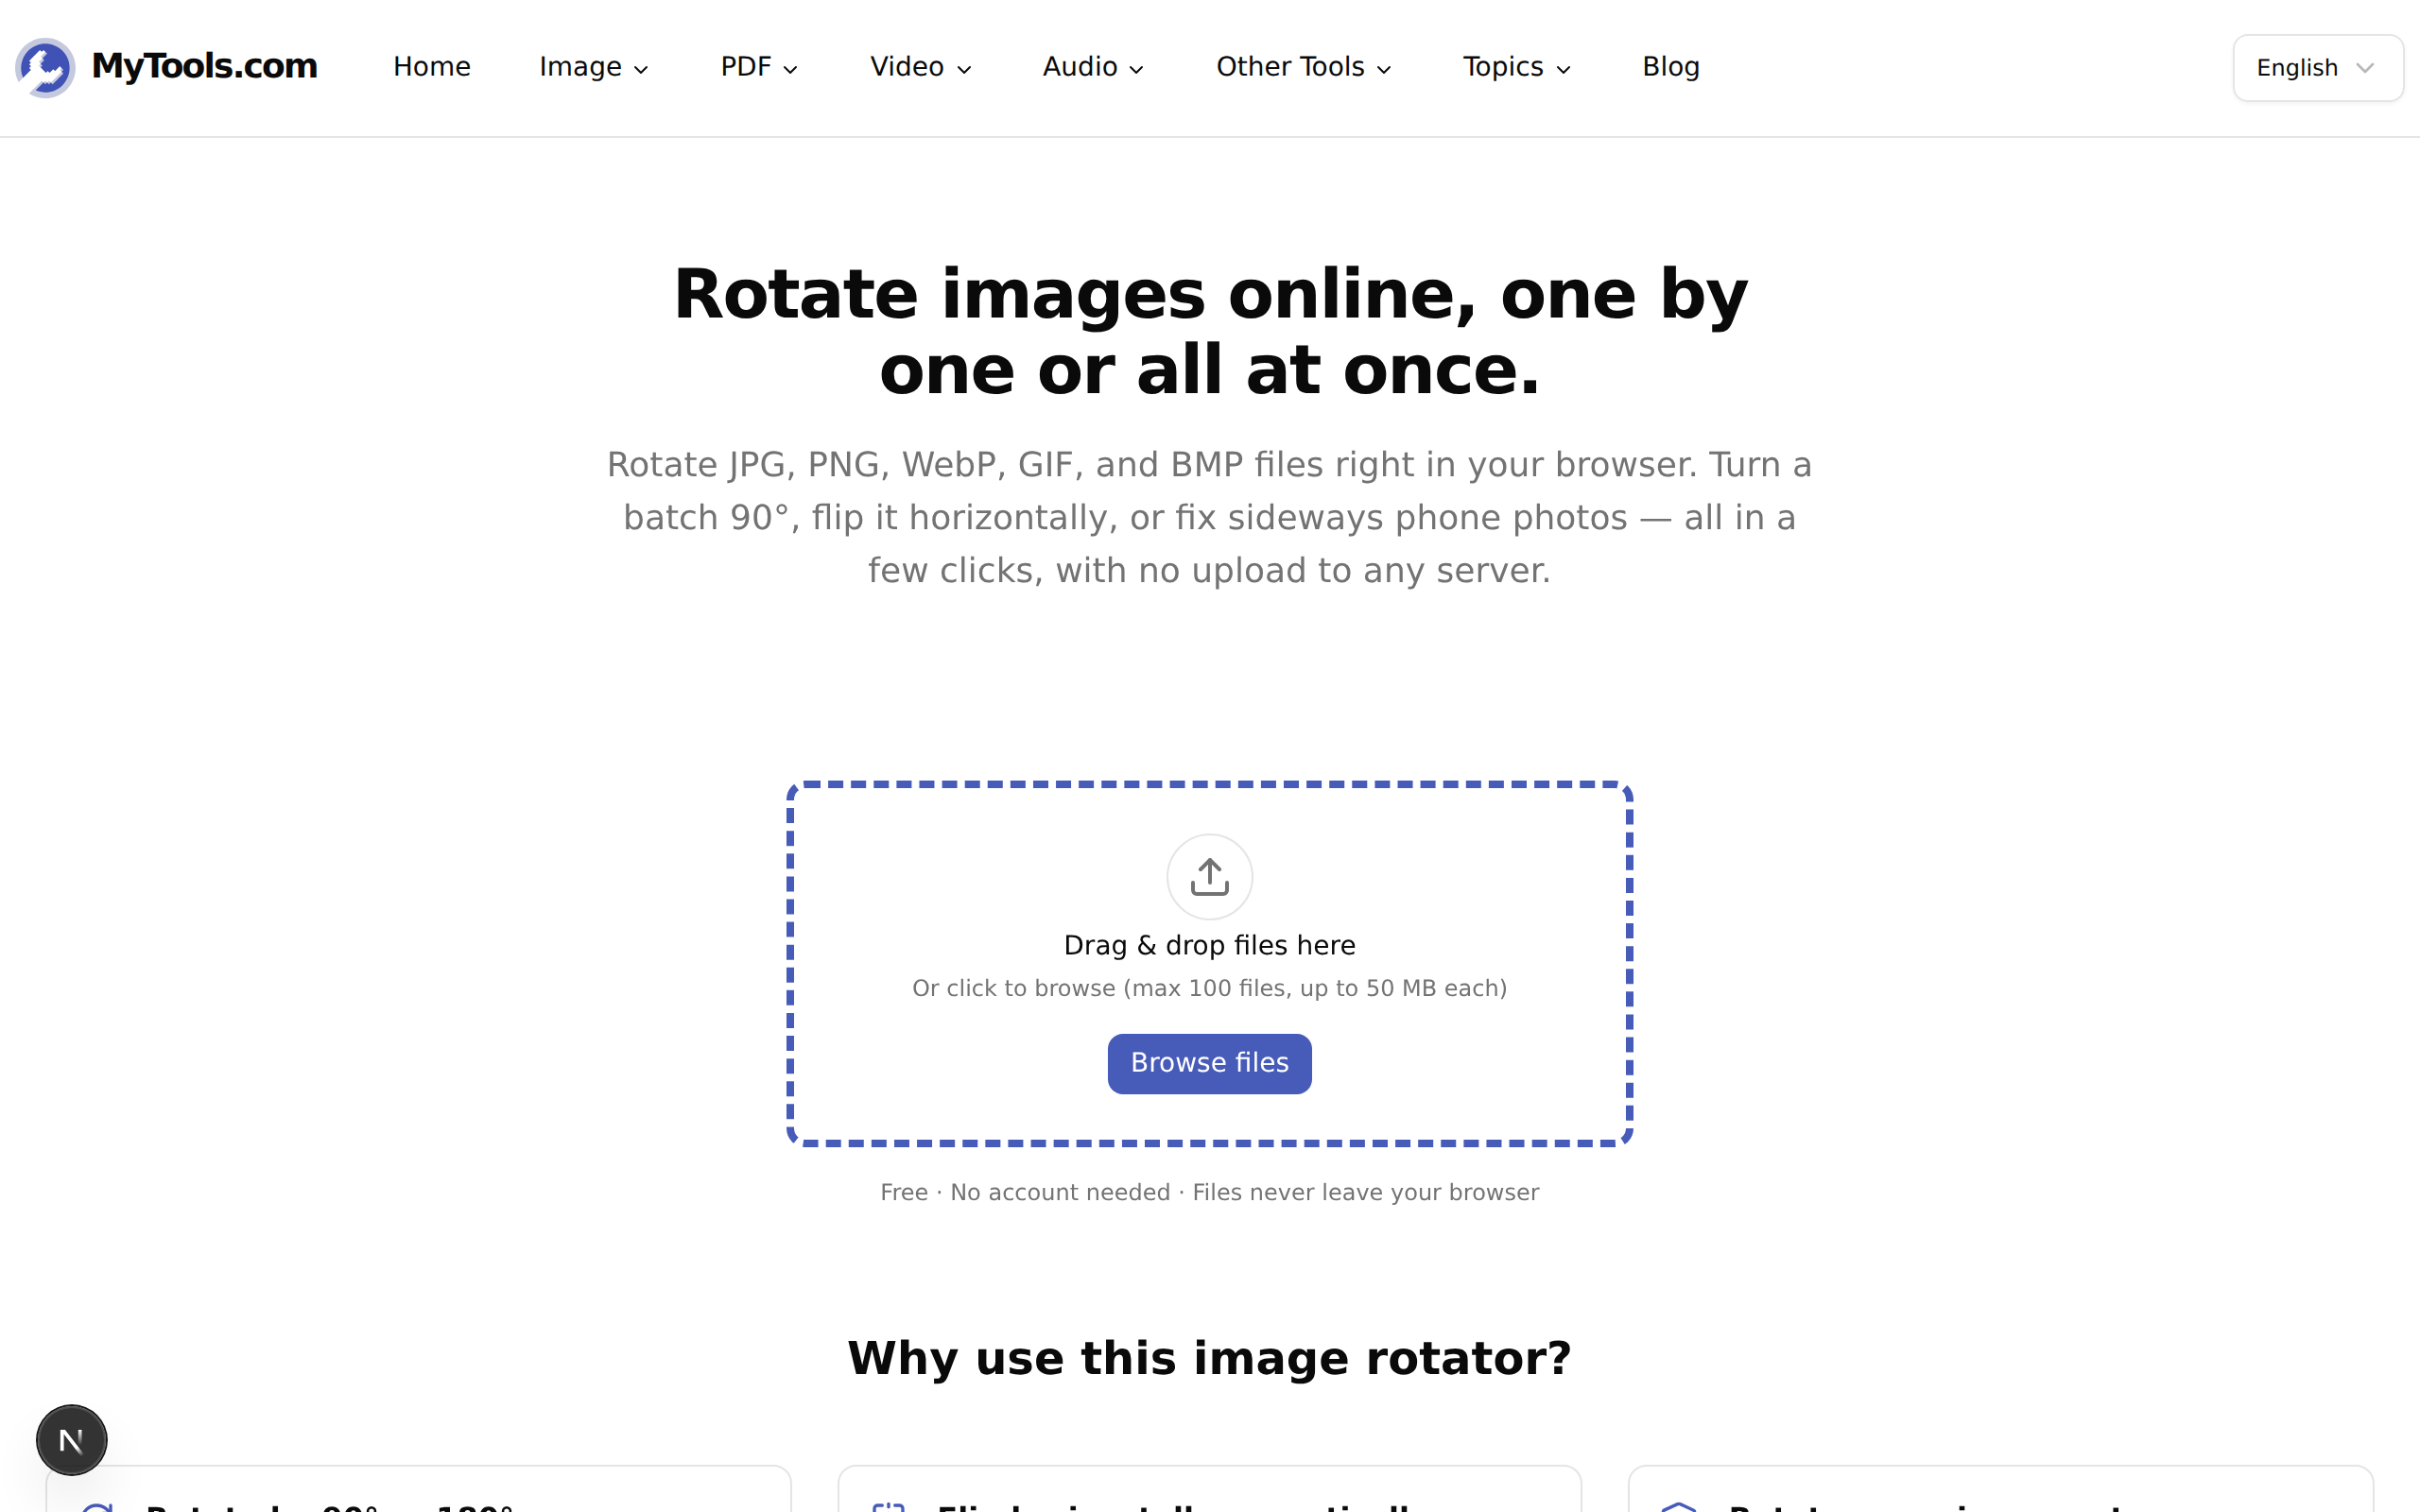
Step 2: Drop in your images
Drag a single file, a Cmd/Ctrl-clicked selection, or an entire folder onto the page. JPG, PNG, WebP, GIF, and BMP are all welcome up to 50 MB each. Once they load, the configure step takes over and shows a thumbnail grid.
Step 3: Rotate, then export
Use the buttons on the right to rotate left, right, 180°, or flip horizontally / vertically. The transform applies to every visible thumbnail. If your batch mixes orientations, switch the Apply to scope to Portraits only or Landscapes only — only the matching shots get touched. Per-image controls (hover the thumbnail) let you tweak individual exceptions.
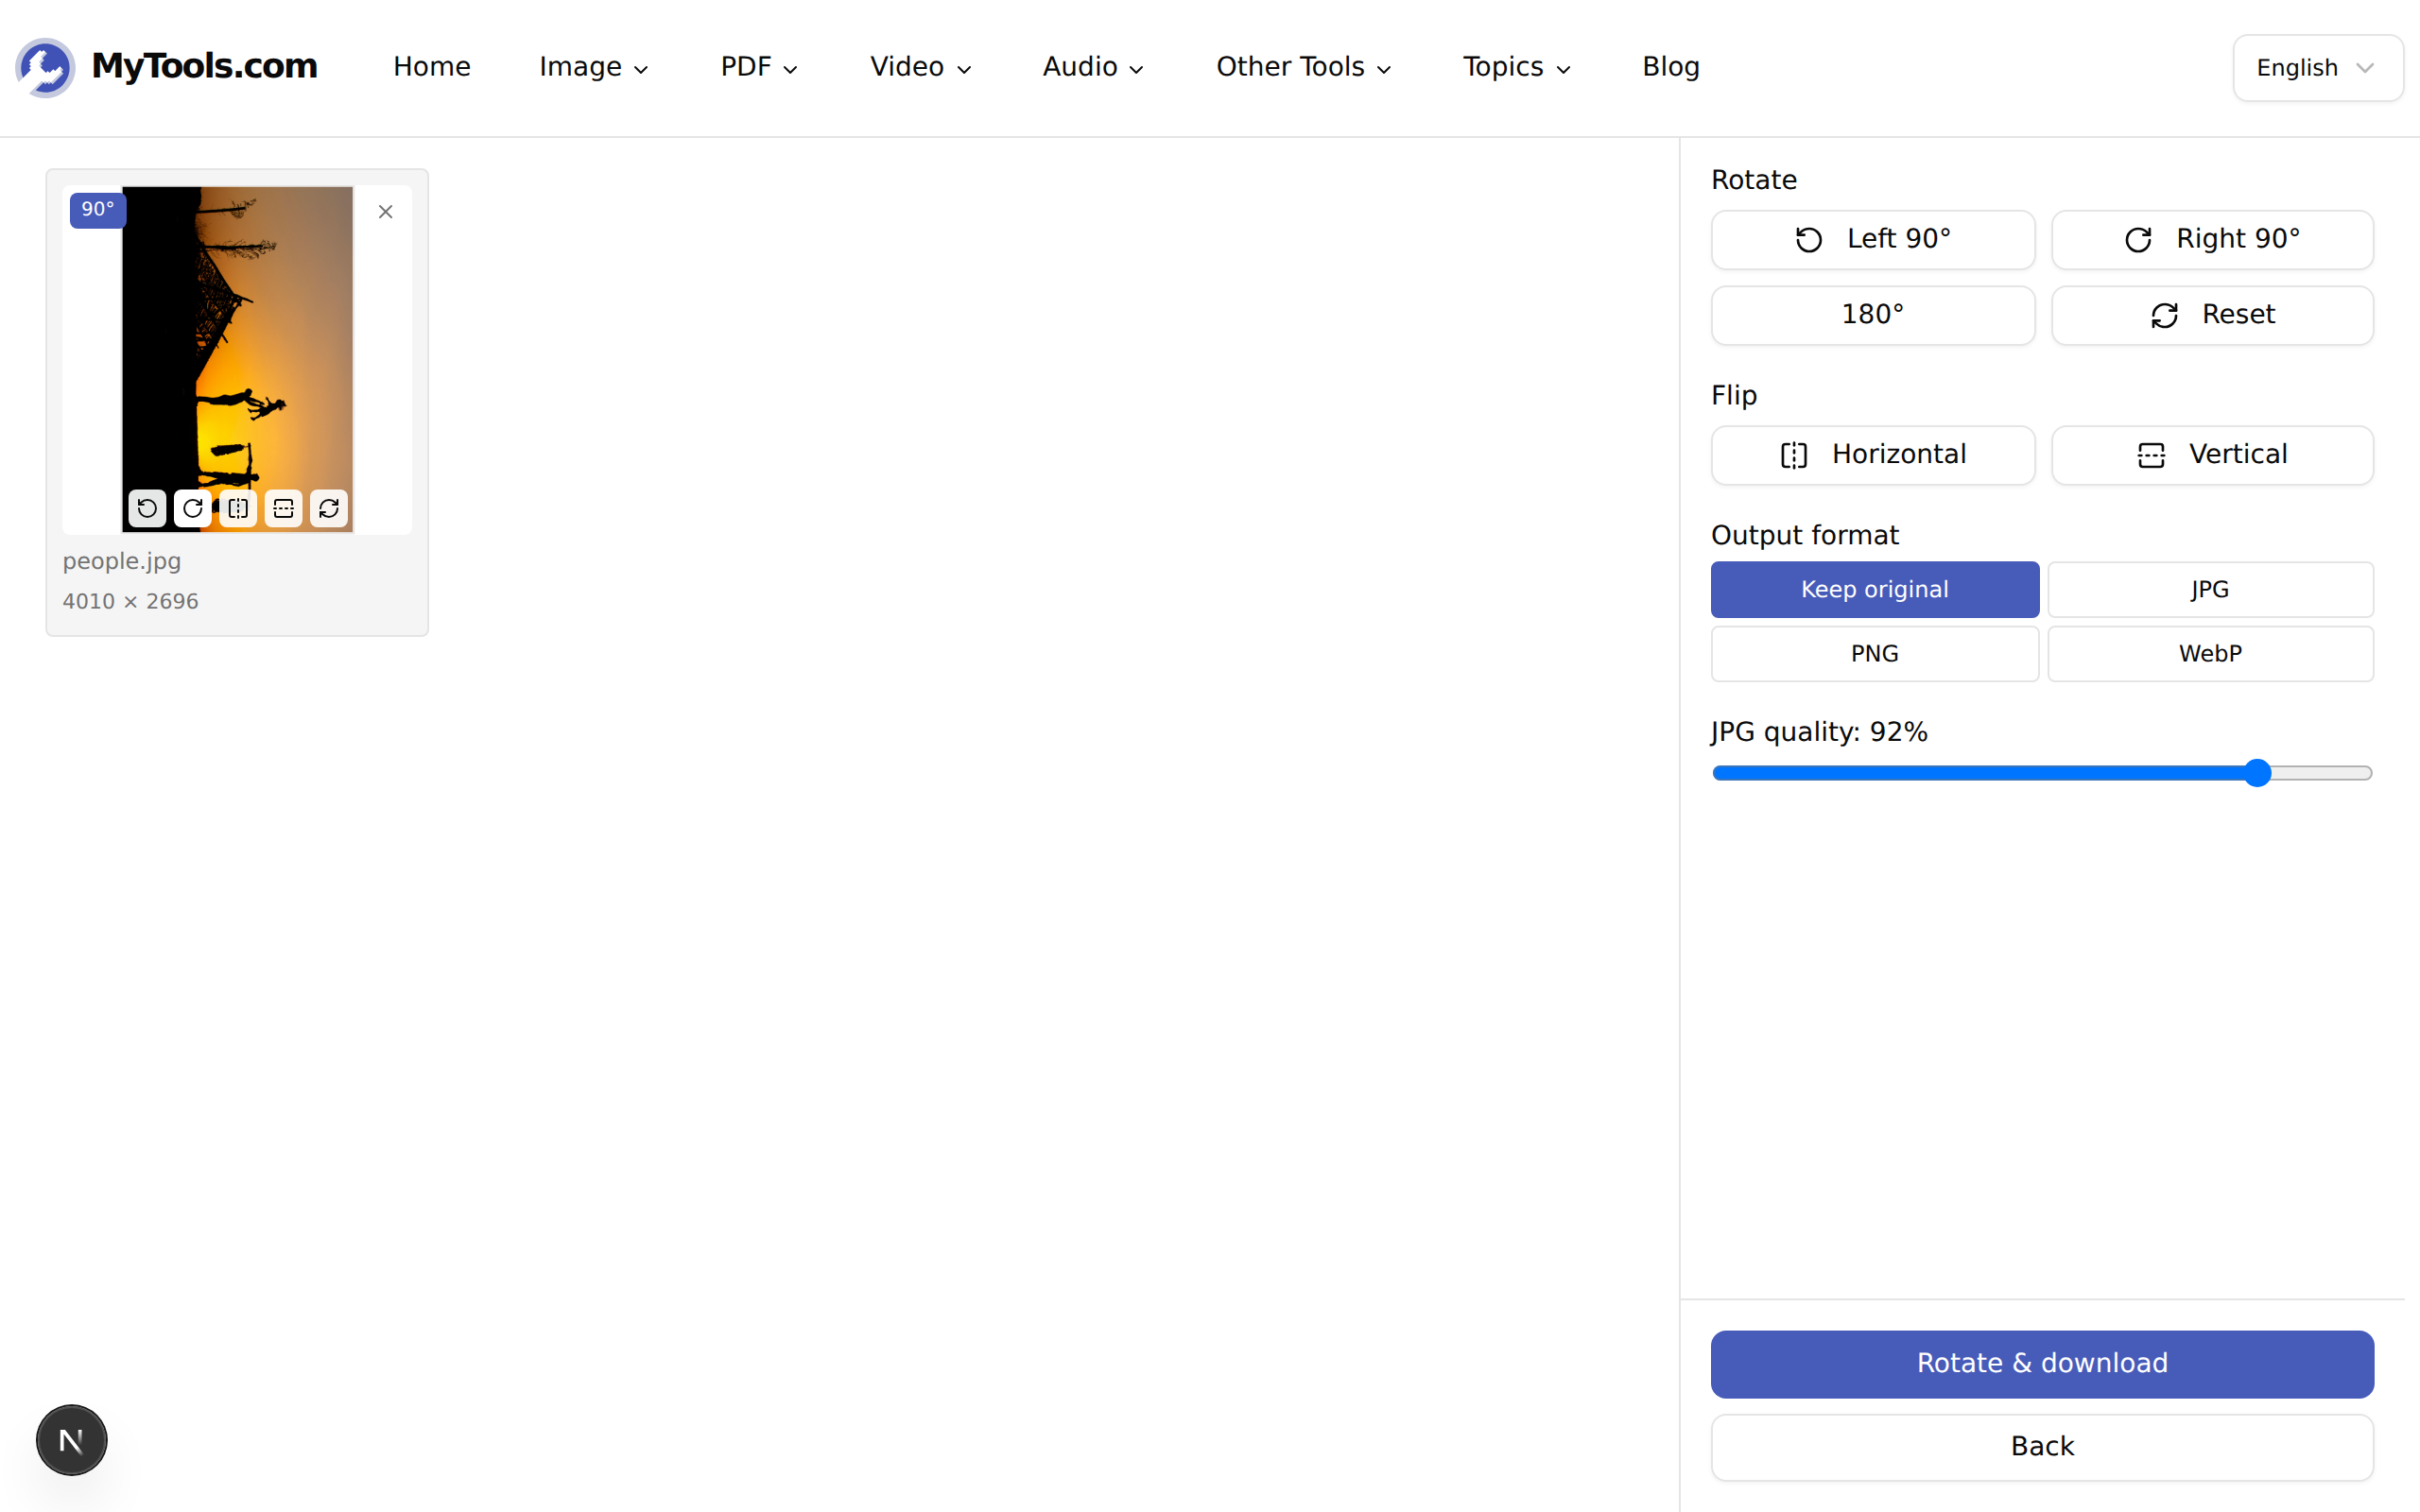
When you're happy, hit Rotate & download. A single image downloads on its own; multiple files come back as a ZIP.
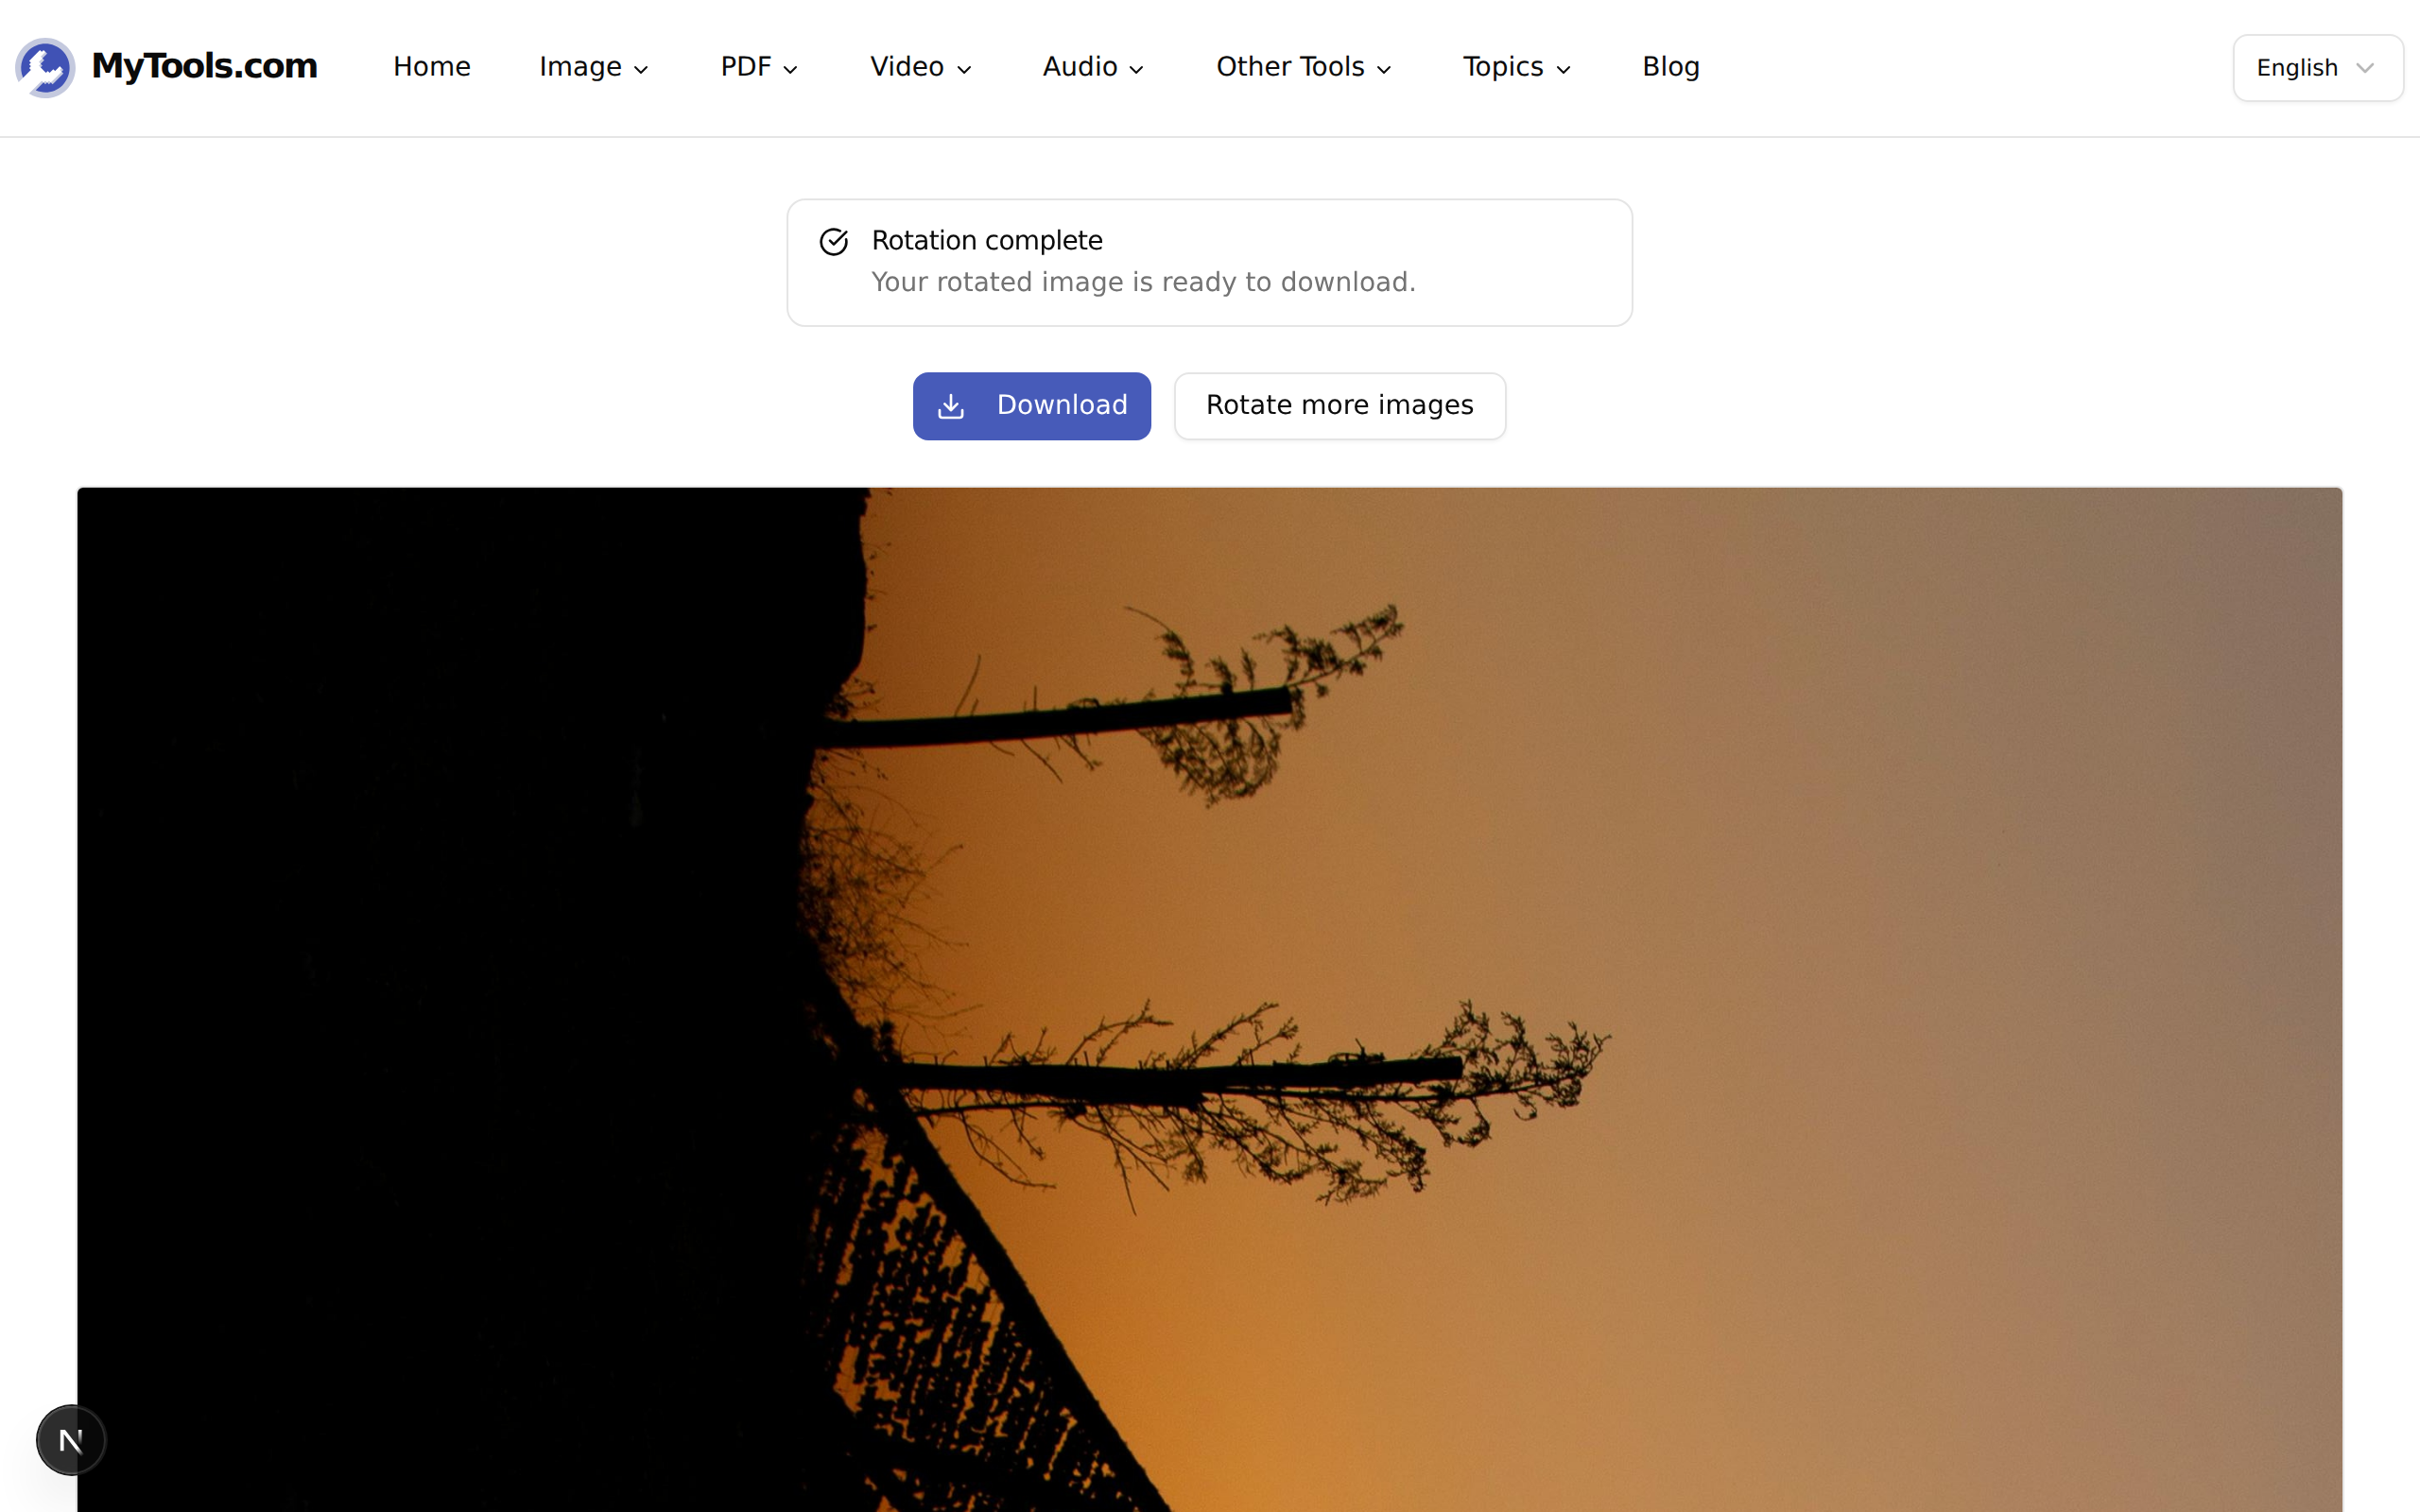
<original>-rotated.<ext>, so the source is never overwritten.
Lossless Rotation — and When It Isn't
Rotations of 90°, 180°, and 270° are mathematically lossless at the pixel level. The pixels just move; nothing is interpolated, nothing is averaged. The same goes for horizontal and vertical flips. So if you keep the format, the rotated file is as faithful to the source as a pixel-shuffle allows.
The catch is what happens at the encoder. Two cases:
- PNG or WebP (lossless) source, format kept. Bit-exact. The rotated file has the same image quality as the original, full stop.
- JPG source, format kept. JPGs have to be re-encoded after rotation, and re-encoding always costs a small amount of quality. The rotator's default is JPG quality 92, which is visually transparent for photos. Push the slider up to 100 if you want to be conservative; below 80 you'll start to see artifacts on smooth gradients.
If you want a true zero-loss path for JPGs at 90°/180°/270°, you'd need a JPEG-aware utility that rotates the macroblocks directly without re-encoding. That's a niche operation and adds dependencies. For anything that ends up on the web — Instagram, a slide deck, a CMS — quality 92 is plenty.
Tips & Common Pitfalls
The rotated image still looks wrong in some apps but not others. That's the EXIF flag misbehaving. When you re-import a corrected file into a tool that also checks the EXIF flag, it can double-rotate. The rotator strips and resets the flag on export to prevent this — but if you're chaining tools, sanity-check the orientation in your final viewer before assuming the workflow is broken.
A batch has the wrong scope applied. The Apply to filter is sticky between actions. If you rotated the portraits 90° and now want to flip only the landscapes vertically, switch the scope first, otherwise you'll flip portraits too. The faded thumbnails always show what's currently out of scope.
You picked PNG output for a JPG source and the file got much bigger. PNG is lossless, so a high-fidelity photo encoded as PNG is often 5–10× the size of the JPG original. Stick with Keep original unless you need transparency or a pixel-perfect lossless re-encode.
If your next move is to crop or trim the rotated images, the Crop Image tool is the natural follow-up.
The Short Version
Drop your files in, pick an angle, pick a scope if your batch is mixed, and download. The rotation happens locally on your machine, the EXIF flag gets reset on export, and the output is named so it never overwrites the source. Try the Image Rotator for free →