
July 5, 2026
How to Resize an Image (Without Distorting It)
Resize an image by exact pixels, percentage, or a social media preset — keep the aspect ratio intact and process a whole batch at once, right on your device.
A 4010-pixel-wide photo and an upload slot that wants 1080. A folder of product shots that all have to become exactly 300 × 300 before a store's thumbnail grid will accept them. Resizing an image is a five-second job that somehow swallows twenty minutes the moment you go hunting through a desktop editor's export dialog. This guide shows you how to resize an image — one file or a hundred — by pixels, by percentage, or by a ready-made platform preset, without stretching faces or ballooning the file size.
What you'll need
- Any modern browser.
- The image (or images) you want to resize. JPEG, PNG, WebP, and GIF are all accepted.
- Nothing to install, and no account to create.
Resize an image in four steps
Step 1: Open the resizer
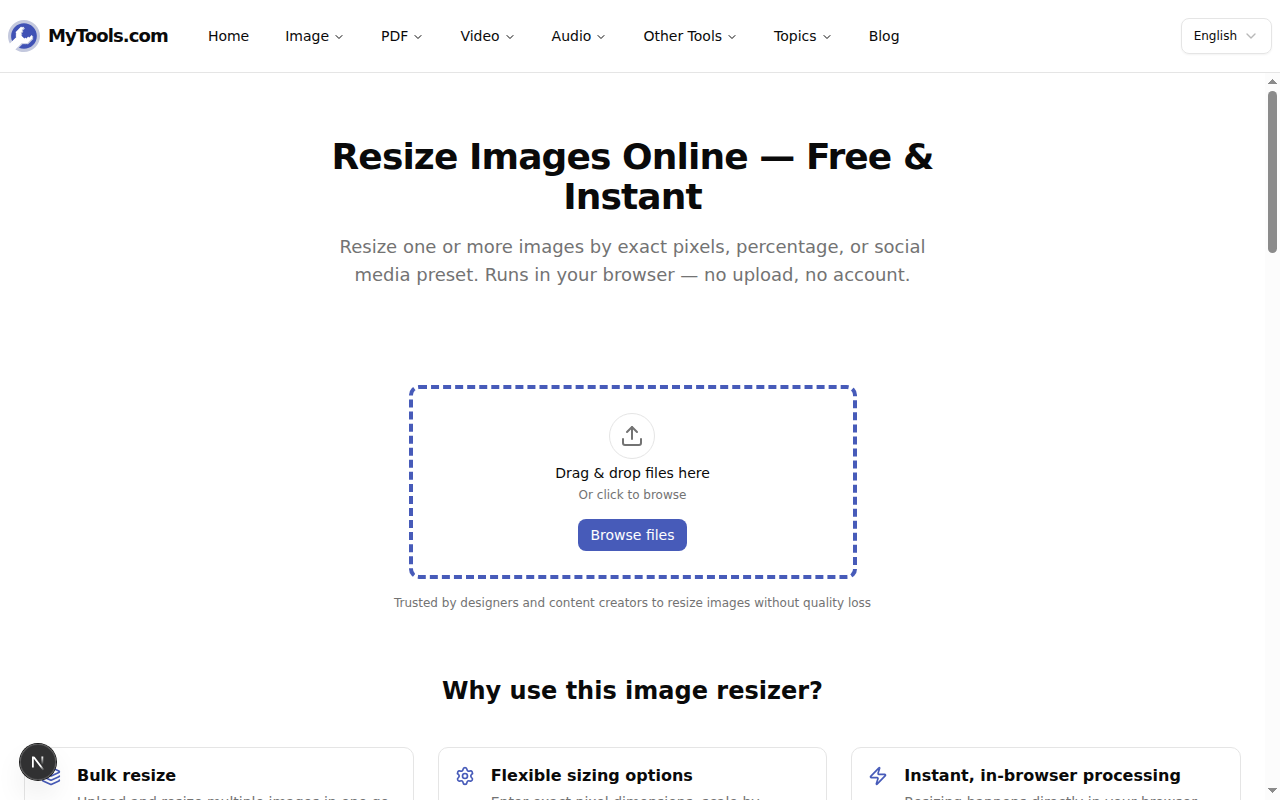
Open the MyTools image resizer. The page loads straight to a drop zone — there's no pricing wall or sign-up screen standing between you and the upload.
Step 2: Add your image(s)
Drag your file onto the drop zone, or click Browse files to pick it. Dropping several at once is fine — every image in the batch inherits the same resize settings, which is exactly what you want when you're processing a whole shoot in one pass.
Step 3: Choose how you want to resize
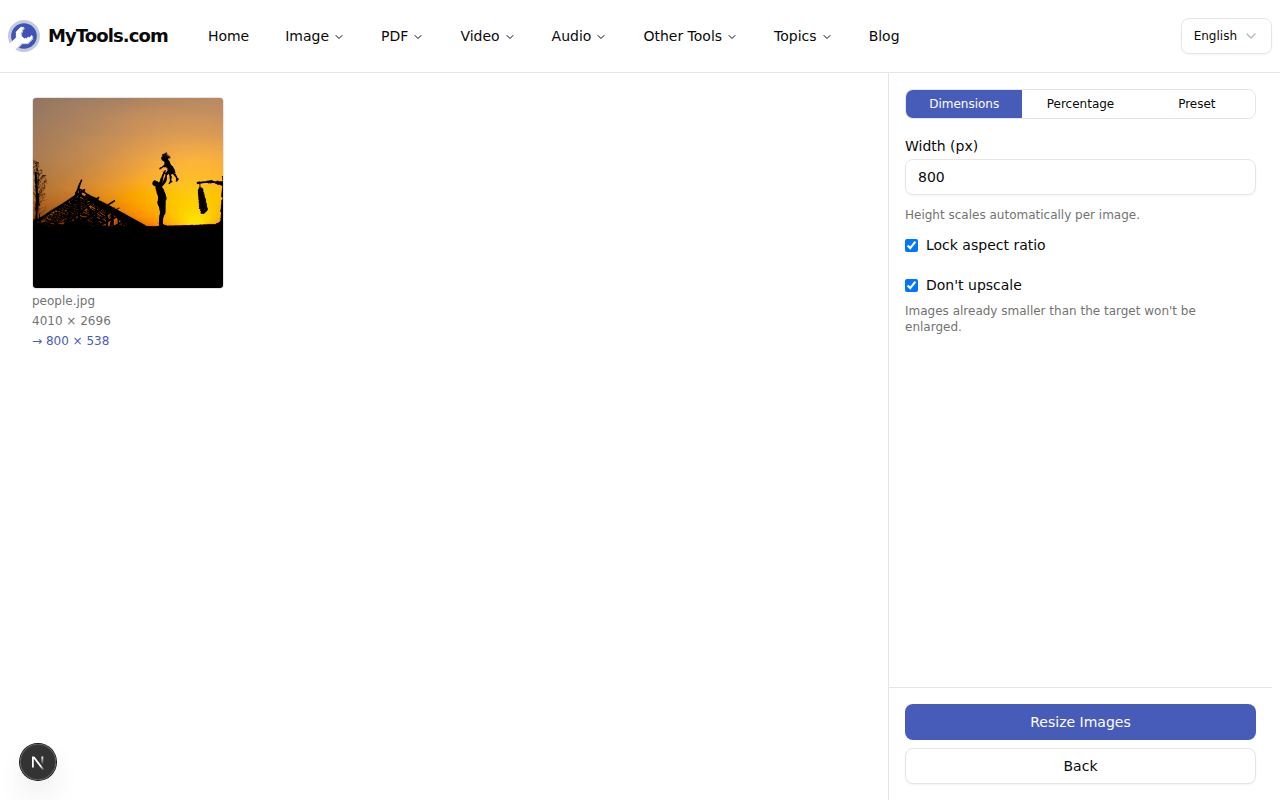
The panel on the right gives you three ways to set a target, and the preview beside each thumbnail shows the before-and-after size live (for the sample below, 4010 × 2696 → 800 × 538):
- Dimensions — type a width in pixels. Leave Lock aspect ratio checked and the height follows automatically, so nothing gets squashed. Uncheck it to set width and height independently.
- Percentage — scale relative to the original. 50% halves both sides; 25% quarters them. Handy when you don't care about an exact number, only "smaller."
- Preset — pick a platform and the dimensions fill in for you: Instagram, Facebook, X, LinkedIn, a YouTube thumbnail, a Pinterest pin, or a profile photo.
Step 4: Resize and download
Click Resize Images. Processing runs on your own machine through the browser's Canvas API, so even a large batch finishes in a moment and nothing is uploaded. Download a single result, or grab the whole batch as a ZIP.

Picking dimensions that actually fit
The Preset tab exists because every platform has its own expected size, and getting it wrong means a blurry avatar or a cropped-off headline. A few of the numbers worth knowing:
- 1080 × 1080 — a square Instagram feed post.
- 1080 × 1920 — a vertical Instagram or TikTok story.
- 1200 × 630 — a Facebook post, and also the standard Open Graph size for link previews.
- 1280 × 720 — a YouTube thumbnail.
- 1000 × 1500 — a 2:3 Pinterest pin.
- 400 × 400 — a profile photo or avatar.
If your destination isn't in the list, switch to Dimensions and type the exact width the spec calls for. For anything print-bound, remember that pixel count and print size are linked by DPI: a photo you want to print at 6 inches wide at 300 DPI needs to be 1800 pixels across.
Resize, don't distort
Resizing and cropping are easy to confuse, and the difference decides whether faces come out looking normal. Resizing changes the pixel dimensions while keeping the entire picture. Cropping cuts part of the frame away to change its shape. The trouble starts when your target's proportions don't match the source — say, fitting a 3:2 landscape photo into a 1:1 square. When you set both a width and a height that don't match the original ratio, the resizer shows a Fit / Fill / Stretch switch:
- Fit shrinks the whole image to fit and pads the leftover space with white.
- Fill scales up and crops the edges so the frame is filled edge to edge.
- Stretch forces the image into the box — which squashes it, and is almost never what you want.
The other common misstep is enlarging. Don't upscale is on by default for a reason: pushing a 400-pixel image up to 1200 doesn't recover detail that was never captured, it just interpolates and softens. Leave the box checked unless you genuinely need the larger canvas and can accept the blur.
Tips & troubleshooting
My resized image looks squashed. You set width and height to a ratio the original doesn't have, with Stretch selected. Switch to Fill to crop instead of squash, or turn Lock aspect ratio back on and let the height calculate itself.
The file is still too big. Dimensions and file size aren't the same thing — fewer pixels usually means a smaller file, but not always by enough. If you need to hit a specific kilobyte target, run the result through the image compressor afterward.
I only want part of the picture. That's a crop, not a resize. Cut the frame down first with the crop tool, then resize the trimmed result to the dimensions you need.
The short version
Drop the image in, choose pixels, percentage, or a preset, and download — one file or a full batch, with the original never leaving your device. Resizing isn't the tool for changing a file's format or cutting its frame, but for getting an image to the exact dimensions a platform demands, little is faster.
Ready to resize? Try the image resizer for free →