
July 23, 2026
How to Remove a Background From an Image (Free)
Remove the background from any photo for free: export a transparent PNG or solid color, batch up to 50 images, and keep every file on your own device.
You have a photo where the subject is great but the background is in the way — a product shot on a cluttered desk, a headshot against a beige wall, a logo trapped on a white rectangle. You need that background gone, ideally with clean edges and a transparent result you can drop onto anything. This guide shows you how to remove the background from an image with the free MyTools background remover: upload, let it cut out the subject automatically, pick what goes behind it, and download.
The whole thing runs on a segmentation model that loads into the page and does the cutout on your own machine — the photos never get uploaded to a server, which matters if you're editing client work or ID documents.
Remove a Background in Three Steps
Step 1: Open the background remover
Pull up the MyTools background remover in any modern browser. There's no login wall and nothing to install — the page loads straight to a drop zone.
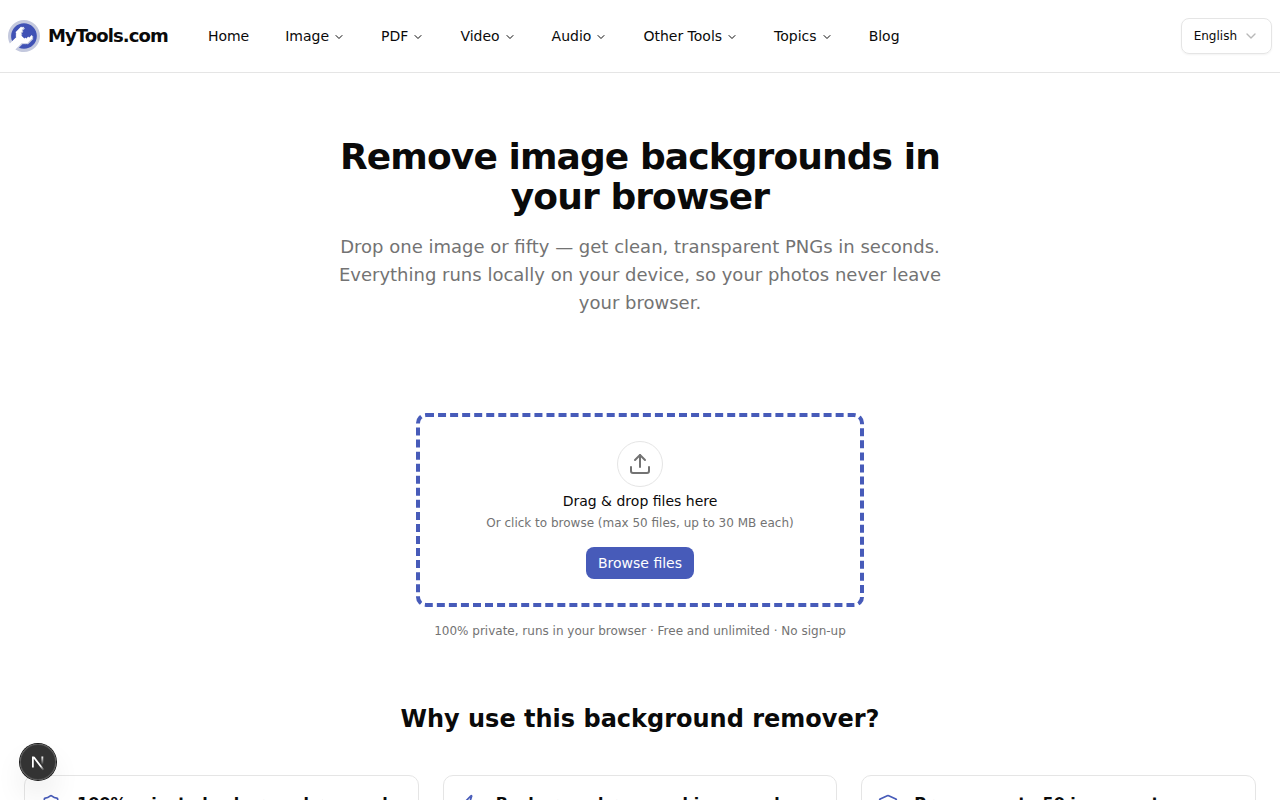
Drop in a JPG, PNG, or WebP. You can add up to 50 images at once (30 MB each), so a whole product catalog or a folder of team headshots goes in a single batch.
Step 2: Choose the background and format
As soon as your files land, the workspace opens with a settings panel on the right. The first time you run a cutout, the model downloads once (a few seconds); after that it's cached and every image is near-instant.
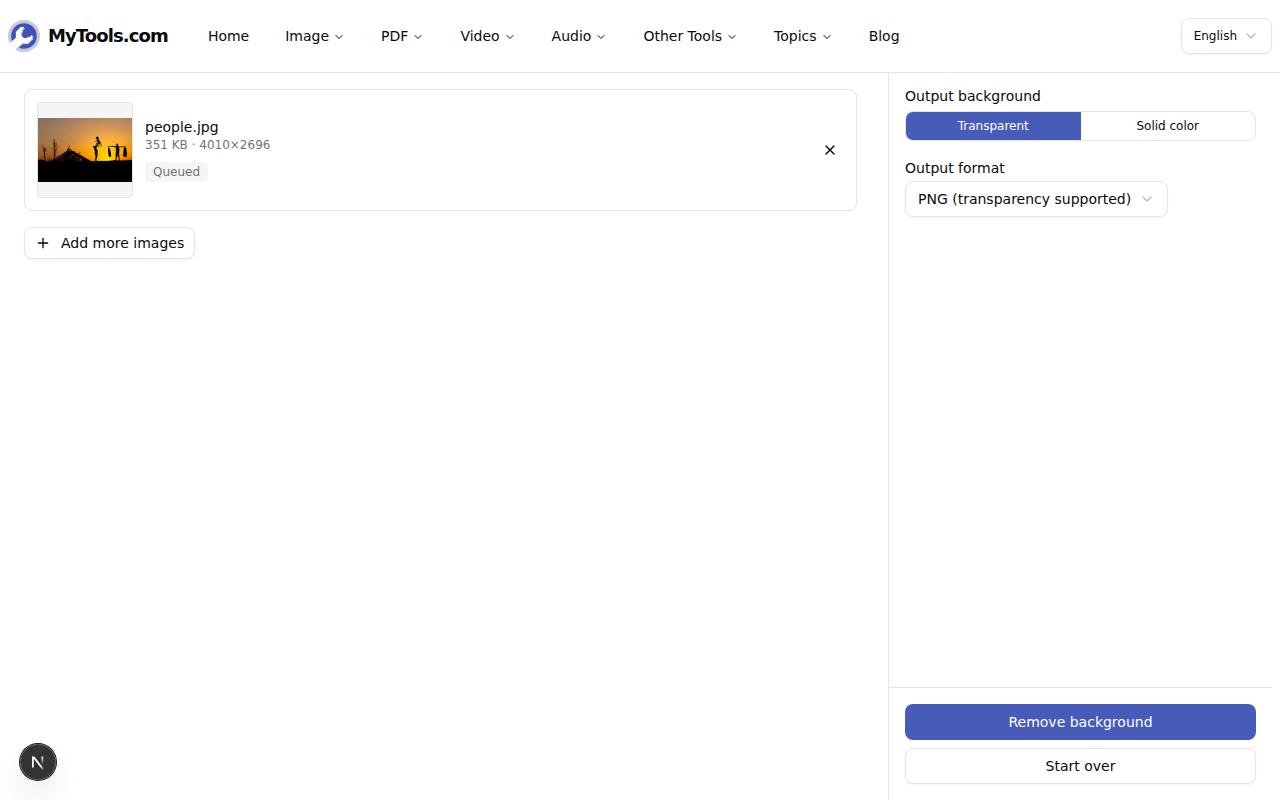
Two choices decide what you get:
- Output background — Transparent leaves nothing behind the subject (a true cutout). Solid color fills it with white, black, gray, or any hex/color-picker value you like.
- Output format — PNG and WebP keep transparency; JPG does not, so choosing JPG automatically forces a solid background.
Click Remove background. Each image processes in turn, and you'll see a before/after thumbnail per row.
Step 3: Download the result
When every image shows a "done" badge, hit Continue to download.
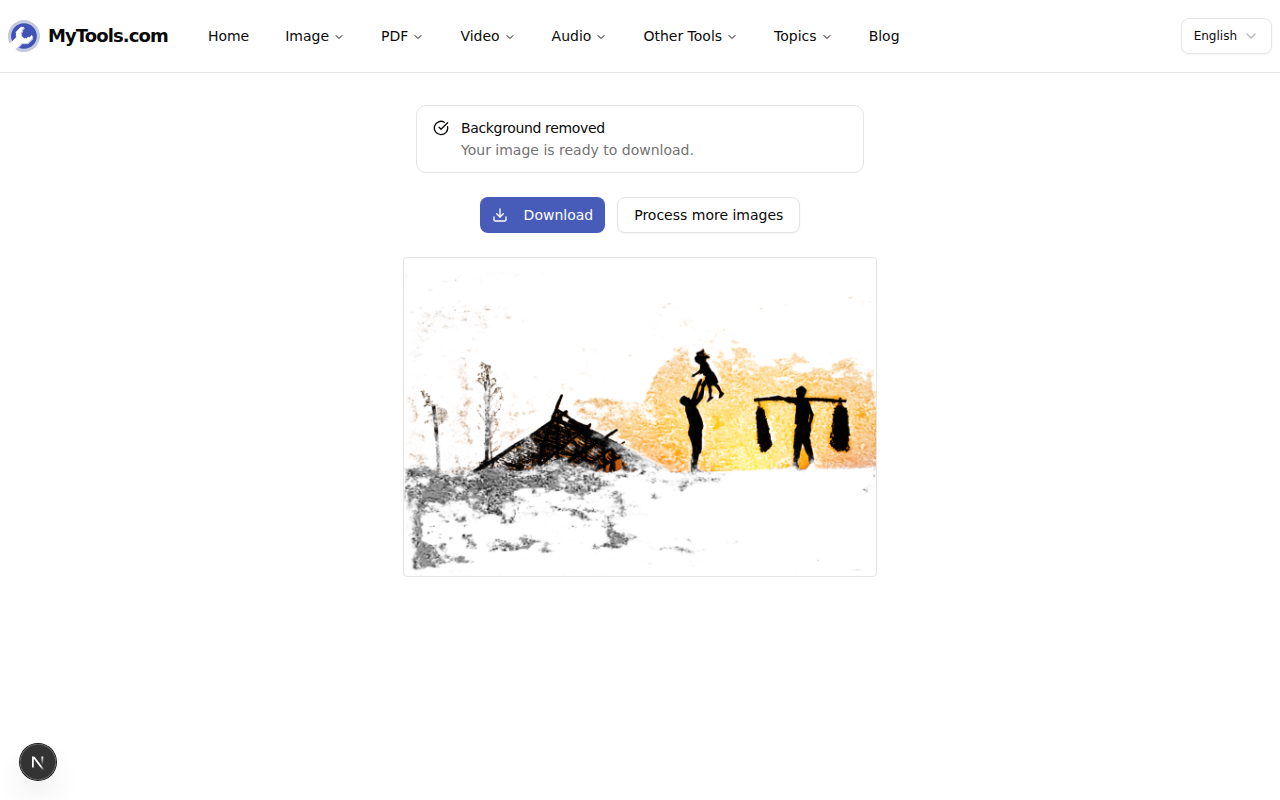
A single image downloads on its own; a batch comes zipped so you're not clicking through 40 separate files.
Transparent PNG vs. Solid Color — Which to Pick
This is the choice most people get wrong, so it's worth a minute.
- E-commerce listing (Amazon, Etsy, Shopify): most marketplaces want a pure white background. Choose Solid color → white and export as JPG — smaller files, and the platform never has to composite anything.
- Logo, sticker, or product you'll place on other designs: you need the cutout itself with nothing behind it. Choose Transparent and export as PNG. Drop it over any color, photo, or slide and the edges stay clean.
- Headshot for a branded directory or team page: set Solid color to your brand hex (paste
#1e3a8aor pick it) so 12 different people's photos all sit on the exact same background. - Web graphics where file size matters: Transparent → WebP keeps the cutout but weighs far less than a PNG, which is ideal for a page with many images.
A quick rule: if the next place the image lands has its own background, export transparent PNG or WebP. If the image is the final background, bake in a solid color and save as JPG.
Tips & Troubleshooting
The edges around hair or fur look rough. Automatic cutouts handle solid subjects — a bottle, a shoe, a person in a coat — extremely well. Fine, wispy detail like flyaway hair against a busy background is the hard case for any tool, ours included. It helps enormously if the original photo has good contrast between subject and background; a dark jacket on a dark couch gives the model little to work with.
My subject came out mostly empty. That usually means the model couldn't find a clear foreground — very low-contrast scenes or silhouettes (a person backlit against a bright sunset, say) blend the subject into the background. Try an image where the subject is well lit and distinct.
I exported a JPG and lost the transparency. JPG can't store transparency — it's a format limitation, not a bug. If you need a see-through result, re-run and pick PNG or WebP. If you already need a background color anyway, JPG is the right, smaller choice.
I need to shrink the result too. After cutting out the background, run the file through the image compressor to trim the file size before uploading it anywhere.
Wrapping Up
Removing a background comes down to three decisions: what to put behind the subject (nothing, or a color), which format preserves that choice, and whether you're doing one image or fifty. Get those right and the cutout takes seconds — with every file staying on your own device the entire time.
Ready to cut out a background? Try the MyTools background remover for free →