
April 11, 2026
How to Crop an Image to an Exact Pixel Size
Trim a photo to the exact dimensions you need — avatars, OG cards, prints — without opening Photoshop or signing up for anything.
You have a photo that's almost right, but the framing is off — too much background, the wrong aspect ratio, or a subject that needs centering. Photoshop is overkill for a one-off crop. The MyTools Image Cropper handles it on your device, with the original image never leaving your machine. The slow part isn't the cropping itself; it's figuring out the right dimensions for what you're going to do with the file.
Common Crop Sizes (and When You Need Them)
A quick reference for the dimensions people most often crop to. Pick one before you start dragging handles — it saves the back-and-forth of "this looks fine, but does it fit?":
- Avatar / profile photo — 200×200 to 400×400 px, square. Most platforms downscale to roughly 80×80 in the UI but accept up to 400. Going much bigger just wastes upload bandwidth.
- Open Graph card — 1200×630 px (a 1.91:1 ratio). This is what Facebook, LinkedIn, and Slack render when someone pastes your link. Get the size wrong and the preview crops your title or letterboxes the image.
- Instagram post — 1080×1080 for square, 1080×1350 for portrait, 1080×566 for landscape. Instagram silently squashes anything outside these.
- YouTube thumbnail — 1280×720 px, 16:9.
- Print at 300 DPI — multiply inches by 300. A 4×6 inch print needs at least 1200×1800 pixels; a full-page A4 print at 300 DPI is 2480×3508.
- Web hero image — somewhere between 1600×900 and 1920×1080. Bigger than that and your page loads slower than it needs to.
Once you know the target, type the numbers into the Width and Height fields before you frame the selection. The crop box snaps to that ratio and won't let you drift off it.
Crop vs. Resize vs. Scale
These three operations look similar but do different things, and picking the wrong one is the most common image-editing mistake:
- Cropping keeps every pixel inside your selection at full resolution and discards everything outside it. The output has smaller dimensions but the pixels you kept are exactly the original pixels. No quality loss in the kept area.
- Resizing keeps the entire image and shrinks (or enlarges) every pixel proportionally. Same content, fewer or more pixels. Use the Image Resizer when you want a 4000×3000 photo down to 1200×900 without losing any of the framing.
- Scaling is what your browser or Word document does when it shows a 1000-pixel image at 200 pixels on screen — the original pixels are still in the file, just rendered smaller. The file size on disk doesn't change.
Cropping is what you want when the framing is wrong. Resizing is what you want when the file is too heavy but the framing is fine. Scaling is what your page does automatically and isn't a real edit.
How It Works
Step 1: Open the tool
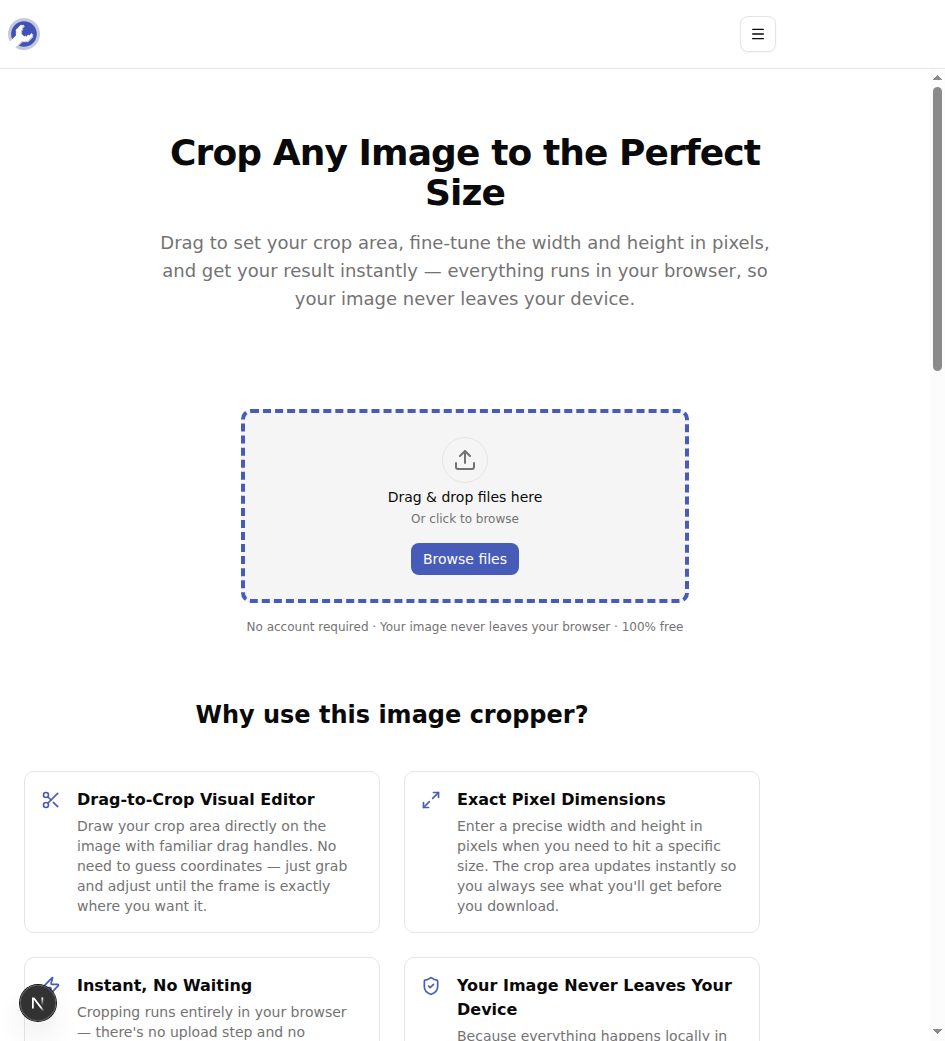
Open MyTools — Image Cropper. It's a plain webpage — no login, no installer, nothing to download.
Step 2: Upload your image
Drag your image onto the upload zone, or click Browse files to pick one from your device. Supported formats: PNG, JPG, WebP, and GIF. The image loads instantly — nothing is sent to any server.
Step 3: Set the crop area
Once the image loads, a dashed selection box appears over it. Drag the corner and edge handles to frame the part you want to keep.
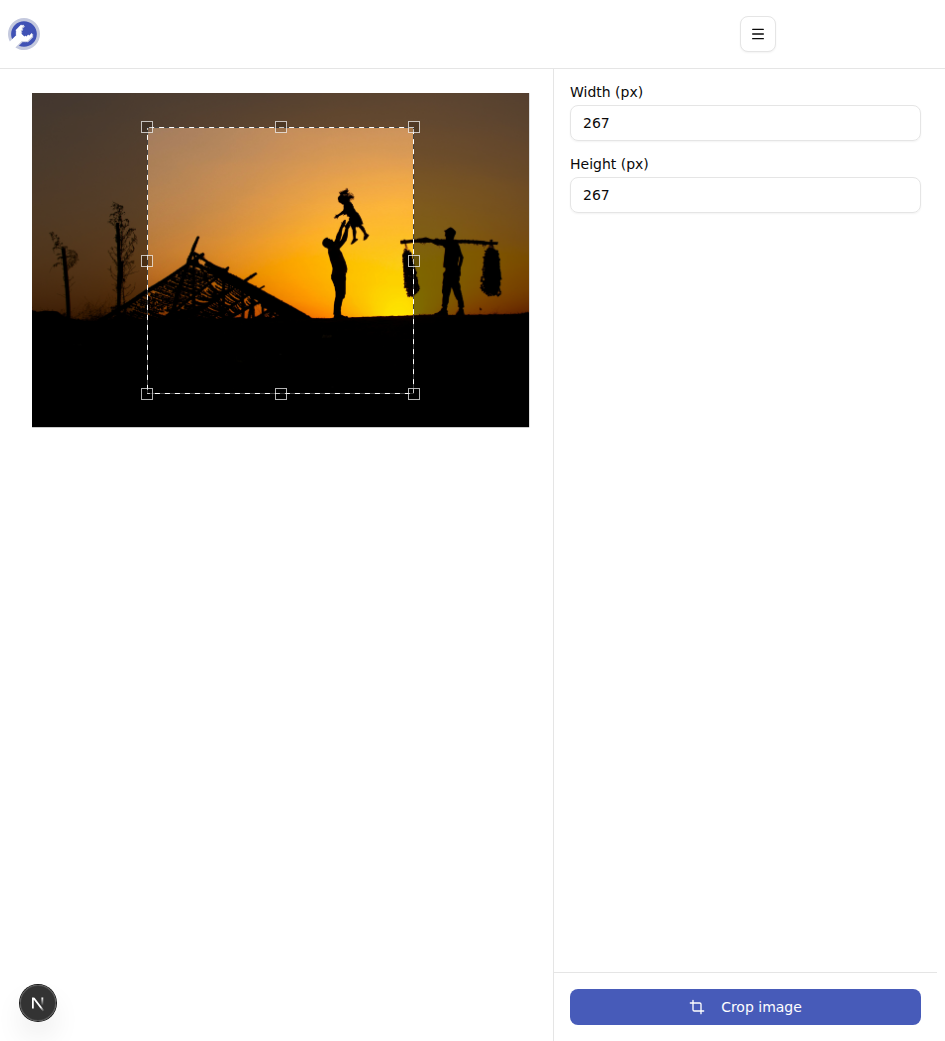
If you need an exact size — say 400×400 pixels for a profile photo, or 1200×630 for an OG card — type the values directly into the Width (px) and Height (px) fields on the right. The crop box updates immediately.
Step 4: Crop and download
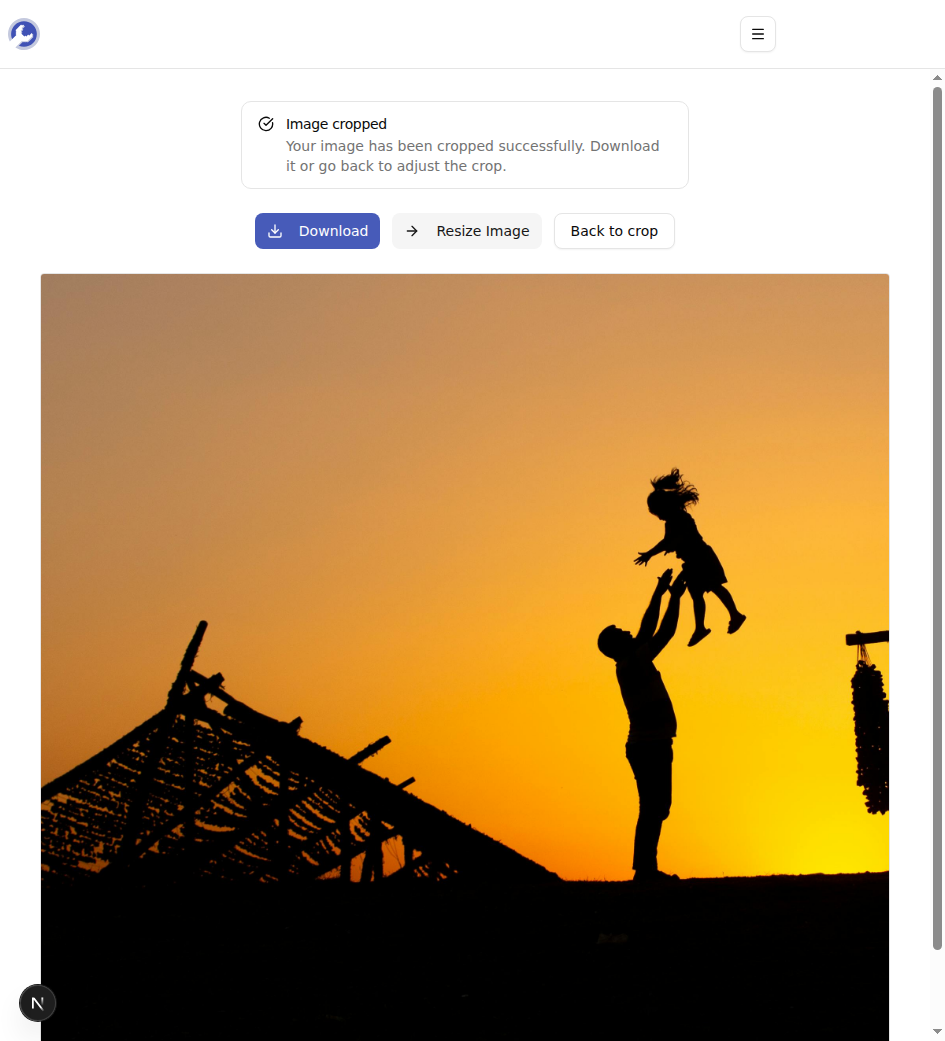
Click the Crop image button. The result is ready instantly. Click Download to save it.
Why the Output Is Always PNG
Whatever you upload, the cropped output comes out as PNG. There's a reason for that: PNG is lossless. JPEG, by contrast, re-encodes the file every time it's saved, and each round-trip introduces small visual artefacts — compression noise around sharp edges, slight color shifts in gradients. For a one-off crop those artefacts are usually invisible. But if you crop, then crop again, then crop a third time as JPEGs, they start to add up.
Saving as PNG means the cropped pixels are byte-identical to the corresponding region of your input. Re-cropping the same image five times produces the same output as cropping it once.
The trade-off: PNG files are larger than equivalent JPEGs, especially for photos. If your CMS only accepts JPG uploads, open the cropped PNG in any image viewer and export it as JPEG — once. The rule of thumb: do all your editing in PNG, convert to JPEG as the final step.
Tips & Troubleshooting
A few things that come up:
Your image is bigger than ~50 MB and the page feels sluggish. Very large images take a moment to load into the browser canvas. Resize first with the Image Resizer, then crop.
Your selection won't drag past the image edges. That's intentional — the cropper won't let you select pixels that don't exist. If you need to add canvas (centering a small logo inside a transparent square, for example), a cropper isn't the right tool; a paint app is.
You want a perfectly centered subject. Drop the file, type your target dimensions, then drag the entire crop box (not the handles) to position it. The box stays the size you set; only its position changes.
Done
A crop is a thirty-second task once you know the target dimensions. Pick the size from the table above, type it into the Width and Height fields, frame the selection, and save. The original image stays on your machine the whole time.
Ready to crop yours? Try the Image Cropper for free →