
May 30, 2026
How to Convert an MP3 to an MP4 (With a Cover Image)
Convert an MP3 to an MP4 by adding a cover image and picking a resolution for YouTube, Reels, or TikTok — a clear walkthrough you can finish in a minute.
You've got the audio. A finished song, a podcast clip, a voice memo, a backing track. And the place you want to put it — YouTube, an Instagram Reel, a TikTok, the slideshow software for a friend's wedding — flatly refuses to take an MP3. It wants a video. To convert an MP3 to an MP4, you don't need a video editor and an afternoon; you need to pin a still picture behind the sound and pick the right frame size. The MyTools MP3 to MP4 converter does exactly that, and the whole job happens on your own computer — the song and the picture are never uploaded anywhere.
What "converting an MP3 to MP4" really means
This is the part that trips people up, so it's worth getting straight before you click anything. An MP3 has no picture in it. There is no hidden video to "unlock." So converting it to MP4 isn't extraction — it's construction. You're building a new video file where a single image is held on screen for the entire length of the track, with your audio re-encoded as AAC underneath it.
That has one practical consequence: the result is only ever as interesting as the image you choose. A platform needs a video stream to accept the upload, but your viewer is really still just listening. So the cover image is doing two jobs at once — satisfying the uploader, and being the one thing on screen for three or four minutes. Album art, a podcast logo, a photo, a plain title card: all fine, as long as it's sharp at the resolution you pick.
Turn the song into a video — four steps
Step 1: Open the converter
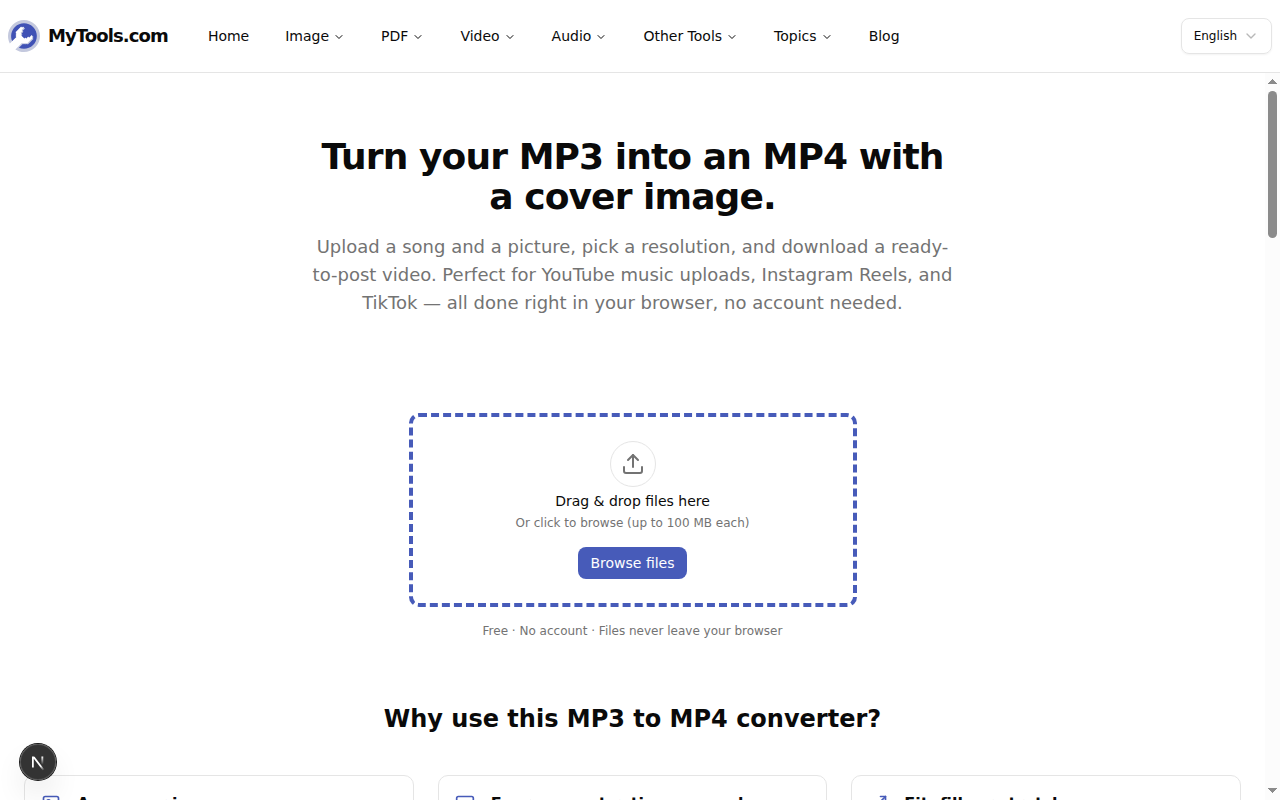
Pull up the MP3 to MP4 tool in any modern browser. The page opens straight onto a drop zone — there's no login wall and nothing to install first.
Step 2: Drop in your audio
Drag your MP3 onto the page or pick it from your device. WAV, M4A, and AAC files work here too, so you don't have to convert to MP3 first if your source is something else. The tool reads the file locally and moves straight to the setup screen.
If your MP3 already carries embedded album art in its tags, the tool finds it and uses it automatically — you'll see it in the preview without lifting a finger.
Step 3: Add a cover image and choose the frame
This is where the video gets its look. Upload a JPG, PNG, or WebP for the artwork, then set two things: the resolution and the image fit.
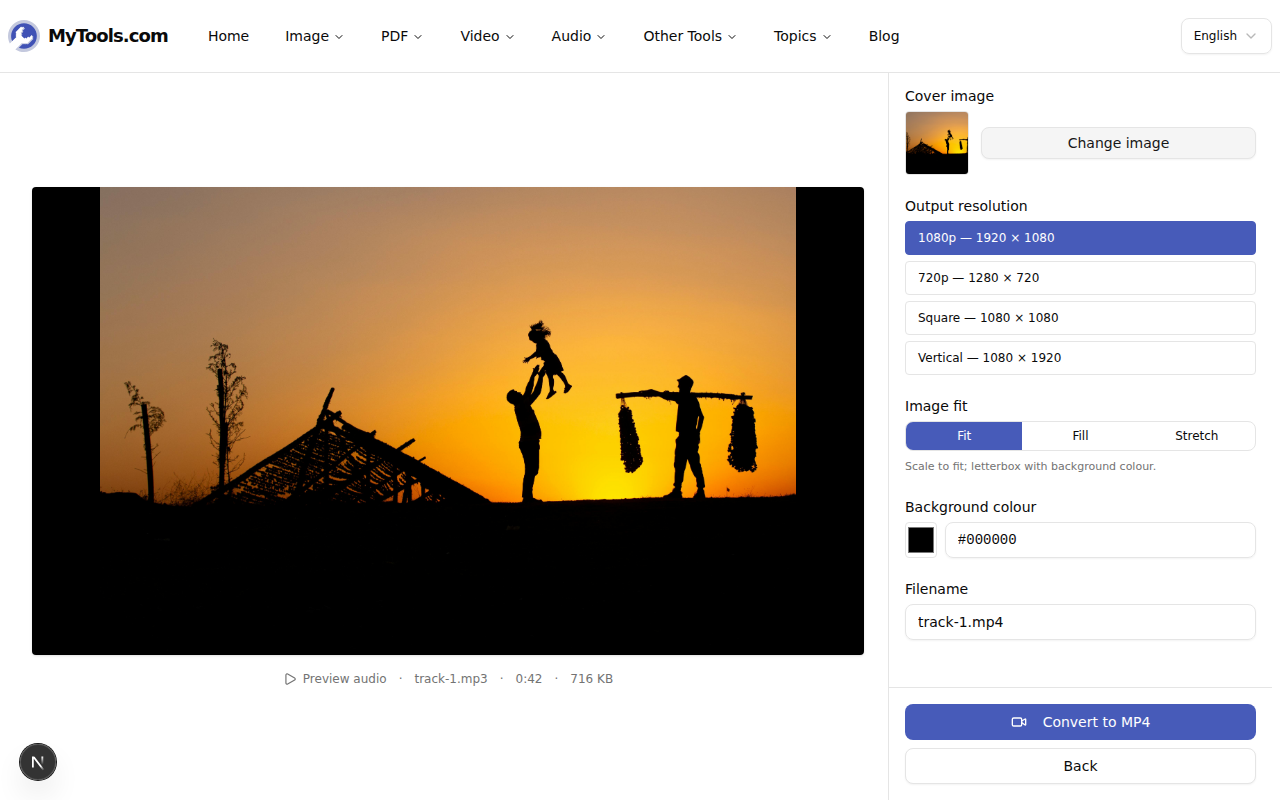
The resolution presets map directly onto where the video is going:
- 1080p (1920×1080) — landscape, for a standard YouTube upload.
- 720p (1280×720) — same shape, lighter file, for a faster upload or a slow connection.
- Square (1080×1080) — fills an Instagram feed post.
- Vertical (1080×1920) — full-height for Reels, Shorts, and TikTok.
Then the fit control decides what happens when your image's shape doesn't match the frame's:
- Fit keeps the whole image visible and pads the empty space with a background colour you choose (letterboxing). Nothing gets cropped.
- Fill zooms the image until it covers the frame, cropping whatever spills past the edges. Best when the image is roughly the right shape already.
- Stretch forces the image to the exact frame, distorting it. Useful only when you genuinely don't mind the squash.
Step 4: Convert and download
Hit Convert to MP4. The encoding runs in the browser via WebAssembly, so it takes a little longer than a desktop app would — a few seconds for a short clip, up to a minute or two for a full-length track. When it finishes, the MP4 plays inline so you can check the framing before you commit.
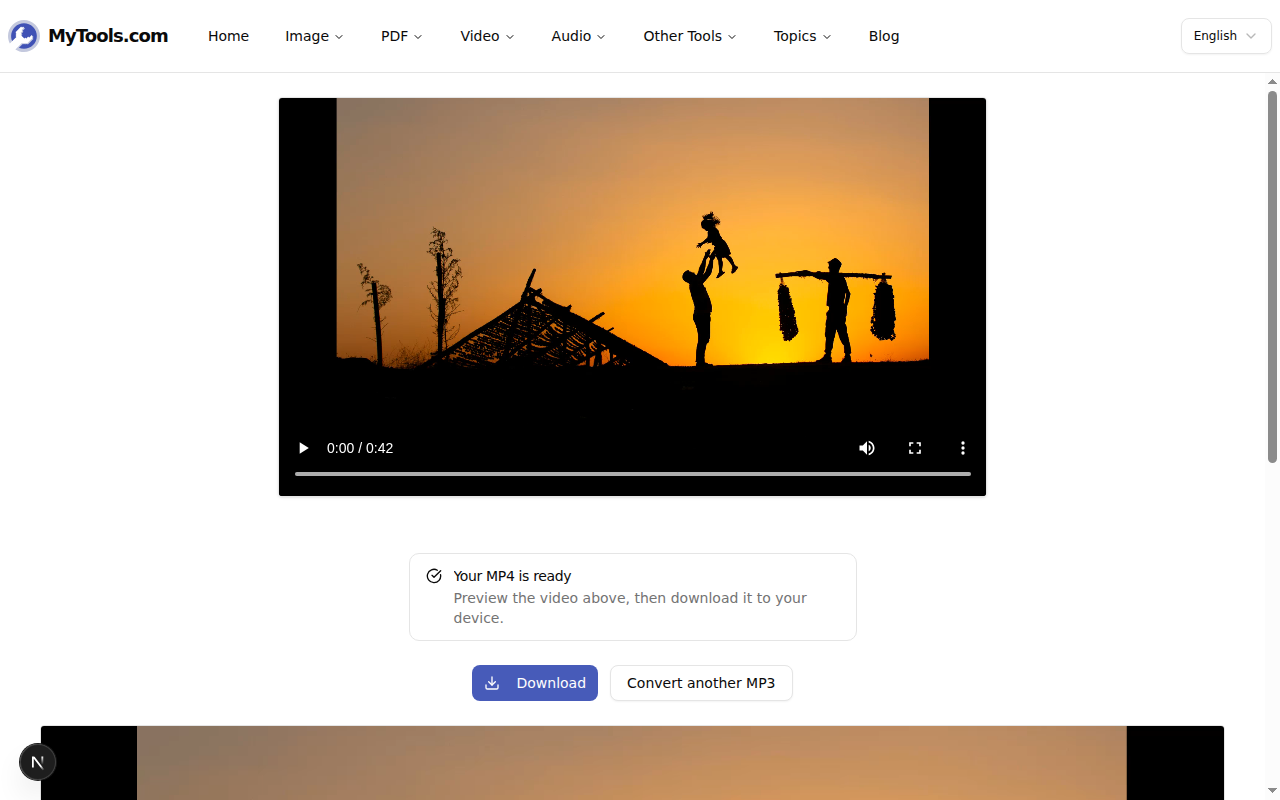
Happy with it? Download. Framing off, or the background colour clashing with the artwork? Step back, change the one setting, and re-run — you don't start over.
Common mistakes worth dodging
Picking the wrong aspect ratio for the platform. This is the big one. Upload a 16:9 video to TikTok and it gets pillarboxed with thick bars down both sides; post a square video to YouTube and it sits letterboxed in the player. Match the resolution to the destination before you convert, not after.
Using a tiny cover image. Because the picture is frozen on screen for the whole track, every flaw is on display the entire time. A 300-pixel-wide logo blown up to fill a 1920-pixel frame looks soft and blocky. Start with art at least as large as your chosen resolution. If your image is smaller, enlarge it first with the image upscaler rather than letting the converter stretch it.
Expecting album art that isn't there. Not every MP3 carries embedded artwork — plenty of exports and downloads have none. If the preview comes up empty, that's normal; just upload a cover manually.
One last thing
Converting an MP3 to an MP4 is really just a framing decision wrapped around your audio: choose the right canvas, choose a sharp picture, and let the tool assemble the file. Once you've matched the resolution to where the audio is headed, the rest takes care of itself — and your song, clip, or track finally gets through the door that only opens for video.
Ready to make yours? Try the MP3 to MP4 converter for free →