
April 26, 2026
How to Compress an Image Without Visible Quality Loss
Shrink JPEG, PNG, WebP, and GIF files up to 90% smaller without visible quality loss. Runs on your device — no signup, no email gate.
You have a photo that's too heavy to email, a screenshot that won't fit through a web form, or a folder of camera shots bloating your site. Photoshop is overkill, and most online compressors want your email before they'll touch the file. The MyTools Image Compressor trims JPEG, PNG, WebP, and GIF files by up to 90%, locally, with nothing to install. Below: the three-step workflow, plus what each setting actually does and when each format is the right choice.
What You'll Need
- A modern browser (Chrome, Firefox, Safari, Edge — desktop or mobile)
- One or more image files in JPEG, PNG, WebP, or GIF format
- That's it — your photos stay on your machine the entire time.
JPEG vs. PNG vs. WebP — Pick the Right Format
The single biggest factor in how much you can compress an image is which format it's saved in. The compressor's Change output format setting matters more than the quality slider for most files:
- JPEG — designed for photographs. Lossy, very efficient on natural images (skin, sky, foliage). Doesn't support transparency. A 4 MB phone photo typically lands at 300–600 KB as JPEG with no visible quality loss.
- PNG — lossless, supports transparency. Ideal for screenshots, logos, line art, and any image with text or sharp edges. Terrible for photographs — a JPEG-quality photo saved as PNG is often 5–10× bigger than the equivalent JPEG.
- WebP — Google's modern format, lossy or lossless. Typically 20–30% smaller than equivalent JPEG and supports transparency too. Supported by every browser released since 2020. The best default for the web if you control where the image will be displayed.
- GIF — only relevant for short animations. For static images, JPEG or PNG is always smaller and sharper.
Rule of thumb: if it's a photograph, output JPEG (or WebP if your destination supports it). If it has text, transparency, or sharp edges, output PNG (or lossless WebP). Don't reach for "Custom" quality settings before you've tried switching formats.
Realistic Compression Targets by File Type
A few numbers to set expectations:
- Phone photo, 4032×3024, 4 MB — at Balanced JPEG with max dimension capped to 1920 px, expect 250–500 KB. About a 90% reduction.
- Screenshot of a webpage, 1920×1080 PNG, 1.5 MB — at Balanced PNG, expect 400–800 KB. The lossless format limits you; switching to JPEG would crush it but blur the text.
- Product photo for an Etsy listing, 2000×2000 JPEG, 2 MB — at Balanced JPEG, expect 200–400 KB. Marketplaces almost always re-compress on upload anyway, so don't agonize over the last 50 KB.
- A scanned document saved as JPEG, 3000×4000, 3 MB — at Strong, expect 200–300 KB. Documents tolerate aggressive compression because the eye forgives lost detail in white space.
- A logo with transparency, 800×800 PNG, 60 KB — usually no savings. Small PNGs are already efficient. The tool detects this and returns the original unchanged.
If your numbers come in much higher than these, switch the output format before adjusting the quality.
How It Works
Step 1: Open the tool
Open MyTools — Image Compressor in any modern browser. The page is plain HTML; there's no login screen between you and the upload zone.
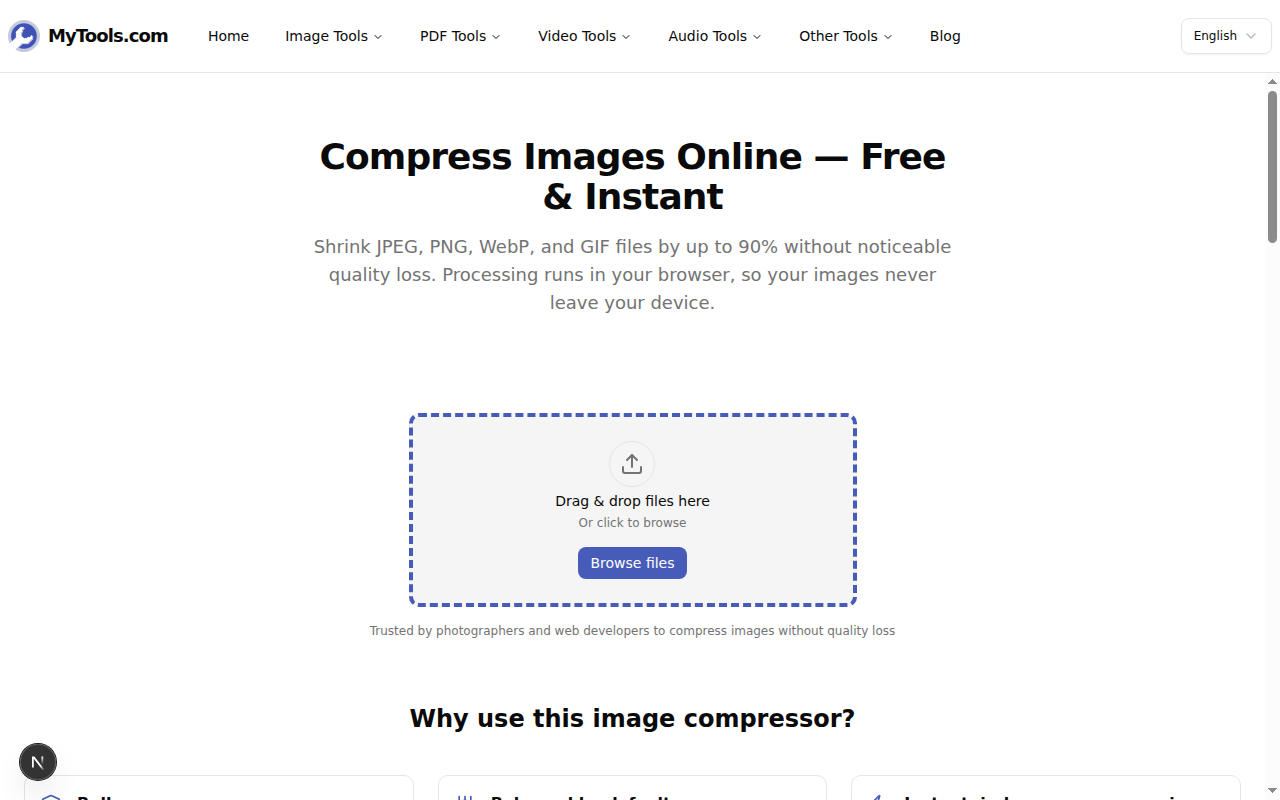
Step 2: Add your images
Drag and drop your files onto the upload zone, or click Browse files to pick them. You can add a single image or dozens at once — each file is processed independently, so a single oddball won't affect the rest.
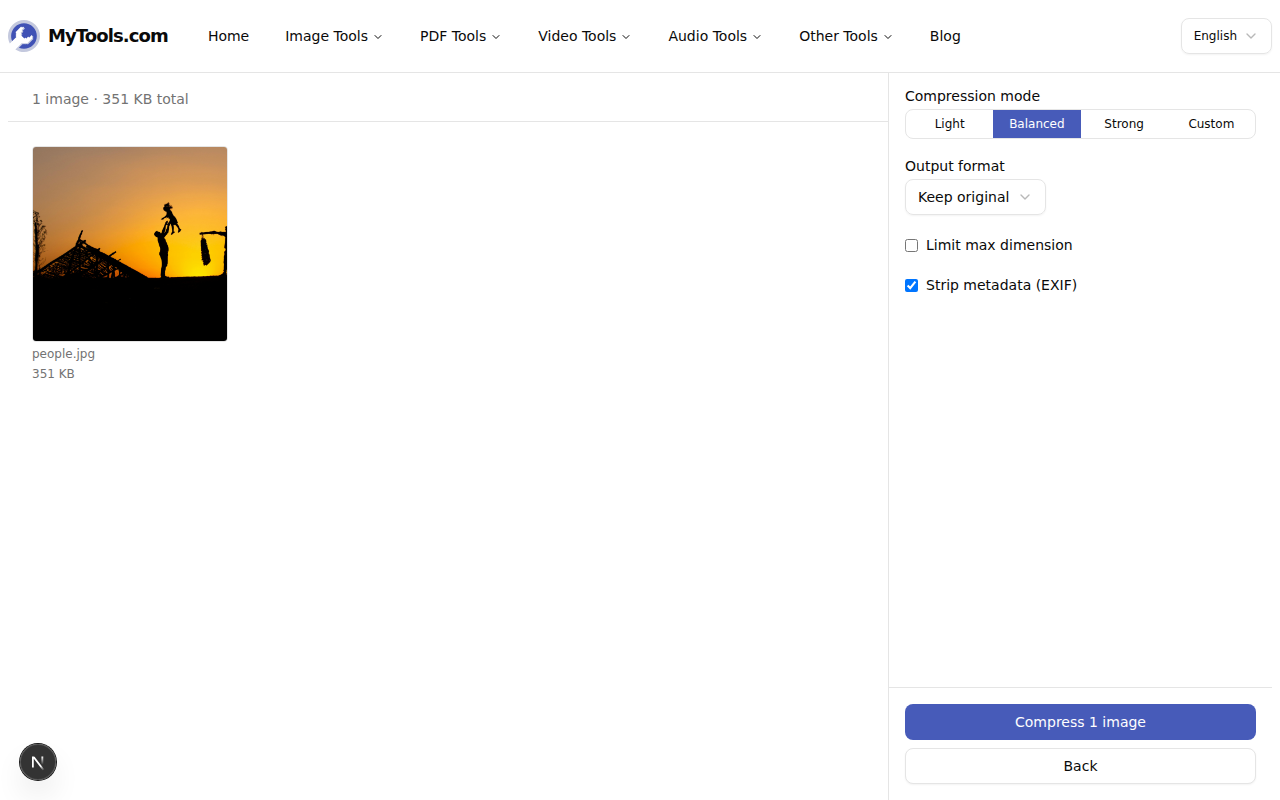
Step 3: Choose a mode and any extras
Pick Light, Balanced, Strong, or Custom. Balanced is the default. Then optionally:
- Change output format — see the format guide above.
- Limit max dimension — cap the longest side at 1920 px or whatever you need. Single biggest size win for phone photos.
- Strip metadata (EXIF) — see the next section. On by default.
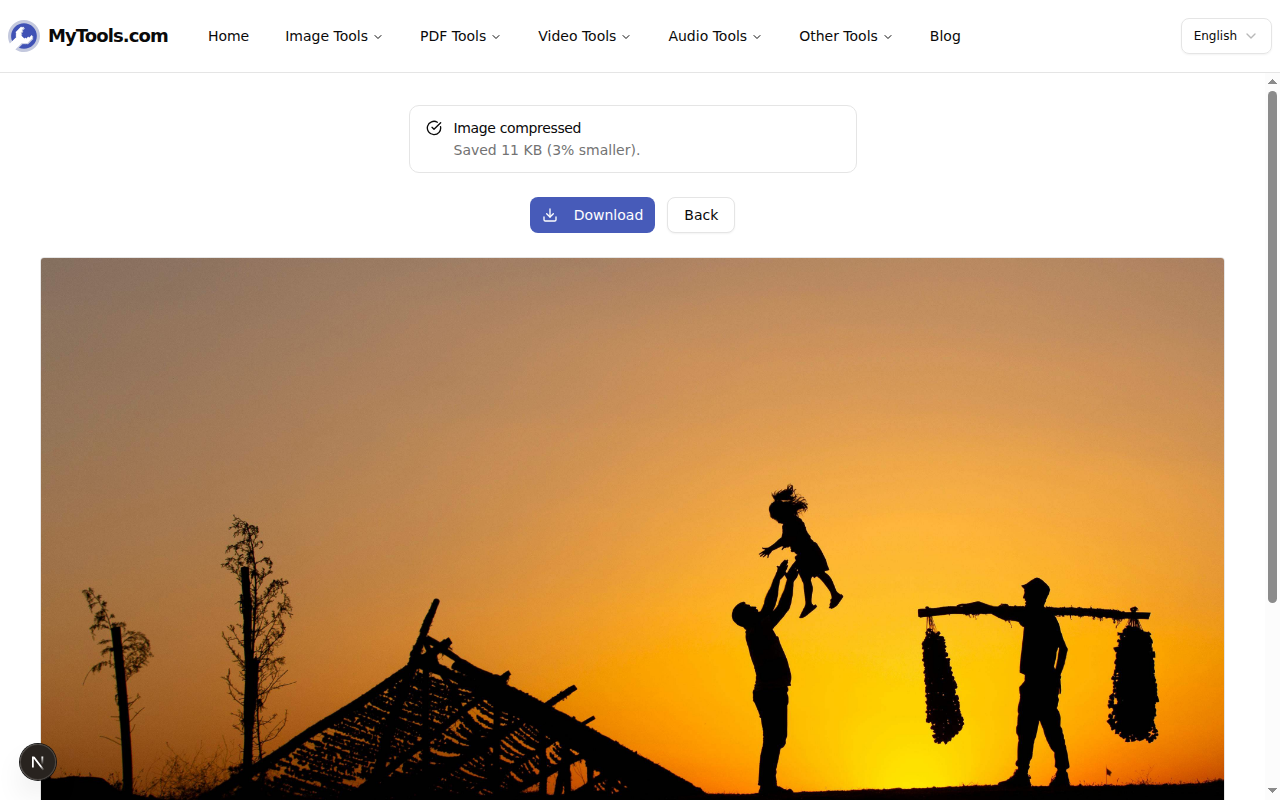
Step 4: Compress and download
Click Compress. The tool processes everything locally and shows the saved size per file. Click Download to grab one or Download all as ZIP for the batch.
Why Stripping EXIF Matters
Every photo your phone takes carries hidden metadata: GPS coordinates, the camera model, the exact timestamp, sometimes the camera's serial number. This is the EXIF data, and it travels silently with the file. Post a phone photo to a public forum without stripping it, and a curious viewer can pull the GPS coordinates straight out of the file using free tools — pinpointing where the photo was taken to within a few meters.
The compressor strips EXIF by default for that reason. It also shaves a small amount off the file size (50–500 bytes per image), but the privacy benefit is the real point. If you specifically need the metadata preserved (e.g., you're sending photos to a client who needs to verify the timestamp), uncheck the option before compressing.
Tips & Troubleshooting
A few common situations:
The output is bigger than the original. Already-compressed JPEGs and small PNGs sometimes have nowhere left to shrink. The tool detects this and returns the original unchanged — so you never end up with a worse version.
Your PNG only shrunk a little. PNGs are lossless and resist compression. For a much smaller file, switch Output format to JPEG (for photos) or WebP (for everything else).
You need to resize as well as compress. Use Limit max dimension to cap the longest side. For exact pixel dimensions or a specific aspect ratio, the image resizer is the right tool.
Done
Compressing an image is the simplest fix for "this file is too big" — and it doesn't need a desktop app. Pick the right output format first, set a max dimension if it's a phone photo, and let Balanced do the rest. Try the Image Compressor for free →