
April 28, 2026
How to Merge Audio Files Without Audacity
Stitch MP3, WAV, OGG, M4A and more into one track. Drag to reorder, set a crossfade, hit merge — runs entirely on your device.
You have a handful of audio files and you need to glue them together into one. A playlist for a friend, an intro stitched from three voice memos, a sample reel for an audition. The fastest way to do it is to drop the files onto a single page, drag them into the order you want, and download the merged track. No Audacity, no command line, no upload to a stranger's server. Below: the workflow itself, plus when to reach for crossfades, what happens when you mix formats, and the difference between true concatenation and re-encoding.
What You'll Need
- Two or more audio files in MP3, WAV, OGG, M4A, FLAC, or AAC format
- Any modern browser (Chrome, Firefox, Safari, Edge)
- That's it — no signup, no companion app, no plugin to load into a DAW
Crossfade Cheat Sheet — When to Use 1s, 2s, or 3s
The crossfade duration controls how long the previous track's volume fades out while the next one fades in. There's no universally "right" answer; it depends on what you're merging:
- Off (plain concatenation) — use when each track already has its own clean fade-in and fade-out, or when the seams are intentional (separate spoken segments, distinct chapters of an audiobook). Splices are sample-accurate, byte-for-byte.
- 1 second — natural for spoken audio (podcast intros, voice-memo stitches). Just enough to hide the splice without making the listener notice the blend.
- 2 seconds — the default sweet spot for music playlists. Long enough to smooth tempo and key changes between songs without dragging.
- 3 seconds — use for ambient, classical, or yoga-style music where tracks share a similar energy and you want them to flow continuously. Too long for upbeat playlists; the energy sags during the overlap.
A common mistake is to crank the crossfade up high "to be safe." Long crossfades on punchy music kill the impact of every track's intro — the kick drum lands on top of the previous track's outro and neither one feels right.
Mixed Formats and What the Output Format Means
The merger happily accepts MP3, WAV, OGG, M4A, FLAC, and AAC in the same batch. But the output is a single file in a single format, so the tool has to pick one. The defaults are sensible:
- All inputs share a format → the output keeps that format. Three MP3s in, one MP3 out.
- Inputs are mixed → the output defaults to MP3, the most universally playable format. The page shows a banner explaining which format it picked and lets you override with the dropdown.
If your inputs are all WAV or FLAC and you want to keep the lossless quality, set the output format to WAV or FLAC explicitly — the tool will keep it lossless. If they're all MP3 at the same bitrate, the output is effectively a copy operation; no audible quality is lost.
The one case where you can't avoid a quality cost: mixing lossy and lossless formats with a crossfade or fade enabled. The lossless inputs get re-encoded to whatever the output format is, and that's a one-way trip.
How It Works
Step 1: Open the merger and drop your files
Open MyTools — Merge Audio and you'll see a single drop zone with the supported formats listed below it.
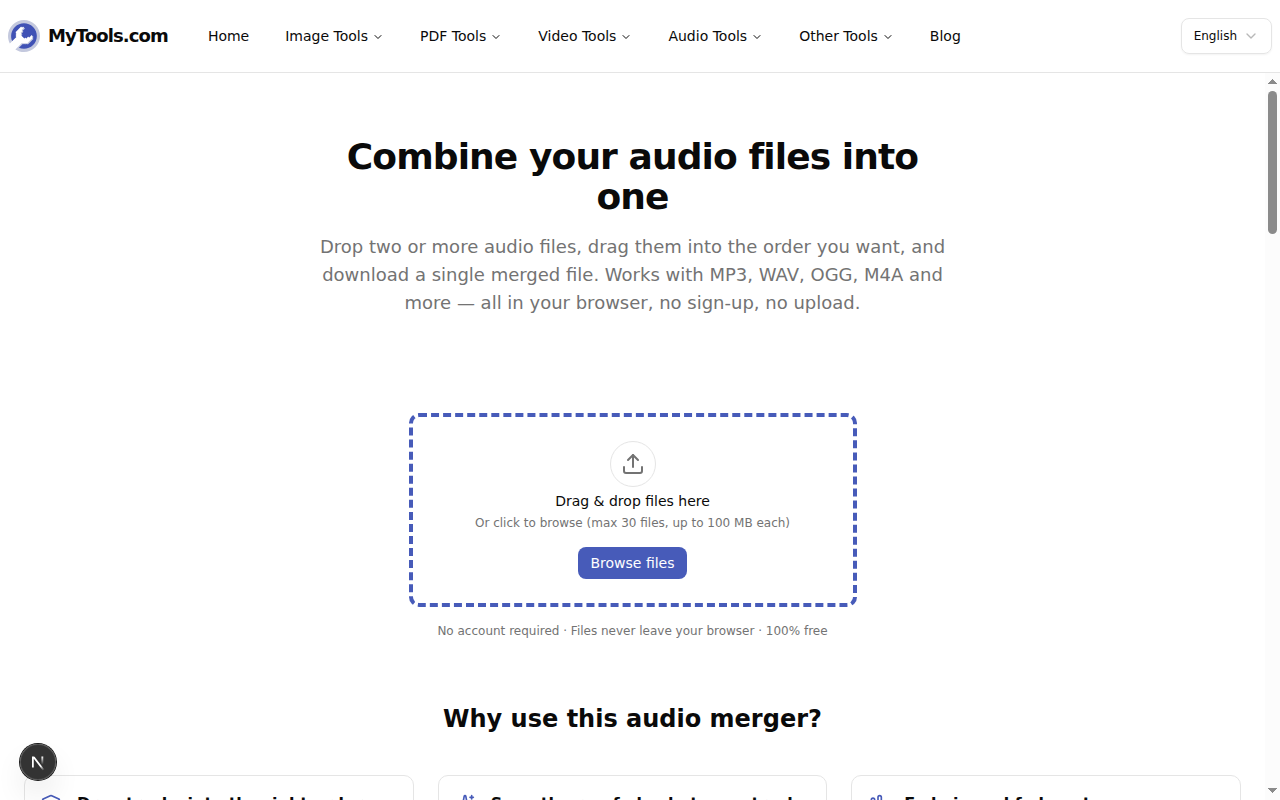
Drop two or more audio files at once. The picker accepts everything common — MP3 to FLAC — and you can mix formats freely if you need to.
Step 2: Reorder, then pick your settings
The page switches to a workspace view. Each file appears as a numbered row showing its filename, duration, and size. A sidebar on the right exposes the merge settings.
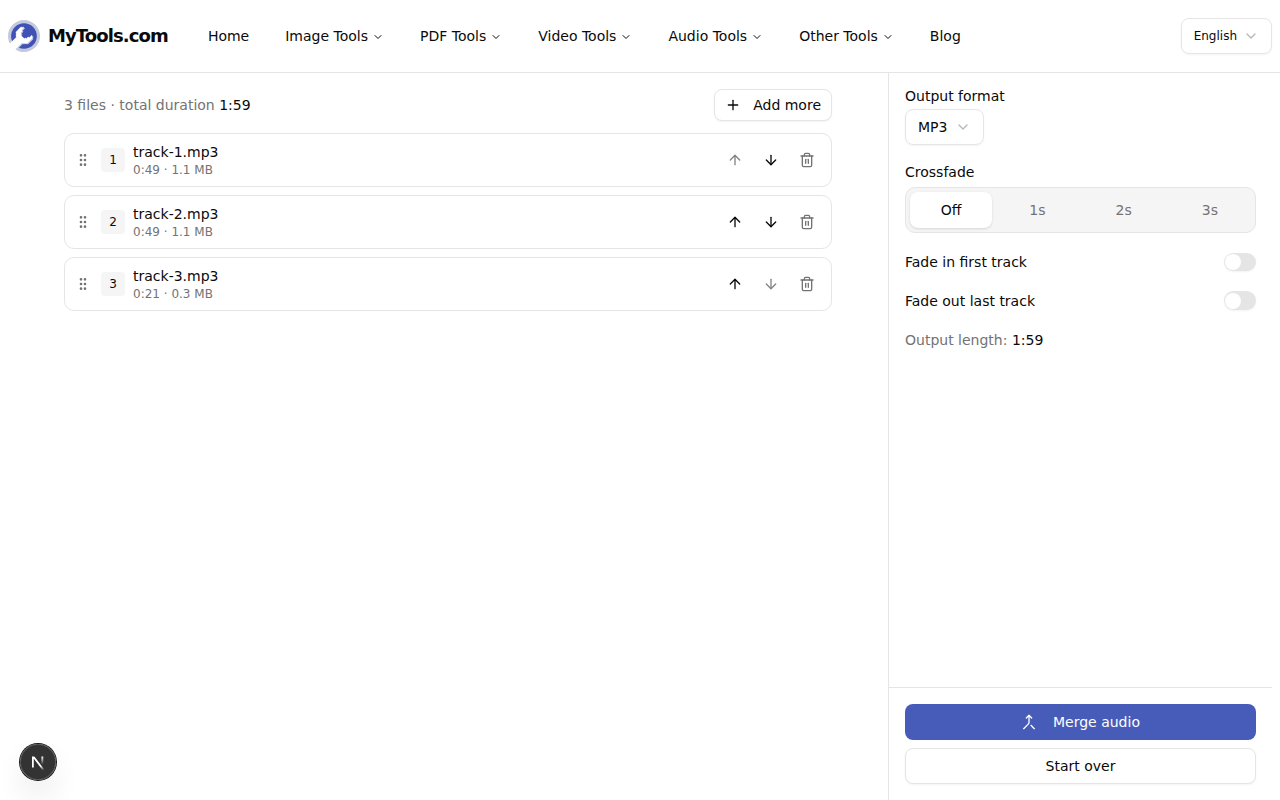
Use the up and down arrow buttons to reorder tracks, or drag them by the handle on the left. The numbered prefix updates instantly so you always know exactly what the final order will be. Click the trash icon to remove a track, or hit Add more to append additional files.
In the sidebar, pick Output format, Crossfade (see the cheat sheet above), and toggle Fade in first track / Fade out last track to remove any clicks or pops at the bookends. The "Output length" line updates as you change the crossfade so you know the final duration before you commit.
Step 3: Merge and download
Click Merge audio. The page decodes the files one by one (you'll see a "Decoding 1 of 3…" indicator), then encodes the output. For a few minutes of audio this takes well under a minute on a normal laptop.
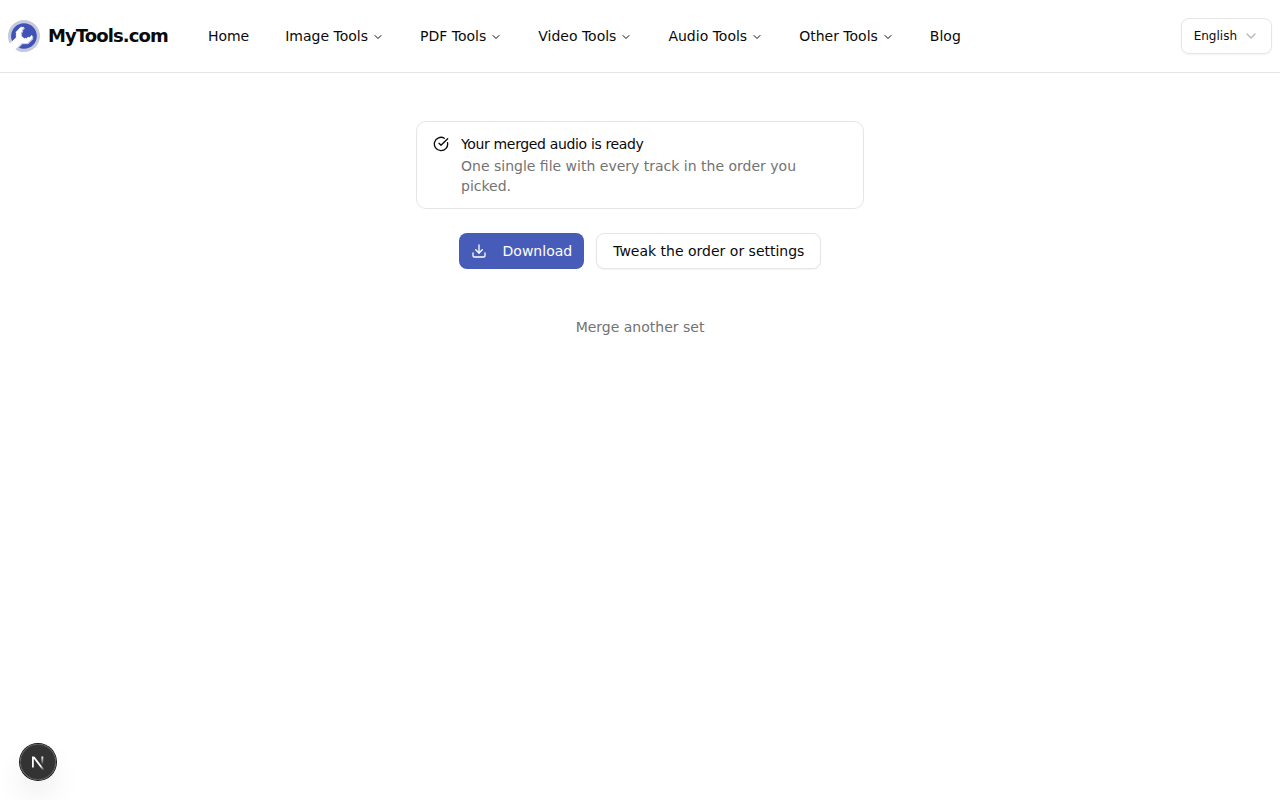
Click Download to save it. If you want to adjust the order or change a setting, click Tweak the order or settings to go back to the workspace with all your files still loaded — no re-upload.
Tips & Troubleshooting
A few things that come up:
The output sounds choppy at the cuts. Turn on a 1- or 2-second crossfade. Plain concatenation only works cleanly when each track already has its own fade.
One file failed to decode. It shows with a red border and is skipped automatically — you can keep merging the rest, or remove it and try re-exporting from the original recorder.
You only need a piece of one of these files before merging. Use Trim Audio first to cut each file down to the part you want, then drop the trimmed clips into the merger.
Done
That is the entire flow. Drop the files, reorder, pick a crossfade, hit merge, download. None of your audio touches a server: every byte stays on your laptop from drop to download. Try Merge Audio for free →