
April 16, 2026
How to Compress a PDF Down to Email Size
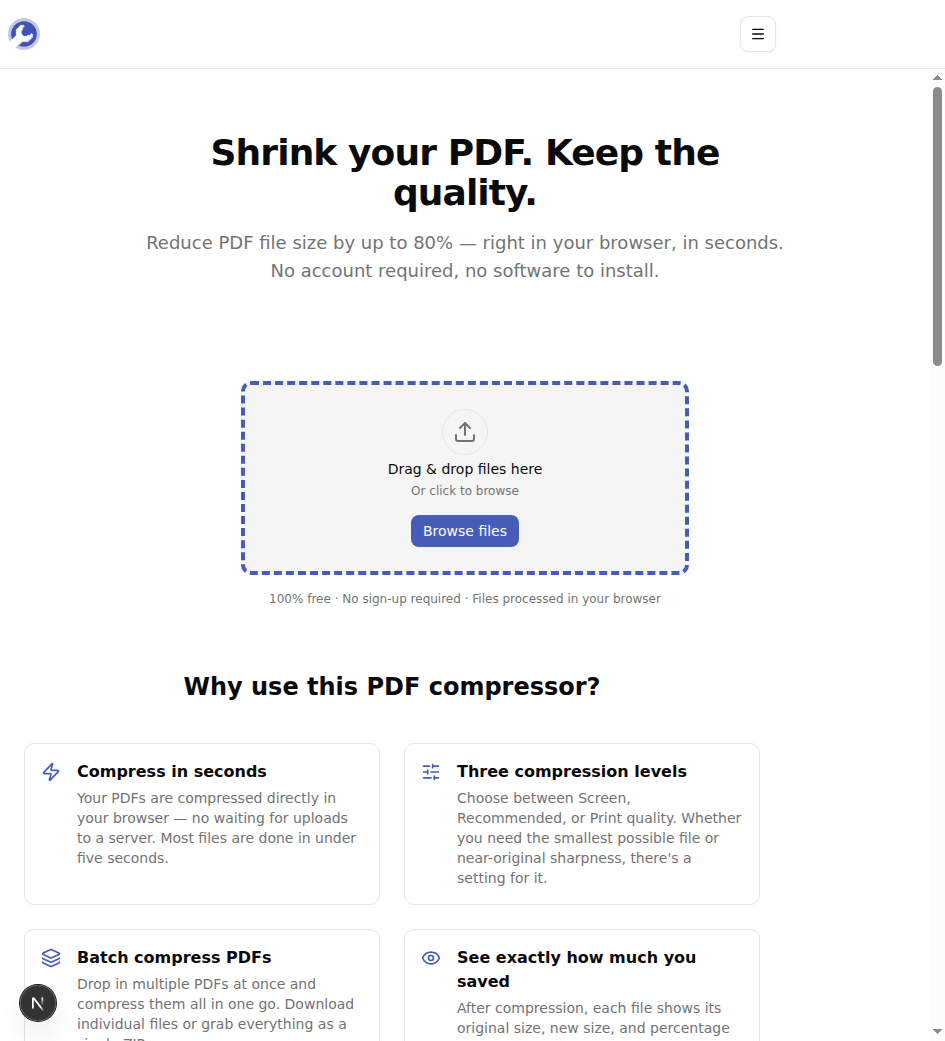
Reduce a PDF up to 80% smaller while keeping it sharp. Runs locally on your laptop — no upload, no signup, no Acrobat.
PDF files have a habit of being bigger than they should be. Scanned documents, exported presentations, forms with embedded high-resolution images — they all bloat. If you've hit an email attachment limit, tried to upload a PDF to a portal that rejected it, or just want a smaller file before posting it on a slow connection, you need to compress it. Here's the three-step version, on your own laptop, with nothing to install and nothing to pay.
How Much Compression Is Realistic?
Not every PDF compresses by the same amount, and managing your expectations up front saves you from being disappointed when the savings are smaller than you hoped. A rough guide based on what's actually inside the file:
- A scanned document or a presentation full of photos — expect 60–80% smaller. A 25 MB scanned contract usually drops below 5 MB. Most of the size is image data and there's a lot of room to re-encode.
- A photo-heavy report or a brochure — expect 40–60% smaller. The text and vector graphics don't shrink, but the embedded photos do.
- A pure-text PDF (a Word doc exported straight to PDF, an academic paper, an invoice) — expect 5–15% smaller. Text is already extremely compact in PDF, and there's not much to squeeze.
- A PDF that's already been compressed once — expect 0–5%. Compressing the same file twice doesn't help; the first pass already removed the slack.
So if your 80 MB file becomes 78 MB, you don't have a broken tool. You have a file that was already efficient and there isn't more to take out.
What "Screen / Recommended / Print" Actually Mean
The three preset levels each target a different image resolution. PDFs store images at whatever resolution they were embedded at; the compressor downsamples them.
- Screen — images downsampled to roughly 72–96 DPI. Looks sharp at full size on a phone or laptop screen but visibly soft if you zoom in or print. Use it for files that will only be viewed on screens.
- Recommended — images downsampled to around 150 DPI. Indistinguishable from the original on screen and acceptable for casual printing. The default, and it's the right choice ~80% of the time.
- Print — images downsampled to 300 DPI (or kept at original resolution if they were already lower). Same effective quality as the original for print at any reasonable size. Smallest savings, but no visible quality loss.
If you're sending the PDF for someone to read on screen, pick Screen and don't apologize. If you're sending it to a print shop, pick Print or skip compression entirely. Recommended covers everything else.
How It Works
Step 1: Open the tool
Open MyTools — PDF Compressor in any modern browser. The page loads as a regular webpage — there's no login screen between you and the upload zone.
Step 2: Upload your PDF
Drag your PDF onto the upload zone, or click Browse files and select it from your device. You can add multiple files at once if you need to compress a batch.
Step 3: Pick a level

Once your file is loaded, choose Screen, Recommended, or Print based on how the file will be used (see the section above). Leave it on Recommended if you're not sure. Click Compress PDF.
Step 4: Download
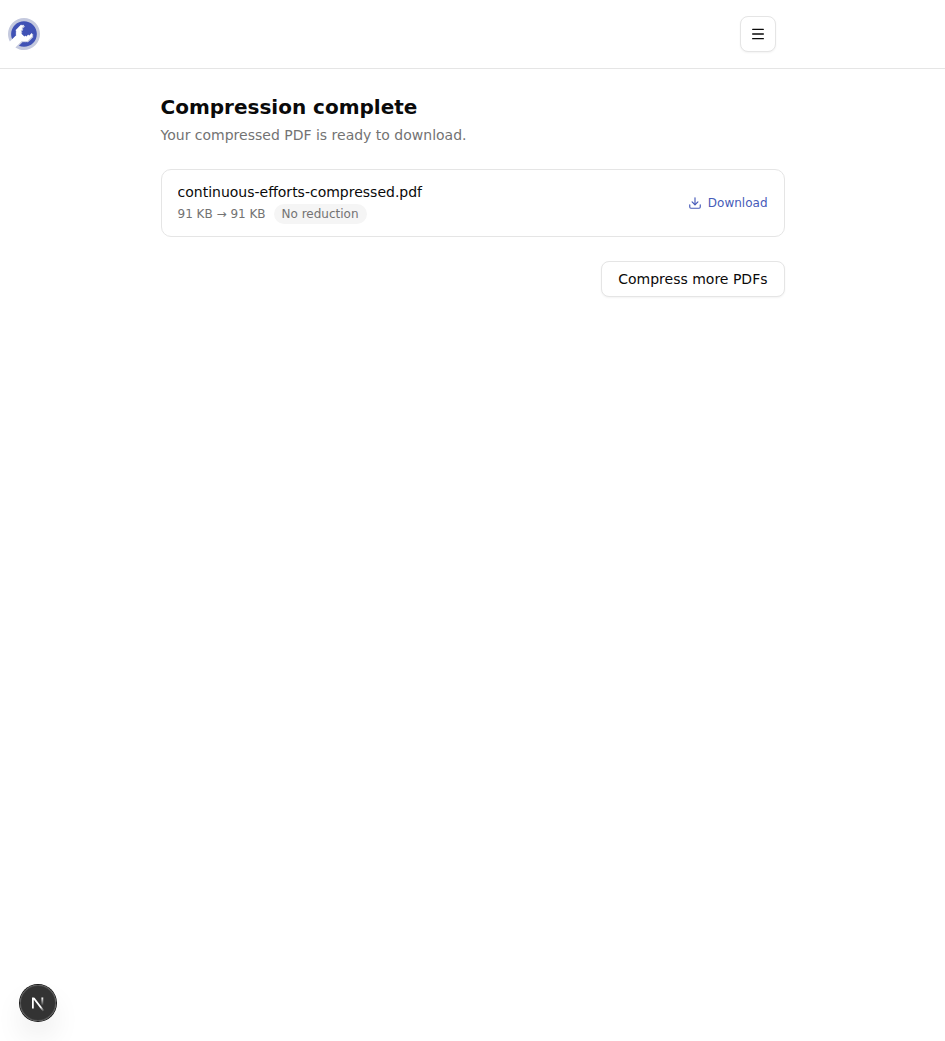
When the run finishes, the result screen shows the original size, the new size, and the percentage saved — so you can see whether to re-run with a more aggressive level. Click Download to save the compressed file. With multiple files, a Download all as ZIP option appears.
When Compression Hurts (or Doesn't Help)
A few cases where the tool isn't the right answer:
- Vector-only PDFs — engineering drawings, charts exported from data tools, anything that's pure lines and text. Vectors don't downsample; the savings will be near zero. If the file is still too big, the bottleneck is probably embedded fonts, not images.
- Already-compressed PDFs — running compression a second time on a file that's been through Acrobat's "Reduce File Size" or another compressor is mostly wasted effort. The image streams are already at low DPI.
- Files where text searchability matters but the source is a scan — the compressor preserves whatever text layer was already in the PDF, but a scanned-only PDF doesn't have one. If you compress and then need search, you'll need OCR first (which this tool doesn't do).
- Encrypted PDFs — compressed output won't preserve a password. If your file is password-protected, decrypt it first.
Tips & Troubleshooting
A few things that come up often:
The file barely got smaller. Check what's in it. If it's a Word doc exported to PDF, you've already hit the floor — there's nothing left to take out.
You need to stay under a specific email cap. Start with Recommended. If you're still over, re-upload and pick Screen. If you're still over, the file is unusually large for its content and a different tool (split into smaller files, or send via a link instead) makes more sense.
You also need to merge a few PDFs into one. Use the PDF merger first, then compress the result. Compressing the merged file once is more effective than compressing each input separately.
Wrap-up
Compressing a PDF should not require an account, an upload, or a paid app. Pick the level that matches how the file will be used, run it locally, and ship the smaller file. Try the PDF compressor for free →