
October 15, 2026
How to Make a Photo Black and White (Batch, Free)
Make a photo black and white without losing detail, or convert 30 at once. See every result before you save, keep the size and format, and upload nothing.
Your phone's Mono filter only works on photos in its own gallery, one at a time. A photo editor works, but it means opening each file, finding the right menu, and saving each one again. When you have a folder of pictures for a printed program or a website, you need to make a photo black and white quickly, and to see the result before you commit.
This guide shows you how to turn one image or a batch of up to 30 black and white, keeping every shade of gray. It also explains why the converted file can end up bigger than the original, and what to check before you print.
Before You Start
- Formats: JPG, PNG, WebP, AVIF, GIF or BMP. JPG, PNG and WebP keep their format. AVIF, GIF and BMP come back as PNG.
- Limits: up to 50 MB and 16,000 pixels per side for each image, and 30 images per batch. A typical 48-megapixel phone photo is about 8,000 pixels wide, well inside the limit.
- A copy of your color originals. The tool never changes your files, but keep the color versions in any case. You can always make a grayscale copy of a color photo, but you can't get the color back from a grayscale one.
Convert Your Photos in Four Steps
Step 1: Open the converter
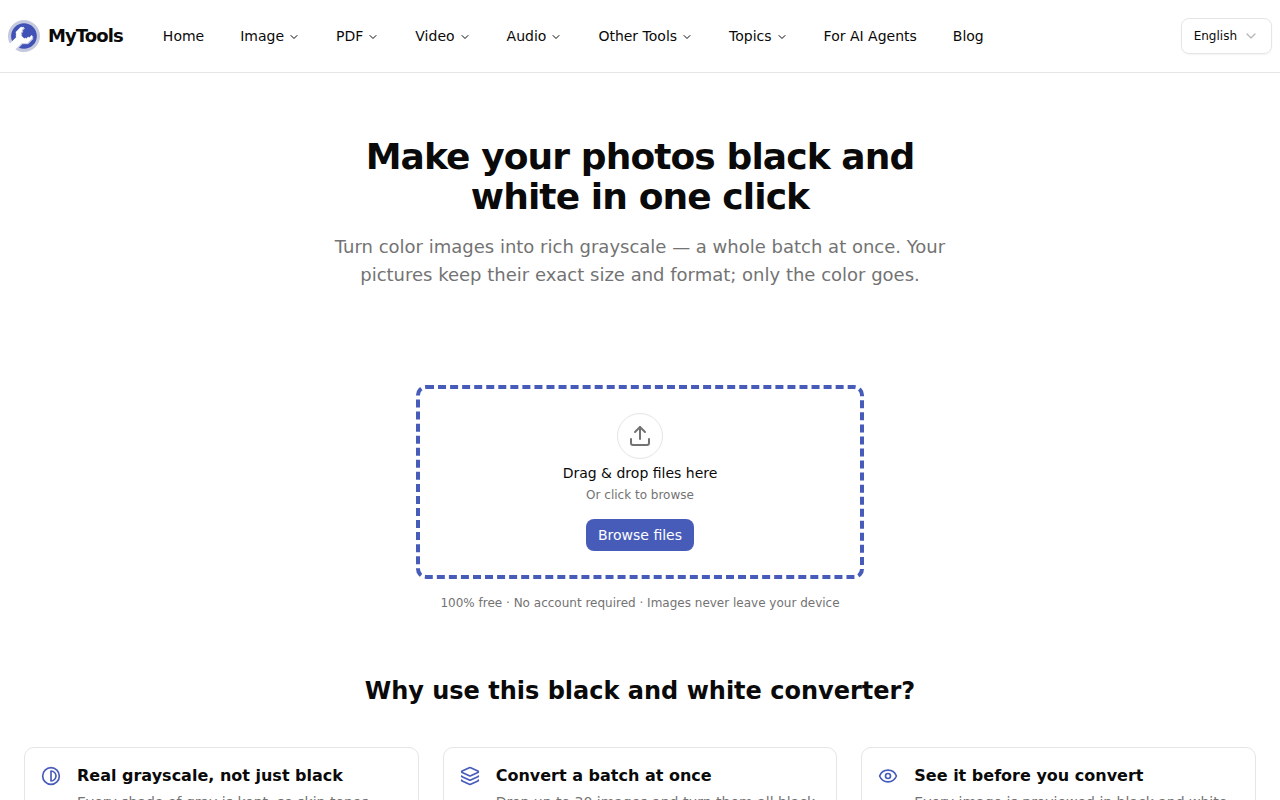
Open Black and White Image on a laptop, tablet or phone. The upload zone is the first thing on the page, with no login screen in front of it.
Step 2: Add your images
Drag your photos onto the dashed box, or click Browse files and select several at once. On a phone, the button opens your photo gallery. Nothing is sent anywhere: the images are read by your browser and stay on your device.
Step 3: Check the preview
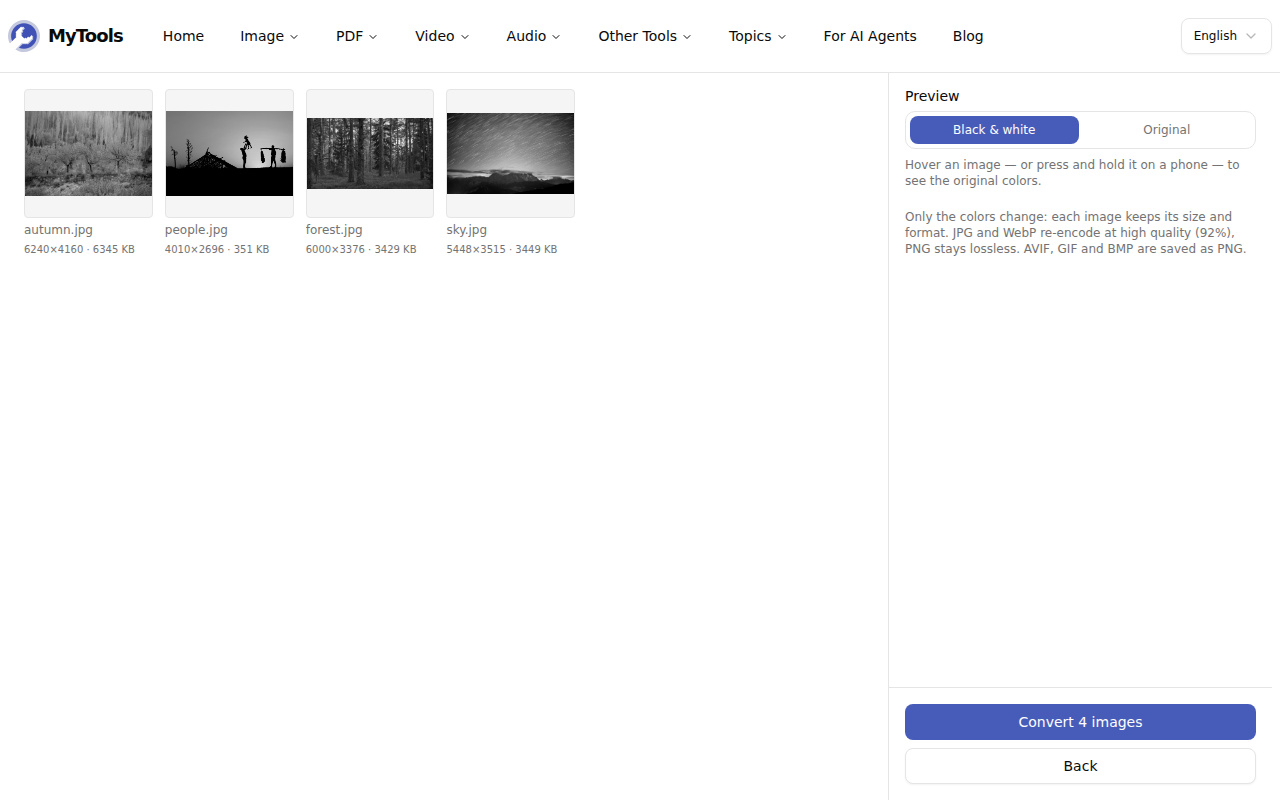
Every image appears straight away in grayscale, with its dimensions and file size underneath. Hover over a thumbnail, or press and hold it on a phone, to see that one in its original colors. To see the whole set in color, use the Black & white / Original switch on the right.
If one picture doesn't work in gray, remove it with the small × in its corner. The button at the bottom updates to match, for example Convert 4 images.
Step 4: Convert and save
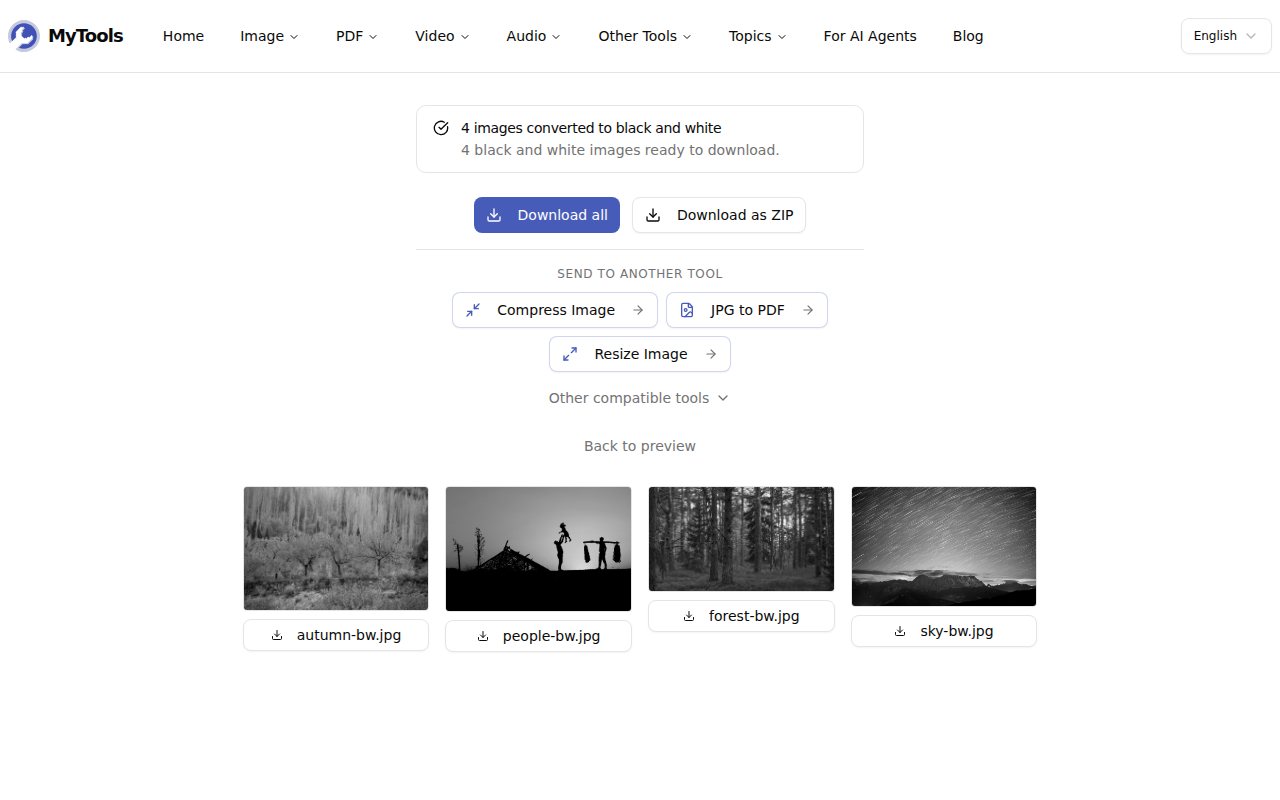
Click the convert button. A counter shows progress through the batch, and large photos take a second or two each. When it finishes, save each file separately, click Download all, or take the set as a single ZIP. Each file keeps its name, with -bw added: autumn.jpg becomes autumn-bw.jpg.
What the Converter Does to Your Photo
The converter replaces each pixel's color with a gray of the same brightness, and changes nothing else. Width and height stay the same, nothing is cropped, and the transparent areas of a PNG or WebP stay transparent. That last point matters for logos and product cut-outs that sit on top of a colored page.
Not every gray is equally faithful. Averaging red, green and blue makes blue skies too pale and yellows too dark. The converter instead weights each color by how bright it looks to the eye, using the standard formula for screens, so a blue sky stays darker than a white cloud. The preview uses the same formula, so the file you download looks like the preview you checked. The grayscale vs black and white explainer covers the theory if you're curious.
Three Things That Surprise People
The black and white file is bigger than the color one. In a test batch, a 6.3 MB color JPG came out as an 8.1 MB grayscale JPG. Removing color doesn't make the file smaller by itself. JPG and WebP are saved again at 92% quality, which is often higher than the setting your camera or a website used for the original. That protects the fine gray gradients in skies and skin, which tend to show bands when saved at low quality. If you need a small file for email or a web form, run the results through Compress Image afterwards. You can send them straight there from the download screen.
Two colors turned into the same gray. Red and green of similar brightness can end up as the same gray, because grayscale keeps brightness and nothing else. A red-and-green chart, or a fox in front of green grass, can become a flat patch of gray. That isn't a fault in the conversion. Look at the preview, and if a picture loses its subject, swap it for one where the subject is lighter or darker than its background.
The camera details are gone. The converted file is a new image drawn from the pixels of the original. It doesn't keep the metadata your phone stored with the photo: camera model, date taken, or GPS location. That's an advantage when you're about to share a photo of your house or your children. It's a drawback if you sort your archive by date taken, so keep the original files for that.
One more limit. An animated GIF becomes a single still PNG of its first frame, because the converter works on still images.
Checking Before You Print
Screens show more shades of gray than paper. An office laser printer or a photocopier tends to merge the darkest grays into solid black. Before printing a class handout or a concert program, zoom into the shadows in the preview: if a jacket or hair is already almost black on screen, it will print as a solid shape. In that case, choose a photo taken in brighter light. If you're printing at a print shop, send the full-size files from the ZIP. The converter keeps the original resolution, so a photo that was sharp enough to print in color is just as sharp in grayscale.
In Short
Add your photos, check the grayscale preview, remove any that don't work, and download the batch. You get full-size images with every shade of gray, in their original format, and nothing leaves your device.
Got a folder of color photos to convert? Make your photos black and white for free →