
4. Mai 2026
How to Convert JPG to PDF (Free, No Sign-Up)
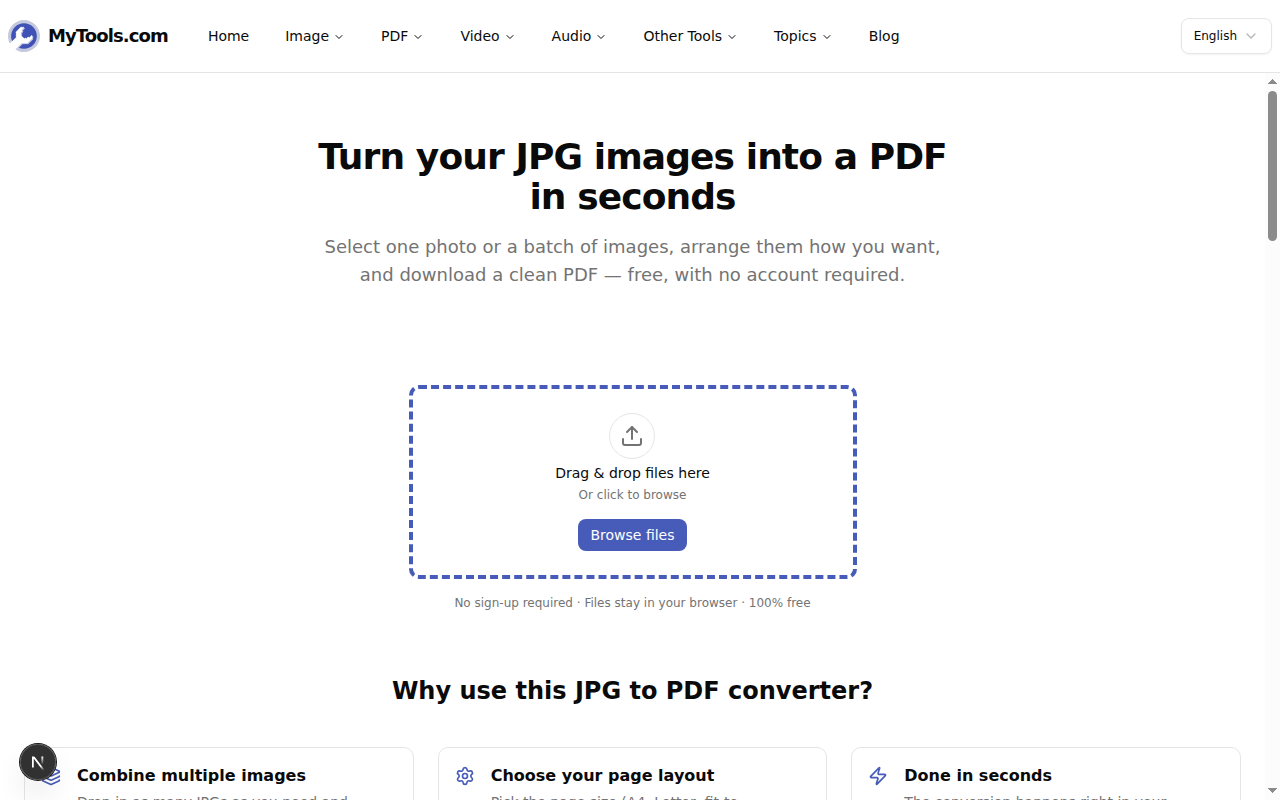
Convert JPG photos into one PDF in your browser. Choose page size, reorder pages, download instantly. No install, no account, files stay on your laptop.
Most online forms ask for PDFs. Most of what you actually have is photos. Travel receipts, ID scans, insurance documentation, screenshots, the wedding invitation a friend texted you... it all lives as JPGs on your phone or in a Downloads folder. The MyTools JPG to PDF converter takes a batch of those images and outputs a single, properly paginated PDF, without uploading the files anywhere or asking you to register. Below: the workflow, the page-size and layout decisions worth making before you click Convert, and a couple of edge cases that catch people out.
What You'll Need
- A modern browser (Chrome, Firefox, Safari, or Edge, on desktop or mobile)
- Up to 20 images, each under 20 MB, in JPG or PNG format
- A rough idea of the order you want them in (you can rearrange before converting)
One Combined PDF, or One Per Image?
The first decision isn't a setting; it's a question about the result. The converter can produce either a single PDF with one image per page, or a ZIP file containing one PDF per image. Picking right up front saves a re-run.
- One combined PDF (the default). Use this for anything that needs to read as one document: a rental application with ID plus pay slips, a receipt bundle for an expense report, a multi-page scan, a photo book for a print shop. The output is one file named
converted.pdf. - One PDF per image. Tick the One PDF per image box for batches where each image has its own destination. For example: invoice photos that each need a separate file in your accounting software, ID scans that get attached to different rows of a spreadsheet, or receipts that each have to go into their own folder. The output is a ZIP with each PDF named after its source image (
receipt-march-12.pdf,receipt-march-15.pdf, and so on).
If in doubt, leave the box unchecked. Splitting later is harder than merging now.
Three Steps to a Finished PDF
Step 1: Open the converter
Open MyTools JPG to PDF. The page is a single dropzone with a small trust line below it. There's no account form, no email gate, no cookie modal asking you to "consent and continue." Drag your JPGs onto the dashed area, or click Browse files and pick them from disk. The uploader accepts both JPG and PNG; anything else is rejected with a message.
Step 2: Order the images and pick a layout
Once the files load, the workspace appears: thumbnails on the left in upload order, conversion settings on the right.
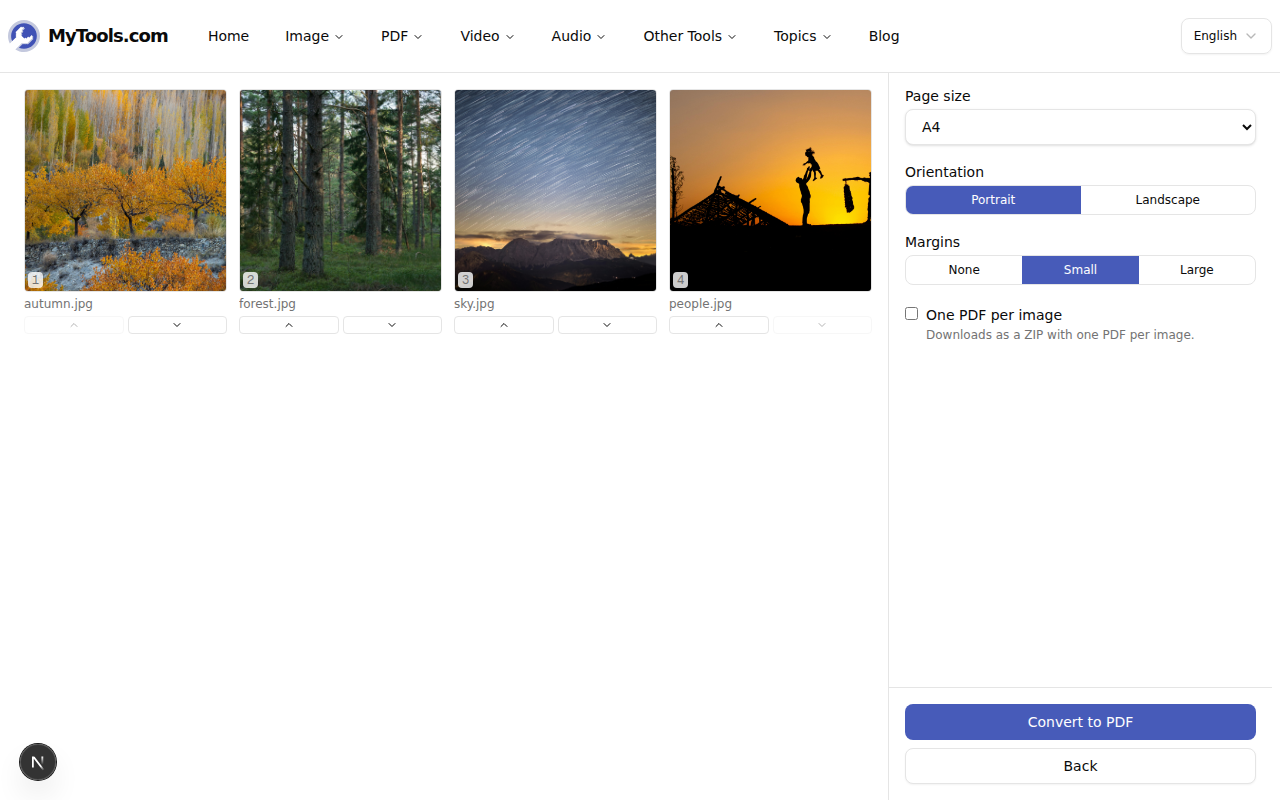
The numbered badge on each thumbnail reflects the page it will occupy in the output. To change the order, use the arrow buttons under each thumbnail (top-to-bottom in the grid is first-to-last in the PDF). To drop an image entirely, hover and click the X.
The settings panel has four controls: page size, orientation, margins, and the One PDF per image toggle. The next section walks through the trade-offs worth knowing.
Step 3: Convert and download
Click Convert to PDF. The conversion runs locally with jspdf, so the timer is bound by your CPU rather than your upload speed. Even a batch of fifteen photos finishes in a couple of seconds on a modest laptop. When it's done, the download view replaces the workspace with a Download button and a preview of the first page.
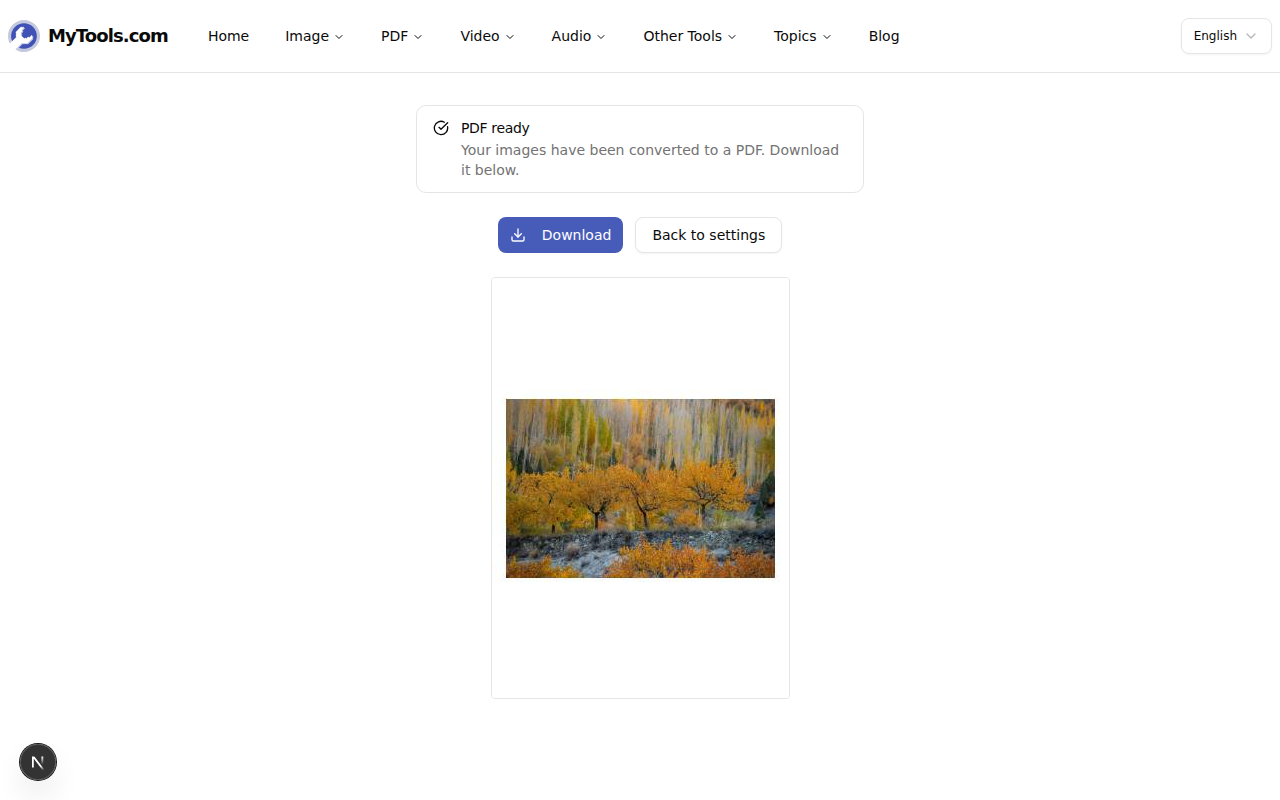
Click Download to save the file. If you want to tweak the layout, Back to settings returns to the workspace with every setting intact.
Picking the Right Page Size and Margins
Defaults (A4, Portrait, Small margins) work for most documents that will be read on a screen. But the page-size dropdown earns its keep when you know where the PDF is going next:
- A4 (210 × 297 mm) is the default in most of the world. Pick this for European or Asian recipients, university applications, contracts, and anything that might get printed at a copy shop outside the US.
- Letter (8.5 × 11 in) is the US standard. Pick this for US tax forms, US printers, and anything heading to a North American office.
- Legal (8.5 × 14 in) is a longer Letter, used for contracts and official filings in the US.
- A3 (297 × 420 mm) is double A4. Useful for posters, large drawings, or photo prints.
- A5 (148 × 210 mm) is half A4. Useful for booklets, programmes, or compact photo books.
- Fit image skips the standard sizes entirely and makes each page exactly the shape of the photo on it (capped at 297 mm on the long edge). Pick this for photo bundles, insurance damage records, or anything where the white space around the image would look wrong. There's no orientation choice in this mode; each page takes the orientation of its image.
Margins control the white space around the image, not the resolution. None edges the image to the page corners (good for photo books, awkward for printers that can't print edge to edge). Small gives a 10 mm border (the safe default). Large gives a 20 mm border (good when the PDF will be printed on a basic home printer that has its own hardware margins).
Common Snags
A few things people hit in practice:
The image looks rotated in the PDF. Camera JPGs carry their orientation in EXIF metadata. When the converter renders the image to canvas, browsers honour that metadata, so most cases come out right. If a photo from an older camera or scanner shows up sideways, rotate the source first with the Rotate Image tool and re-upload.
The PDF is bigger than expected. The converter embeds images at full resolution to keep quality lossless. A 4000 × 3000 phone photo embedded at full size is a few megabytes per page. If file size matters more than maximum quality, downsize the inputs first or run the result through the PDF compressor.
You have more than 20 images. Convert in two batches. The output PDFs can then be combined with a PDF merger.
That's the whole flow. A stack of JPGs becomes one paginated PDF in three actions: drop, sort, save. The whole thing runs locally, so the photos never leave the laptop. Try the JPG to PDF converter for free →