
15 de julio de 2026
How to Convert MP4 to MP3 (Free, No Upload)
Pull the audio out of any MP4 and save it as an MP3 — pick your bitrate, batch up to 50 files, and keep everything on your own device. Here's how.
The lecture you recorded runs two hours, and you only ever listen to it — the slides never mattered. The interview is a 900 MB screen recording, but your editor just needs the voices. A workout clip has the exact warm-up track you want on your morning run, minus the video. In every case the answer is the same: convert the MP4 to MP3 and keep only the sound. The MyTools MP4 to MP3 converter does that in one pass, and it does it on your own machine — the video is read by your browser and never sent to a server.
What you'll need
- Any modern browser — Chrome, Safari, Firefox, or Edge, on a laptop or a phone.
- One or more video files. Despite the name, the tool also accepts MOV, MKV, WebM, AVI, and M4V, so you don't have to rename or pre-convert anything.
Convert MP4 to MP3 in three steps
Step 1: Open the converter
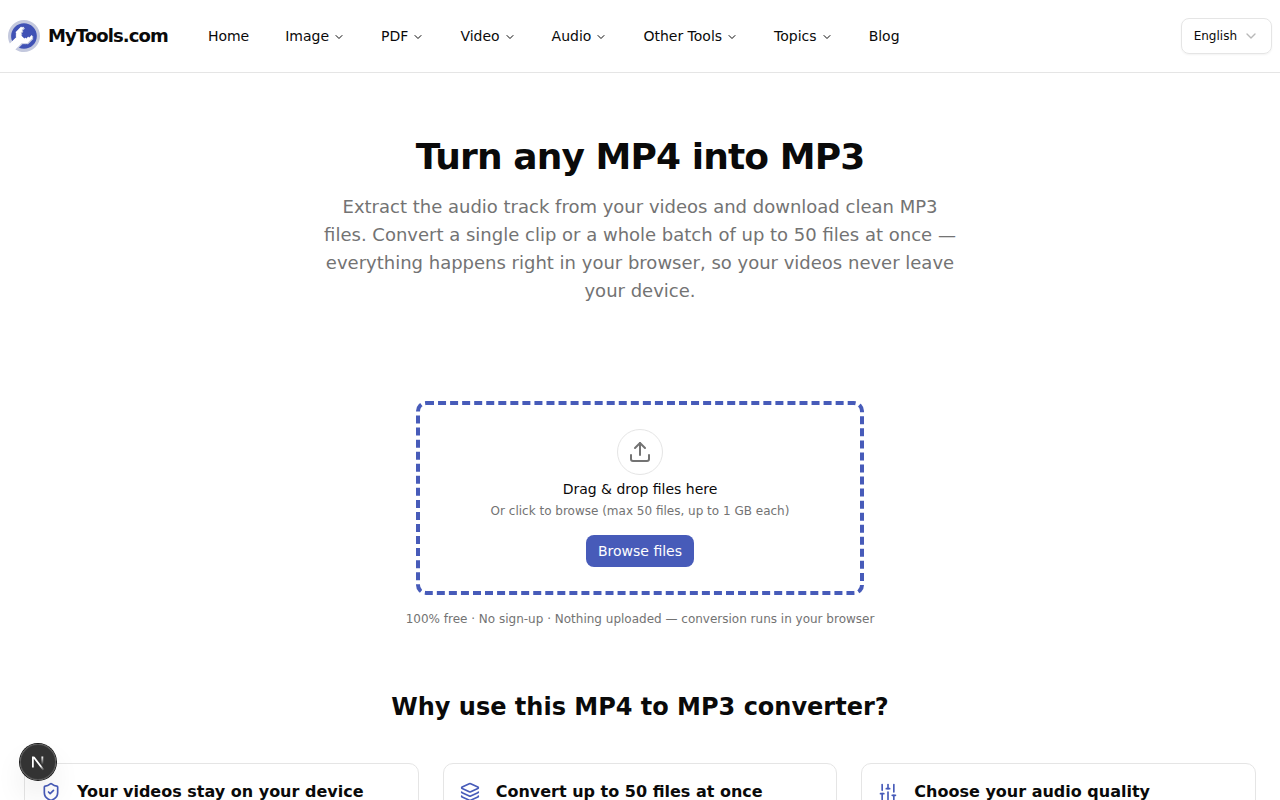
Pull up the MP4 to MP3 tool. The page loads straight to an upload zone — there's no account wall, no email box, and nothing to install first.
Step 2: Drop in your videos and set the quality
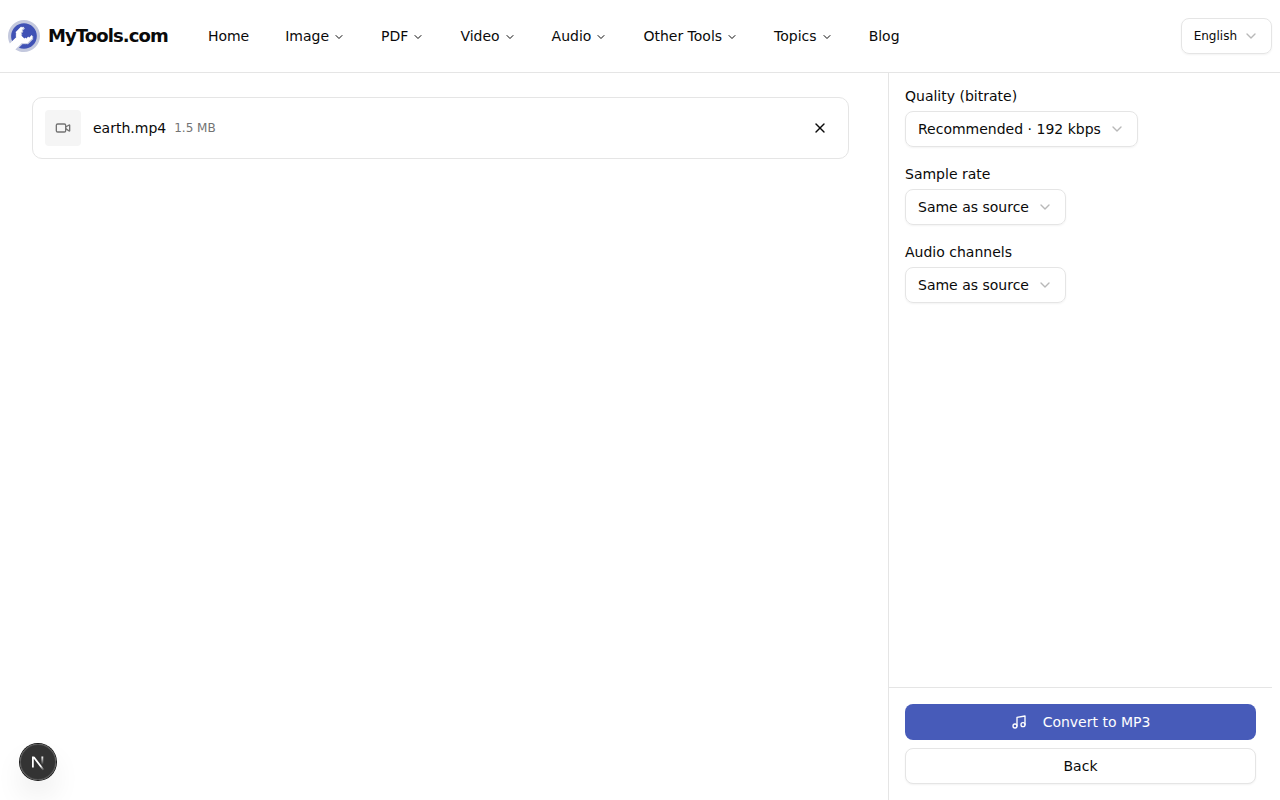
Drag a single clip in, or select up to 50 at once — the converter works through them one after another. Each file can be as large as 1 GB, which comfortably covers a two-hour recording.
On the right you'll see three settings. Quality (bitrate) controls how much audio detail the MP3 keeps; the default of 192 kbps is the sweet spot for almost everything. Sample rate and Audio channels default to "Same as source," meaning the MP3 inherits whatever the video already had. One setting applies to the whole batch, so you choose once and every file follows.
Step 3: Convert and save
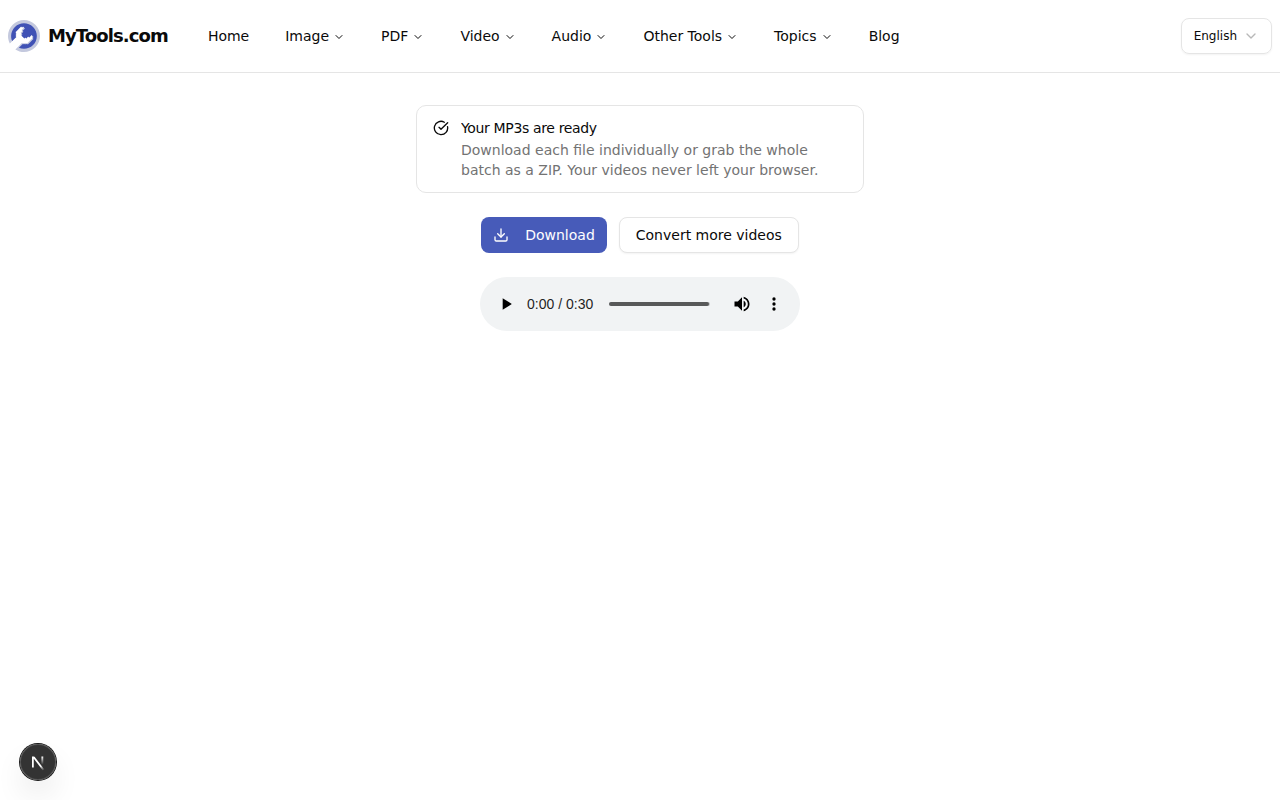
Click Convert to MP3. A progress bar tracks each file, and when the batch finishes you land on the download screen. Grab a single MP3, or download every file at once as a ZIP. There's even a small player so you can check the result before you save it.
Picking the right bitrate (with real numbers)
Bitrate is the one setting worth understanding, because it's the trade between quality and file size. It's measured in kilobits per second, and it roughly predicts the output: a one-hour recording at 128 kbps lands near 57 MB, at 192 kbps near 86 MB, and at 320 kbps near 144 MB. Here's how to choose:
- 320 kbps — music you actually care about: a live set, a cover you recorded, a song you'll listen to on good headphones.
- 192 kbps (default) — the safe all-rounder. For most people it's indistinguishable from the source, at a little over half the size of 320.
- 128 kbps — spoken word: lectures, meetings, audiobooks. Voice doesn't carry the frequency range that benefits from a higher bitrate, so the extra megabytes buy you nothing.
- 96 kbps — quick voice memos or anything headed for a slow connection, where small beats crisp.
There's a second lever most people miss: channels. A lecture or podcast recorded with one microphone is really mono, but it's often stored as stereo — two identical tracks doubling the size for no reason. Switch Audio channels to Mono on any voice-only recording and the file shrinks by close to half with zero audible loss. Leave it on Stereo (or "Same as source") for music, where the left–right separation is the whole point.
Tips & troubleshooting
One thing to know up front: converting audio always re-encodes it, so a sliver of quality is lost each time, the same way re-saving a JPEG does. It's inaudible at 192 kbps and above — but don't set 320 kbps on a video whose audio was already low quality. You can't add detail that was never captured; you'll just make a bigger file that sounds identical to a smaller one.
"My file isn't an MP4." It probably still works. The converter takes MOV (iPhone recordings), MKV, WebM, AVI, and M4V too — drop it in and see. If a format genuinely isn't supported, you'll get a clear message rather than a silent failure.
On iPhone, the MP3 opened in a new tab instead of saving. That's Safari's default for audio. Tap and hold the download link and choose "Download Linked File" to send it to your Files app.
You wanted a video, not audio. If the goal was actually to shrink a video rather than strip its sound, the compress-video tool keeps the picture and reduces the file size instead.
The bottom line
Extracting audio from a video is a two-decision job: how good it needs to sound (bitrate) and whether it's voice or music (channels). Get those right and a heavy MP4 becomes a lean, portable MP3 you can drop into a music app, hand to an editor, or sync to your phone — all without a video editor or a single upload.
Ready to pull the audio out of your videos? Try the MP4 to MP3 converter →