
May 26, 2026
How to Convert an Image to JPG (PNG, HEIC, WEBP, and more)
Convert PNG, HEIC, WEBP, AVIF, TIFF, BMP, or SVG to JPG on your own device. Batch up to 30 files, pick your quality, and keep the originals private.
You have a folder of HEICs from your iPhone that the recipient can't open. Or a PNG with a transparent background a printer keeps rejecting. Or a WEBP your screenshot tool saved by default that the upload form doesn't recognise. The fix is the same in every case — convert to JPG — and it shouldn't require installing anything or handing the files to a stranger's server. This guide walks through doing it with the MyTools image-to-JPG converter, plus the two settings that matter and the one transparency trap that catches almost everyone the first time.
Why JPG, specifically
JPG (also written JPEG) is the lowest common denominator of digital images. Every email client, every CMS, every photo printer, every accounting system, every web form built before WEBP existed in 2010 — they all accept JPG without complaint. So when something rejects your image, the fix is rarely to argue with the system; it's to hand it the format it was designed around.
A short tour of the formats people typically convert from:
- HEIC / HEIF — Apple's default since iOS 11. Brilliant compression, but most Windows machines, Android devices, web uploaders, and corporate document systems still don't open it natively.
- PNG — fine for screenshots and logos, but a photo saved as PNG is often 5–10× the size of the equivalent JPG with no visible quality gain.
- WEBP — Google's modern format. Browsers love it; print shops, photo books, and most upload forms don't.
- AVIF — newer still, slightly better compression than WEBP, even less universally supported.
- TIFF — scanner output. Lossless and enormous; rarely what an upload form actually wants.
- BMP, ICO, SVG, GIF — odd shapes that turn up from old software or icon tools, and that almost no consumer-facing system accepts.
The converter reads the pixels and writes a new file using JPEG compression. The picture itself doesn't change; what changes is who can read the file — and, usually, how much disk space it takes.
Convert an image to JPG in three steps
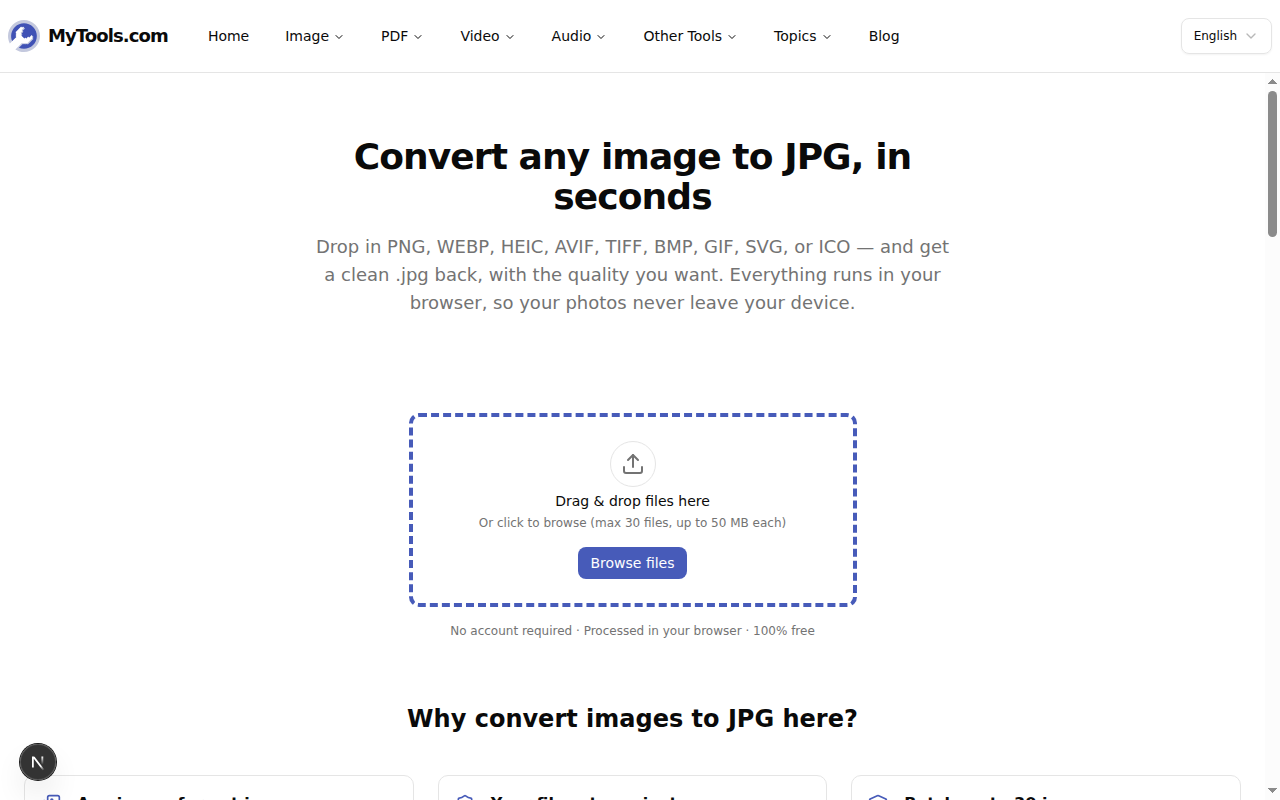
Step 1: Open the converter
Pull up the MyTools image-to-JPG converter in any modern browser. The page is mostly a drop zone — no signup wall, no cookie maze, no "upgrade to Pro" banner. Drag in up to 30 files at once (50 MB each), or click Browse files.
Step 2: Set quality and background
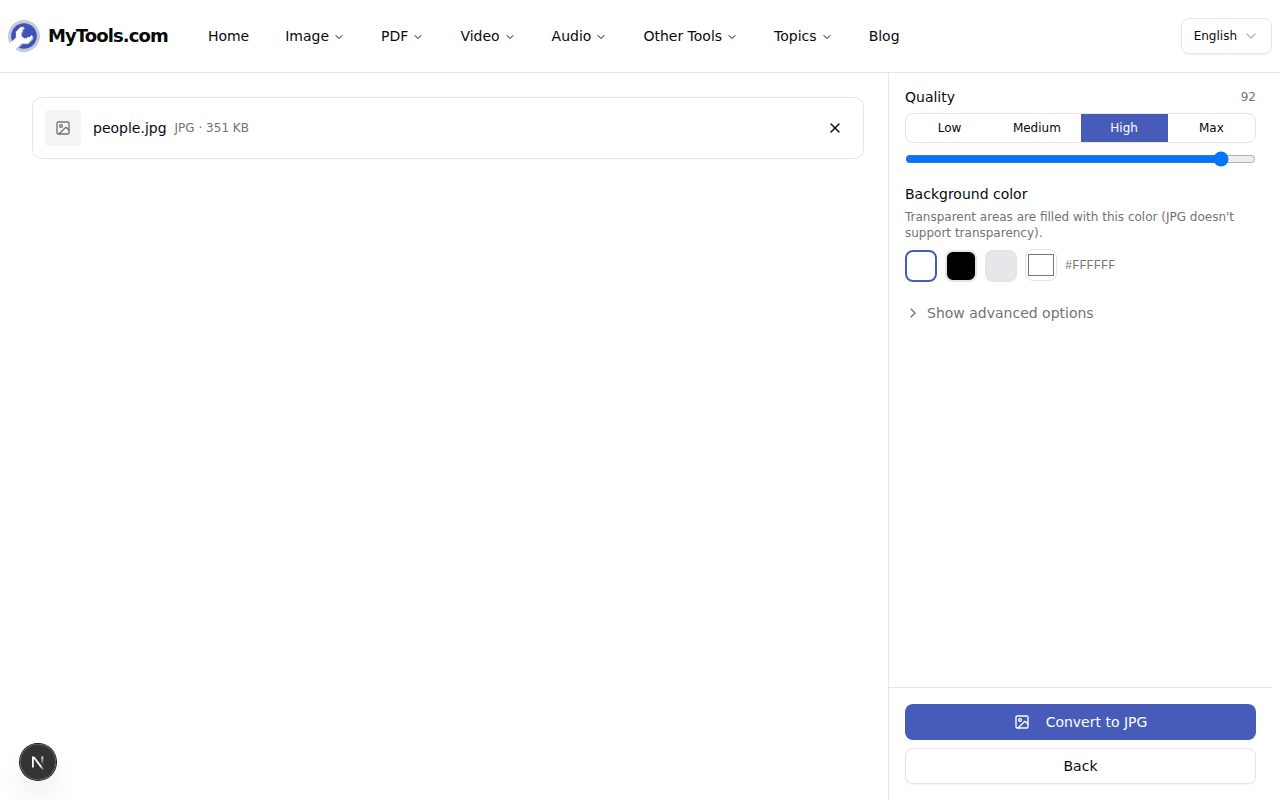
The workspace shows your files and two controls that matter:
- Quality — Low, Medium, High (default, 92), or Max (100). Drag the slider for finer control. The output size updates immediately so you can see the trade-off.
- Background color — only used for transparent images. JPG has no alpha channel, so any transparent pixel needs something behind it. White by default. You can pick black, light gray, or a custom hex.
There's also an "Advanced" panel that lets you cap the longest side (handy for keeping a batch consistent), but most jobs work fine on defaults.
Step 3: Convert and download
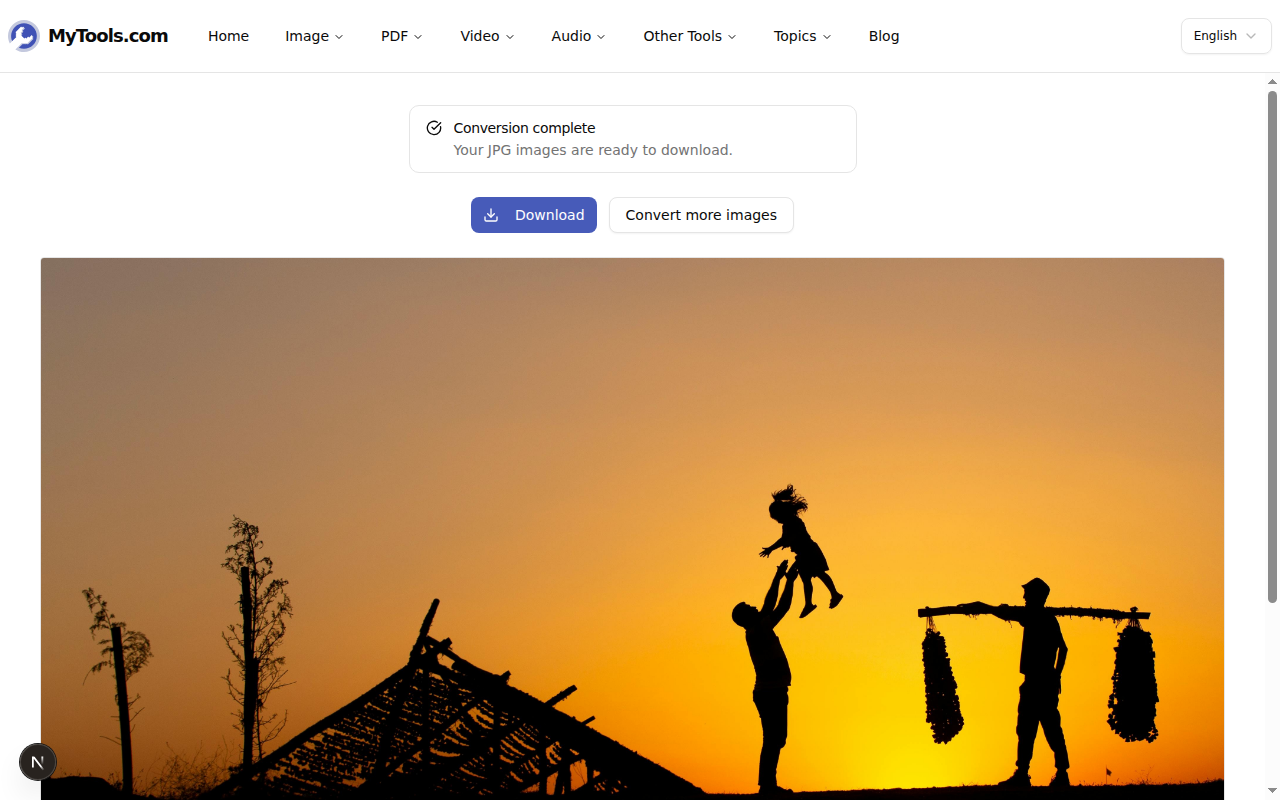
Hit Convert to JPG. Each file is decoded and re-encoded locally — including HEIC and AVIF, which most online converters refuse to handle without a server round-trip. Grab each .jpg individually, or click the ZIP button to take the whole batch in one shot.
Picking a quality number that isn't a guess
The quality slider goes from 1 to 100, but the useful range is much narrower:
- 100 (Max) — visually indistinguishable from the source for any photo. Use this for work you'll print, share with a client, or send to a designer. Files are about 30% larger than 92.
- 92 (High, default) — the JPEG community's accepted "near-transparent" setting. Indistinguishable from the source on a phone or normal monitor; about a quarter to half the size of Max.
- 80 (Medium) — noticeable on close inspection of textured areas (skin, sky, fabric), invisible at normal viewing distances. About half the size of High again. Good for the web.
- 60 (Low) — visible compression artifacts on smooth gradients. Reserve for thumbnails and previews.
A side-effect worth knowing: re-encoding a JPG always loses something, even at quality 100, because JPEG is lossy. If your source is already a JPG and the goal is just a smaller file, that's fine — but don't keep round-tripping the same file through "convert to JPG" repeatedly, or you'll see the picture degrade over the generations.
The transparency trap (PNG, WEBP, SVG users — read this)
A PNG with a transparent background looks fine on a webpage because the page provides the backdrop. Convert it to JPG and the transparent pixels have to become some color, because JPG can't store "no color". The default — white — usually works for product shots and screenshots on light backgrounds. But:
- A logo with a transparent halo that you'll paste onto a dark slide will get a bright white rectangle around it on a JPG. Set the background color to match your slide before converting, or stay with PNG.
- A signature scan with a transparent background turns into a white box around the signature once it's a JPG. Again — pick the right background up front, or keep PNG.
- A diagram exported from Figma at 1× DPI with transparent fills will land on a JPG with whatever background you pick, even where the original looked "empty."
If you want true transparency preserved, JPG is the wrong target — convert to PNG or WEBP instead.
A note on what stays on your machine
Every conversion happens in the browser tab. The page loads a small WebAssembly decoder for the exotic formats (HEIC, AVIF, TIFF), but your image bytes are read into a <canvas>, re-encoded as JPEG, and handed back to you as a Blob. Nothing leaves your device. That matters if you're converting client photos, scanned IDs, or anything else you'd rather not see in a third party's server logs.
Ready to convert? Open the Image to JPG converter →