
7. Oktober 2026
How to Watermark an Image (Text or Logo, in Batches)
Watermark an image or a batch of 30 with your name or logo: pick the corner, opacity and size, preview it live, and download every photo already marked.
Thirty product photos, a client preview gallery, a set of shots you're about to post publicly — and you want your name on every one before they leave your hands. Doing that by hand means opening each file in an editor, pasting the same text in the same spot, and exporting thirty times. This guide shows how to watermark an image, or a whole batch at once, with text or a logo, and how to size the mark so it looks the same on a 6000-pixel camera file as on a phone screenshot.
The whole job happens on your own machine. The photos are composited onto a canvas inside the browser tab, so there is no upload step and nothing to wait for on a server queue.
How to Watermark an Image — Step by Step
Step 1: Open the watermarker
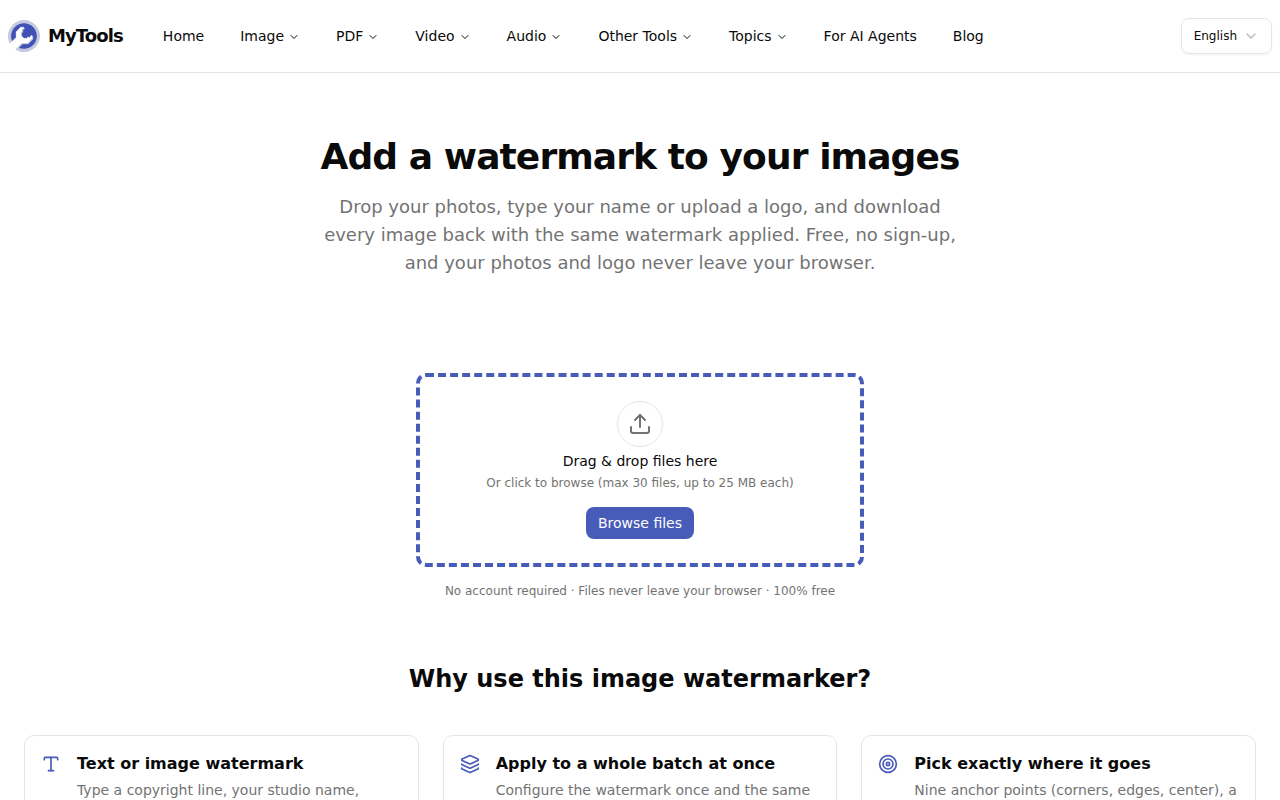
Open MyTools — Watermark Image. The upload zone sits right under the headline, with no sign-in screen in front of it.
Step 2: Add your photos
Drag your images onto the dashed box, or click Browse files. JPG, PNG and WebP work best (more on formats below). You can add stragglers later with the Add more button above the preview.
Step 3: Set up the watermark
The settings panel on the right controls everything, and the preview redraws as you change it:
- Watermark type — Text for a name or copyright line, Image for a logo.
- Text — replace the
© Your Nameplaceholder with your own line. - Size mode — % of width, % of height, or Fixed (pixels). Read the next section before you pick one.
- Font family and Color — sans-serif, serif or monospace, in any color.
- Position — a 3×3 grid of anchor points: the four corners, the middle of each edge, and the center.
- Margin, Opacity and Rotation — distance from the edge (0–10%), transparency (10–100%), and tilt (−45° to +45°).
- Tile — repeats the mark across the whole photo instead of placing it once.
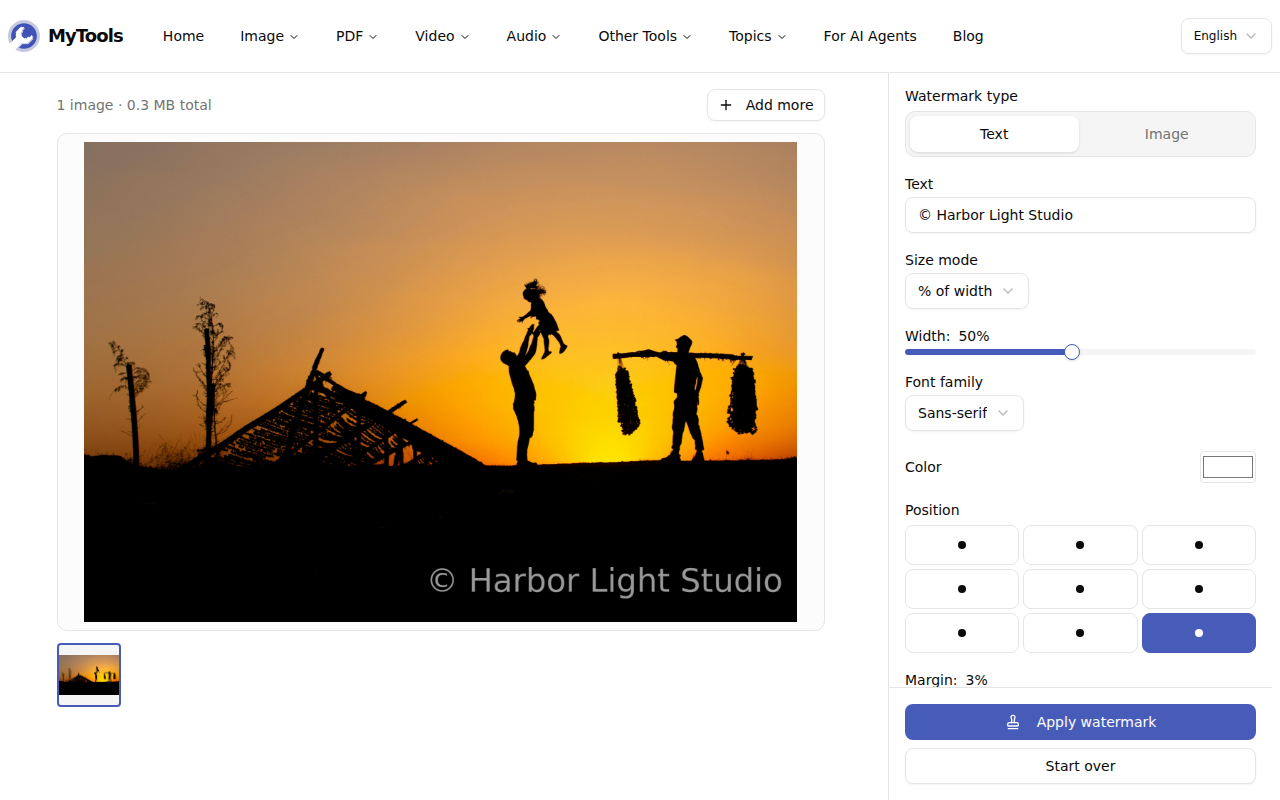
If you uploaded several photos, click their thumbnails under the preview to check each one. The same settings apply to all of them, so this is where you catch a mark that lands on a face in one shot.
Step 4: Apply and download
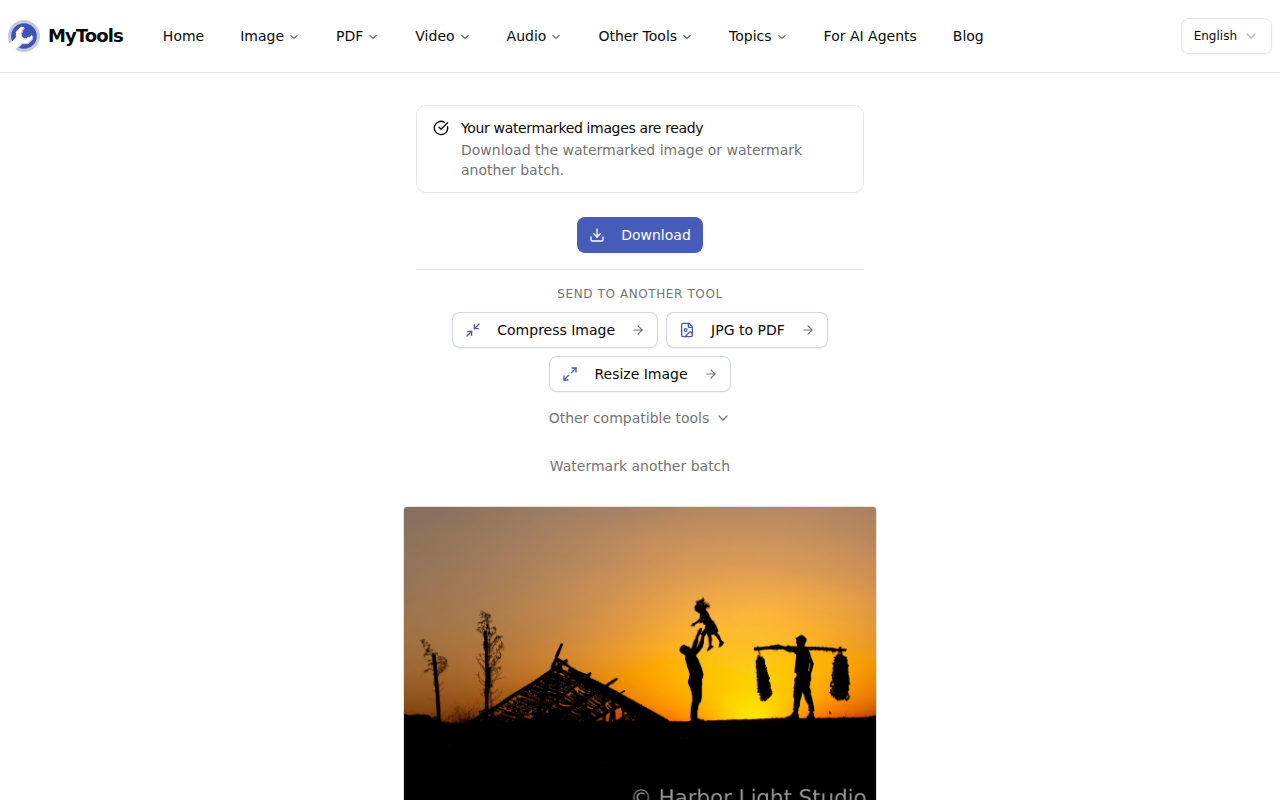
Click Apply watermark. Each photo is processed in turn, then the download screen appears. Save a single file, or grab the whole batch as watermarked-images.zip. Every output is named after its source with -watermarked appended, so IMG_2041.jpg comes back as IMG_2041-watermarked.jpg.
Pixels or Percent? Getting the Size Right Across a Batch
This is the setting that trips people up. A batch rarely holds images of one size: a camera export might be 6000×4000, a cropped detail shot 2400×1600, a screenshot 1080×1920.
With Fixed (pixels) at 48 px, every file gets 48 px type. On the 1080-wide screenshot that's a readable credit. On the 6000×4000 camera file the letters are barely more than one percent of the image height — shrink the photo to fit a screen and the credit turns into a smudge.
With % of width, the text is scaled to span that share of each image. At 25%, it's about 1500 px wide on the camera file and 270 px on the screenshot — the same visual weight on both. That's why the tool defaults to a percentage mode. Use % of height instead when your batch is mostly portrait shots and you want the line height to stay consistent.
Logos follow the same idea: the Width slider (5–80%) sizes the logo against each image's longest side. A logo at 15% is 900 px wide on a 6000×4000 photo and 162 px wide on a 1080×1080 square.
Starting Points for Common Jobs
| Job | Type | Position | Opacity | Size | Tile |
|---|---|---|---|---|---|
| Credit on photos you post publicly | Text | Bottom-right | 50–70% | 20–25% of width | Off |
| Client proofs before payment | Text | — | 20–30% | 30% of width | On, rotated −30° |
| Shop logo on product photos | Image (PNG) | Bottom-right | 50% | 12–15% | Off |
| Press or assignment files | Text with name and date | Bottom-left | 80% | 25% of width | Off |
A corner mark tells people who made the image. A tiled mark makes the image hard to reuse at all, because cropping one corner off doesn't remove it. Pick based on what you're guarding against.
What the Output File Keeps — and What It Doesn't
- Format follows the input for JPG, PNG and WebP. PNGs stay lossless. JPG and WebP are re-encoded at high quality (92%), close enough that you won't see a difference at normal viewing size.
- Other formats come back as JPG. AVIF, GIF and BMP files are accepted, but the output is a JPG, and the file name changes to match. An animated GIF keeps only a single frame.
- Camera metadata is dropped. Drawing onto a canvas and exporting doesn't carry EXIF data across, so GPS coordinates, camera model and capture time are gone from the watermarked copy. That's usually a bonus for photos you publish, but keep your originals if you rely on that data.
- The mark is part of the pixels. There's no separate layer to switch off. A determined editor can still paint it out with cloning or AI fill, but screenshots, scrapers and reposts carry it with them.
Troubleshooting
My logo has a white box around it. The logo file is a JPG or a PNG without transparency. Export it as a PNG with a transparent background and upload it again.
The text vanishes on some photos. White text disappears on bright skies, and dark text on night shots. Drop the opacity to around 60% and pick a color that contrasts with most of the batch. If one photo still fights it, run that one separately with a different color.
The files are bigger than I expected. A large PNG stays large after watermarking because it's re-saved lossless. If the goal is a web upload, run the batch through Compress Image afterwards. It's one of the shortcuts offered on the download screen.
Wrapping Up
Set the watermark once, check it on each thumbnail, and every photo in the batch comes back marked in the same place at the same visual size. Percentage sizing is the setting that makes that work across mixed resolutions.
Ready to put your name on your photos? Try Watermark Image for free →