
29 September 2026
How to Blur Faces in a Photo (Without Uploading It)
Blur faces, license plates or ID numbers in a photo by dragging a box over them. Pick blur, pixelate or a black bar, and keep the photo on your own device.
You took a good photo of the school fair, the street party or the team offsite, and three people in it never agreed to be posted. Or it's a screenshot with a customer's name in the corner, or a car photo for a sale listing with the plate in plain view. You want to blur faces in the photo, or blur that one strip of text, and leave the rest sharp. This guide shows how to do that, how to choose between a blur, pixelation and a solid bar, and the mistakes that make a "blurred" face easier to recognize than you'd expect.
What You'll Need
- A JPG, PNG or WebP image, up to 30 MB and 8192 × 8192 pixels. iPhone HEIC photos need converting first. The Image to JPG converter handles that in one pass.
- A mouse, trackpad or finger. You mark the areas yourself; nothing detects faces automatically, so nothing gets missed without you noticing.
Blur Faces in Four Steps
Step 1: Open the blur tool
Load MyTools — Blur Image. The page opens straight onto a drop zone: no sign-up form, no email prompt. The processing happens with the browser's Canvas API, on your own machine, so the photo is never sent to a server.
Step 2: Add your photo and switch to "Areas only"
Drag the image onto the page or click Browse files. The tool opens in Whole image mode, which blurs everything. That mode is for backgrounds and teaser images, not for hiding faces. Click Areas only in the toggle at the top.
Step 3: Drag a box over each face
Press and drag across each face you want hidden. Each box shows a live preview of the effect as soon as you release. A small × on the corner removes a box, Undo takes back the last one, and Clear all starts the image over.
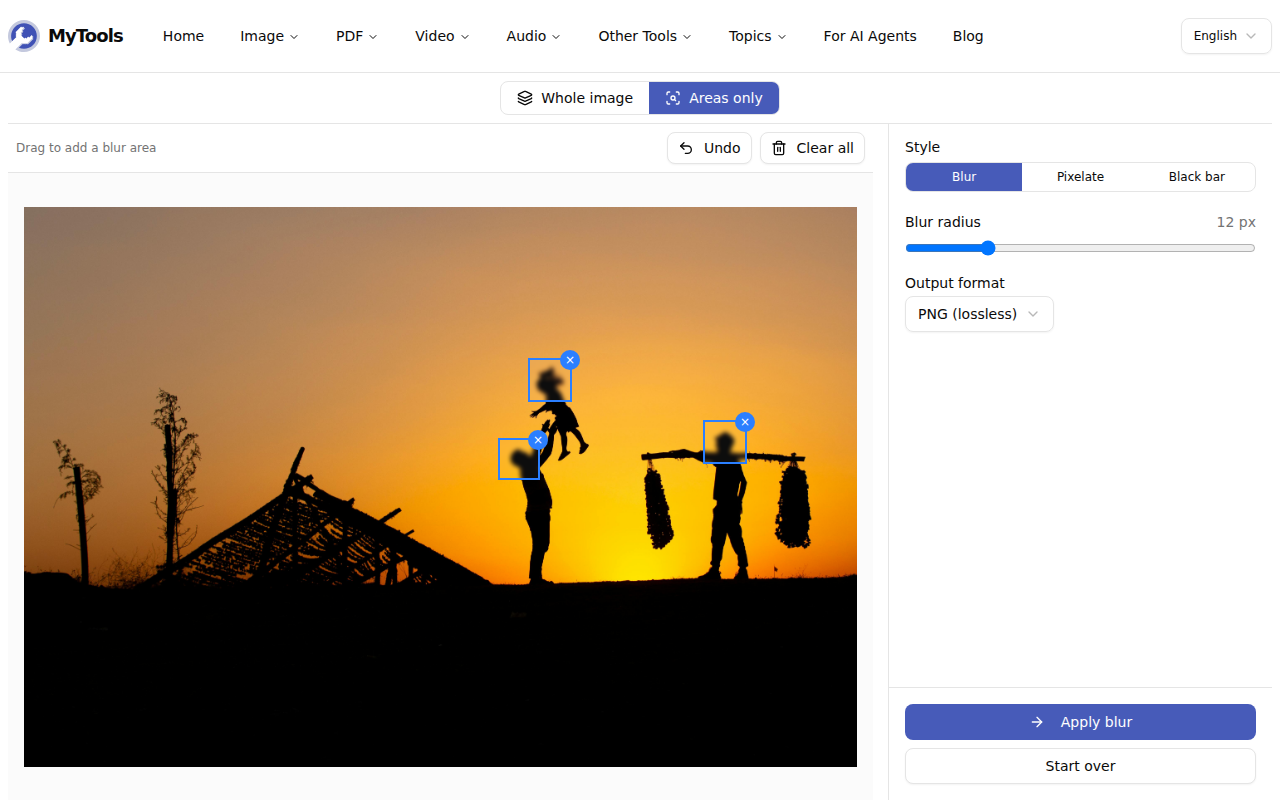
On the right, pick a Style:
- Blur: a Gaussian blur, radius 1–50 px (default 12).
- Pixelate: square blocks, 4–40 px each (default 16).
- Black bar: a solid fill that leaves nothing behind.
Then pick the Output format. PNG is the default and is lossless, so the parts you didn't touch come out identical to the original. WebP gives a smaller file. JPG is saved at roughly 92% quality.
Step 4: Apply and download
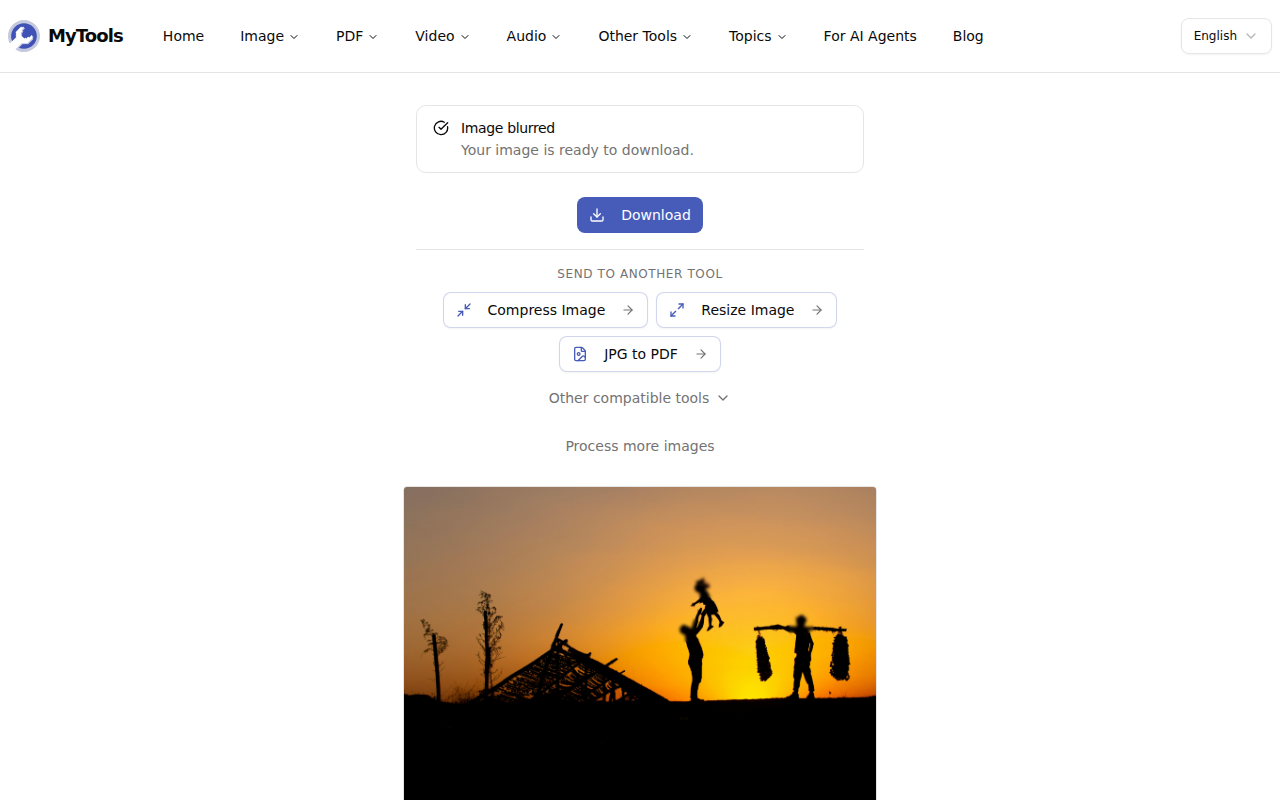
Click Apply blur. The result appears with a Download button, and the file is saved with -blurred added to its original name, so you don't overwrite the original by mistake.
Blur, Pixelate or Black Bar: Which One Actually Hides a Face?
The three styles look similar on screen, but they don't protect equally.
Blur looks the most natural in a photo, which is why it's the default. A strong blur on a face in a crowd shot is enough for most sharing. A weak one (under about 8 px on a large face) keeps the face's overall shape, hairline and skin tone, and someone who knows the person will often still recognize them.
Pixelate reads as deliberately censored, as on the TV news. Large blocks hide more than small ones. As a rough rule, a face should come out no more than about six blocks wide. On a face 120 pixels across, that means a pixel size of 20 or more.
Black bar is the only style that throws the information away completely. For license plates, ID numbers, signatures, bank details and anything else made of text, use it. Researchers have shown more than once that lightly blurred or finely pixelated text can be reconstructed, because a text field only has a limited set of possible characters, and software can try them all until one matches. A solid bar gives that software nothing to match against.
Mistakes That Undo the Blur
Drawing the box too tight. The blur is calculated only from the pixels inside your box, so the outer edge of a blurred area fades back toward the original. If the box hugs the face exactly, the jawline and ears stay crisper than you'd like. Leave a margin around the face roughly the size of the blur radius. At 20 px, drag about 20 px beyond the chin and hair.
Forgetting the rest of the person. A distinctive jacket, a tattoo, a name badge or a reflection in a window can identify someone as surely as their face. Before you apply the blur, look at the whole frame, not just the faces.
Sharing the original by accident. The output is a new file. Your original is left untouched on disk, sitting right next to it. Rename or move the -blurred copy before you attach it to anything.
Tips & Troubleshooting
The same crowd appears across 20 photos. Areas mode accepts a batch, and each image keeps its own boxes. You still mark each photo by hand, since faces move between shots. Images with no boxes are left out of the output rather than copied through unchanged. The style and format you pick apply to the whole batch.
What about the location data in the file? The blurred file is re-encoded from the canvas, and that process doesn't carry over the original's EXIF metadata. GPS coordinates, camera model and capture time are all dropped. That's worth knowing if the reason you're blurring is to avoid revealing where someone lives.
"Image too large." The tool stops at 8192 pixels on either side. Photos from recent phones are well under that, but stitched panoramas can exceed it. Shrink the image with the Resize Image tool, then come back.
If you only need a strong privacy screen over part of a photo, the black bar wins. When the picture has to keep looking like a photo, go with a generous blur and a generous box.
Ready to hide the faces that shouldn't be in the shot? Open Blur Image for free →